
Cassiopeia Data Security
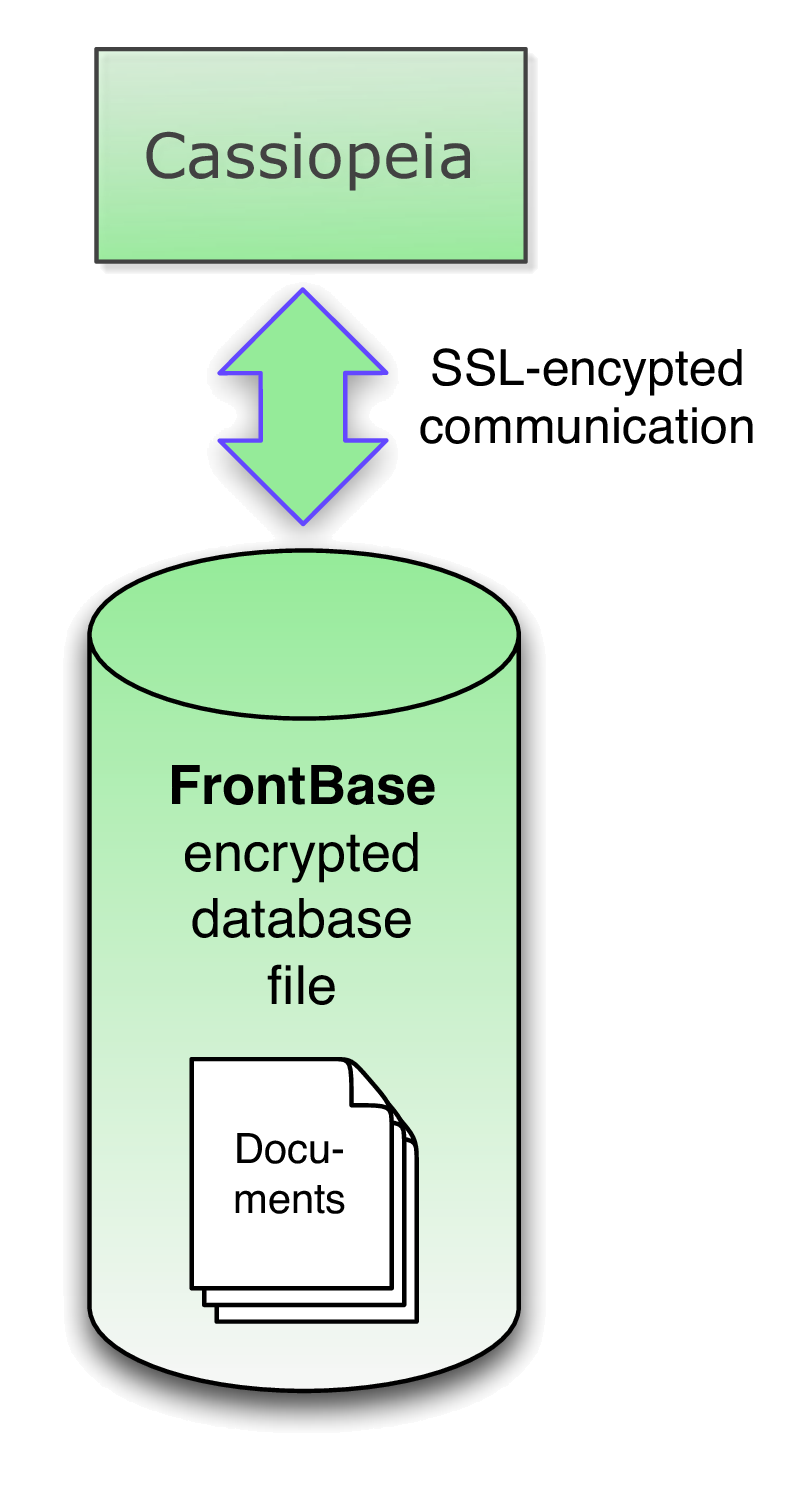
Though it is possible to store documents in the cloud (Advanced Science Data Center) most users will probably prefer to keep their data on the local hard drive or at least a machine in the local area network. But even if so how can the author of a Cassiopeia document be sure that his potentially sensible data is accessed by authorized users only and cannot be spied out? Cassiopeia offers three security measures:- The communication between Cassiopeia and the underlying datastore (FrontBase) can be SSL-encrypted
- The database file itself can be disk-encrypted
- Dedicated access privileges can be set for each document
 |
Securing communication
On Mac OS X FrontBase stores database files in /Library/FrontBase/Databases. When Cassiopeia is started for the first time it looks for a database file Cassiopeia.fb in this directory. If none is found a default database Cassiopeia.fb is written into this directory to simplify the setup procedure. A *.fb file is accompanied by a couple of other [automatically generated] files with the same name but different extension. The one we are interested in for securing communication is <databasename>.options so in our case Cassiopeia.options. We want to add the option -scomm to this file which enables secure communication.
You can do so by using /Applications/Utilities/Terminal.app and executing the following commands to open the options file
- cd /Library/FrontBase/Databases
- pico Cassiopeia.options
Encrypting the database file
Encrypting the database file adds an additional degree of security. In most cases this will not be considered necessary but if you are notorious about security you might want to make use of the disk encryption feature when creating a database.Since the default database Cassiopeia is probably already installed on you machine we have to either first remove this database or create another database with a different name. We create a new database named Repository in this example.
Executing the required commands requires root privileges. You might not yet have set a root password on your machine. So please do the following in Terminal.app logged in as a user with admin privileges to set the root password.
sudo passwd root
You will be asked for your password and then have to choose a password for the user root. You will have to enter it twice (verification). After setting a root password do the following to create the encryüted database Repository on the command line.
su -
cd /Library/FrontBase/Databases
/Library/FrontBase/bin/FBKeyGenerator des Repository.key
/Library/FrontBase/bin/FrontBase -create -scomm -sdisk -key=Repository.key Repository
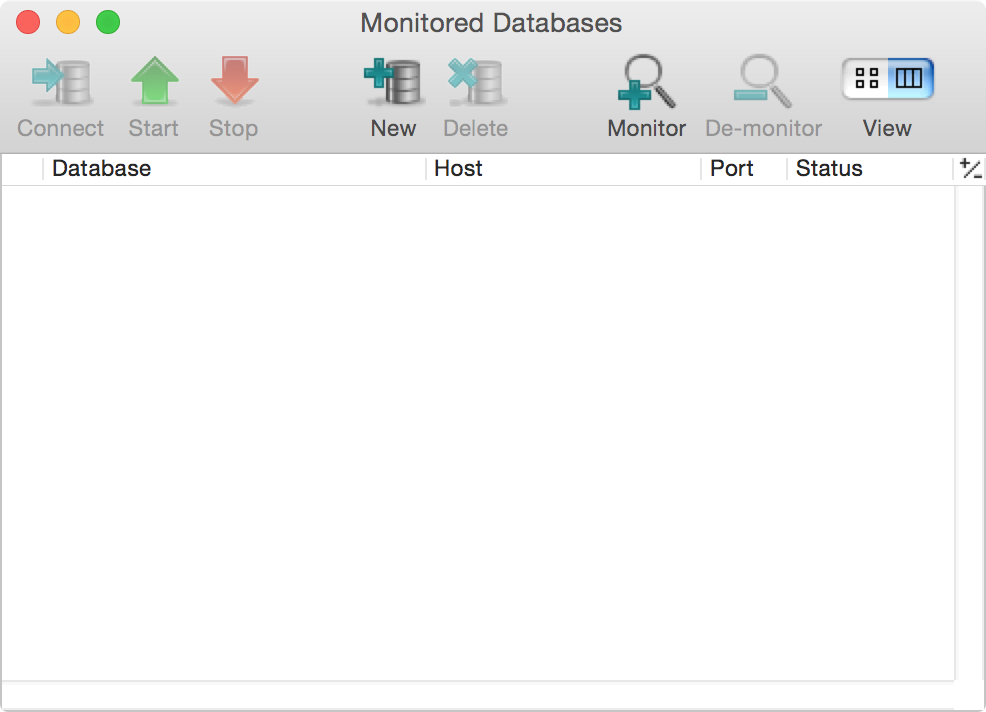
The database is created and running now. You may press Ctrl-c to stop it and close the terminal session. Then start FrontBaseManager.app and click on Monitor.
 |
If localhost is not yet inthe list enter locahost in the Add Host: field and press <Return>. Then click on localhst in the list. The database Repository should appear in the second column. Select it and click on OK.
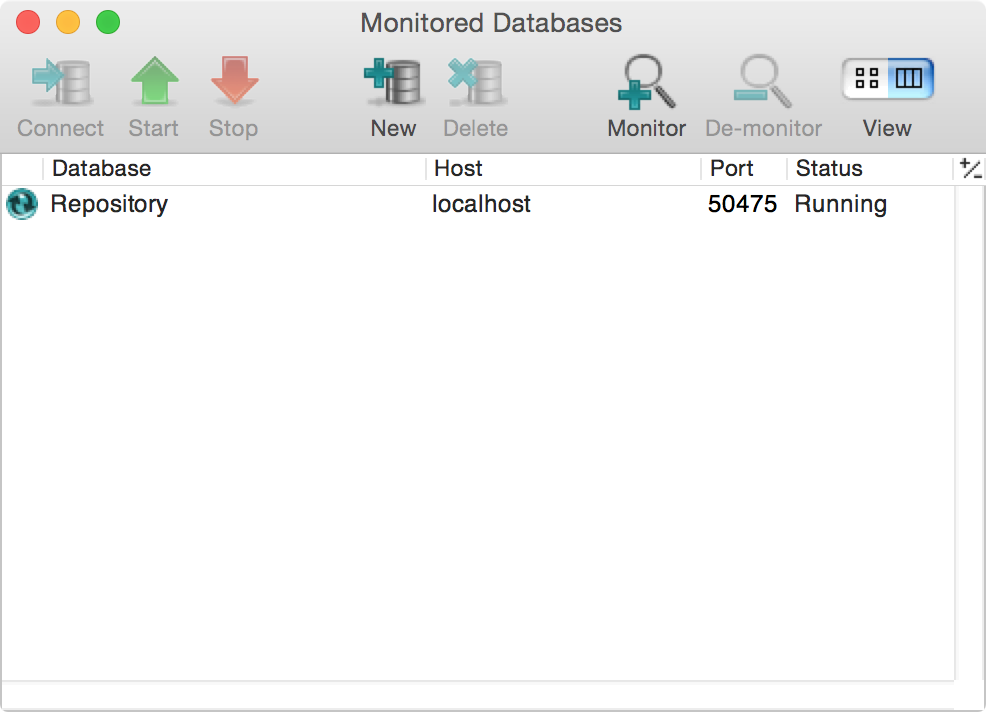 |
You can select databases on this window and then start or stop them. The above panel indicates that our new database is running.
Now start Cassiopeia and open its preferences panel. It will probably look as follows:
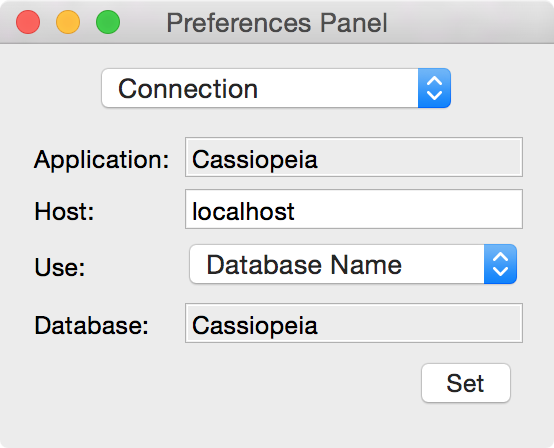 |
We want to make Cassiopeia connect to our new database Repository. Click on Set and then on localhost in the left column (add localhost if not yet in th eleft column) to list available databases.
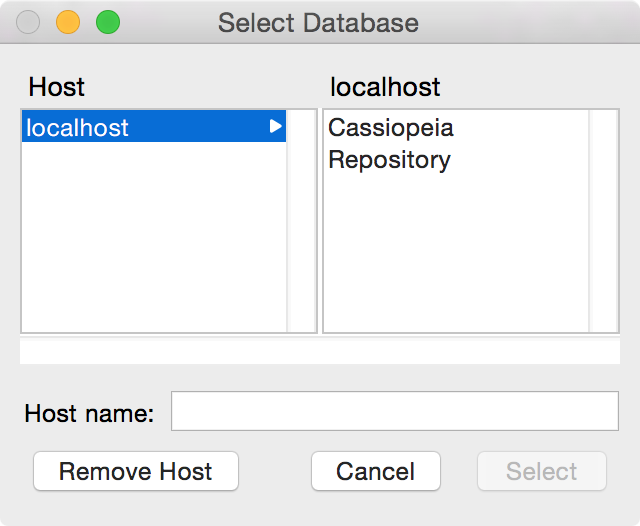 |
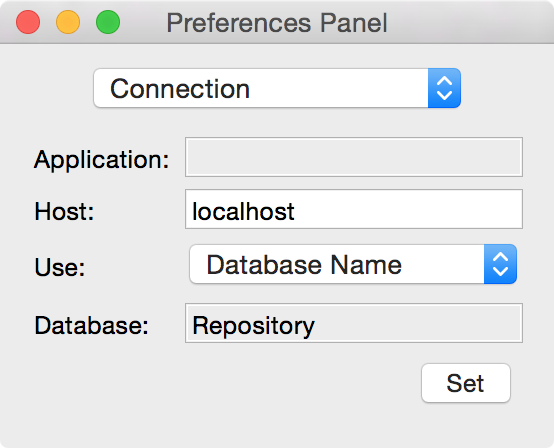
Select Repository and click on Select. The preferences panel should look as follows now.
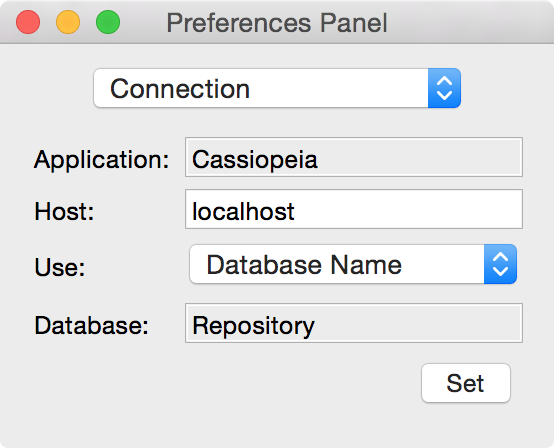 |
Switch to the License pane and make sure the Force Schema Update checkbox in the lower right corner is checked.
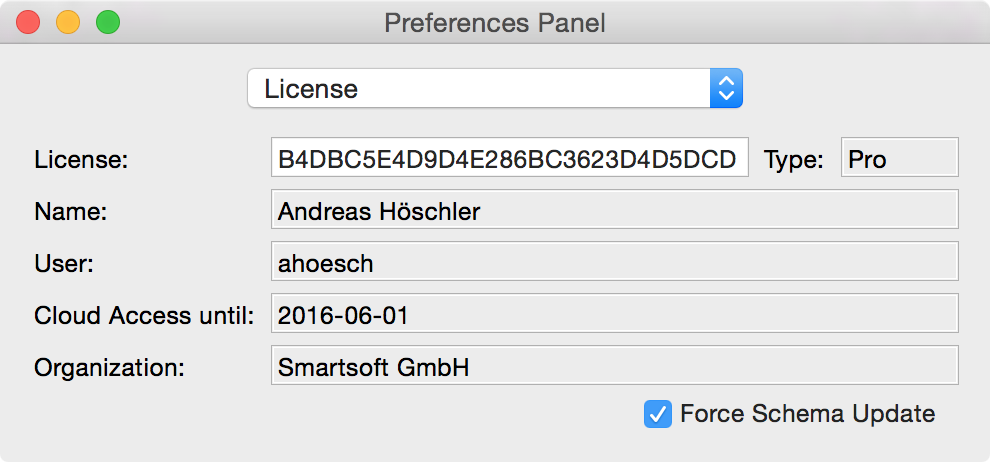 |
Then close the preferences panel and choose Database - Log On from the menu. The Connect Information panel should reflect our changes.
 |
Make sure the Cloud control in the lower left corner is not checked and enter ROOT for the username and leave the password fields blank. Click on OK.
Cassiopeia generates SQL statements now to setup the new database. If asked for permission to execute these statements click on Yes.
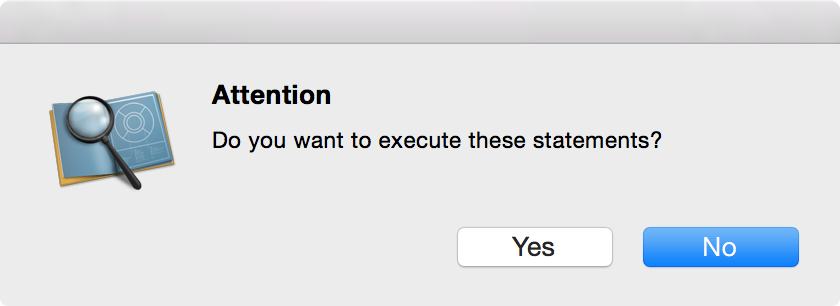 |
After a couple of seconds the database should be set up and user ROOT successfully logged in indicated by the appearing Object Browser window.
 |
You may now start using your new database Repository with encrypted communication and encrypted disk storage.
Creating user accounts and granting access privileges
Since Cassiopeia strores documents in a relational database the word processing system is per se multi-user enabled. After setting up a new database you may want to set a password for the default user ROOT and or create additional user accounts.Start AccountManager.app (should be in your /Applications folder) and open its preferences panel. Make sure the connect information is correct (points to the correct database, in our example case the newly created database Repository [see last section], in your case it could be Cassiopeia or any other database instead). If the connect info is unset or incorrect click on Set and choose the correct database.
 |
Then choose Database - Log On to connect to the database.
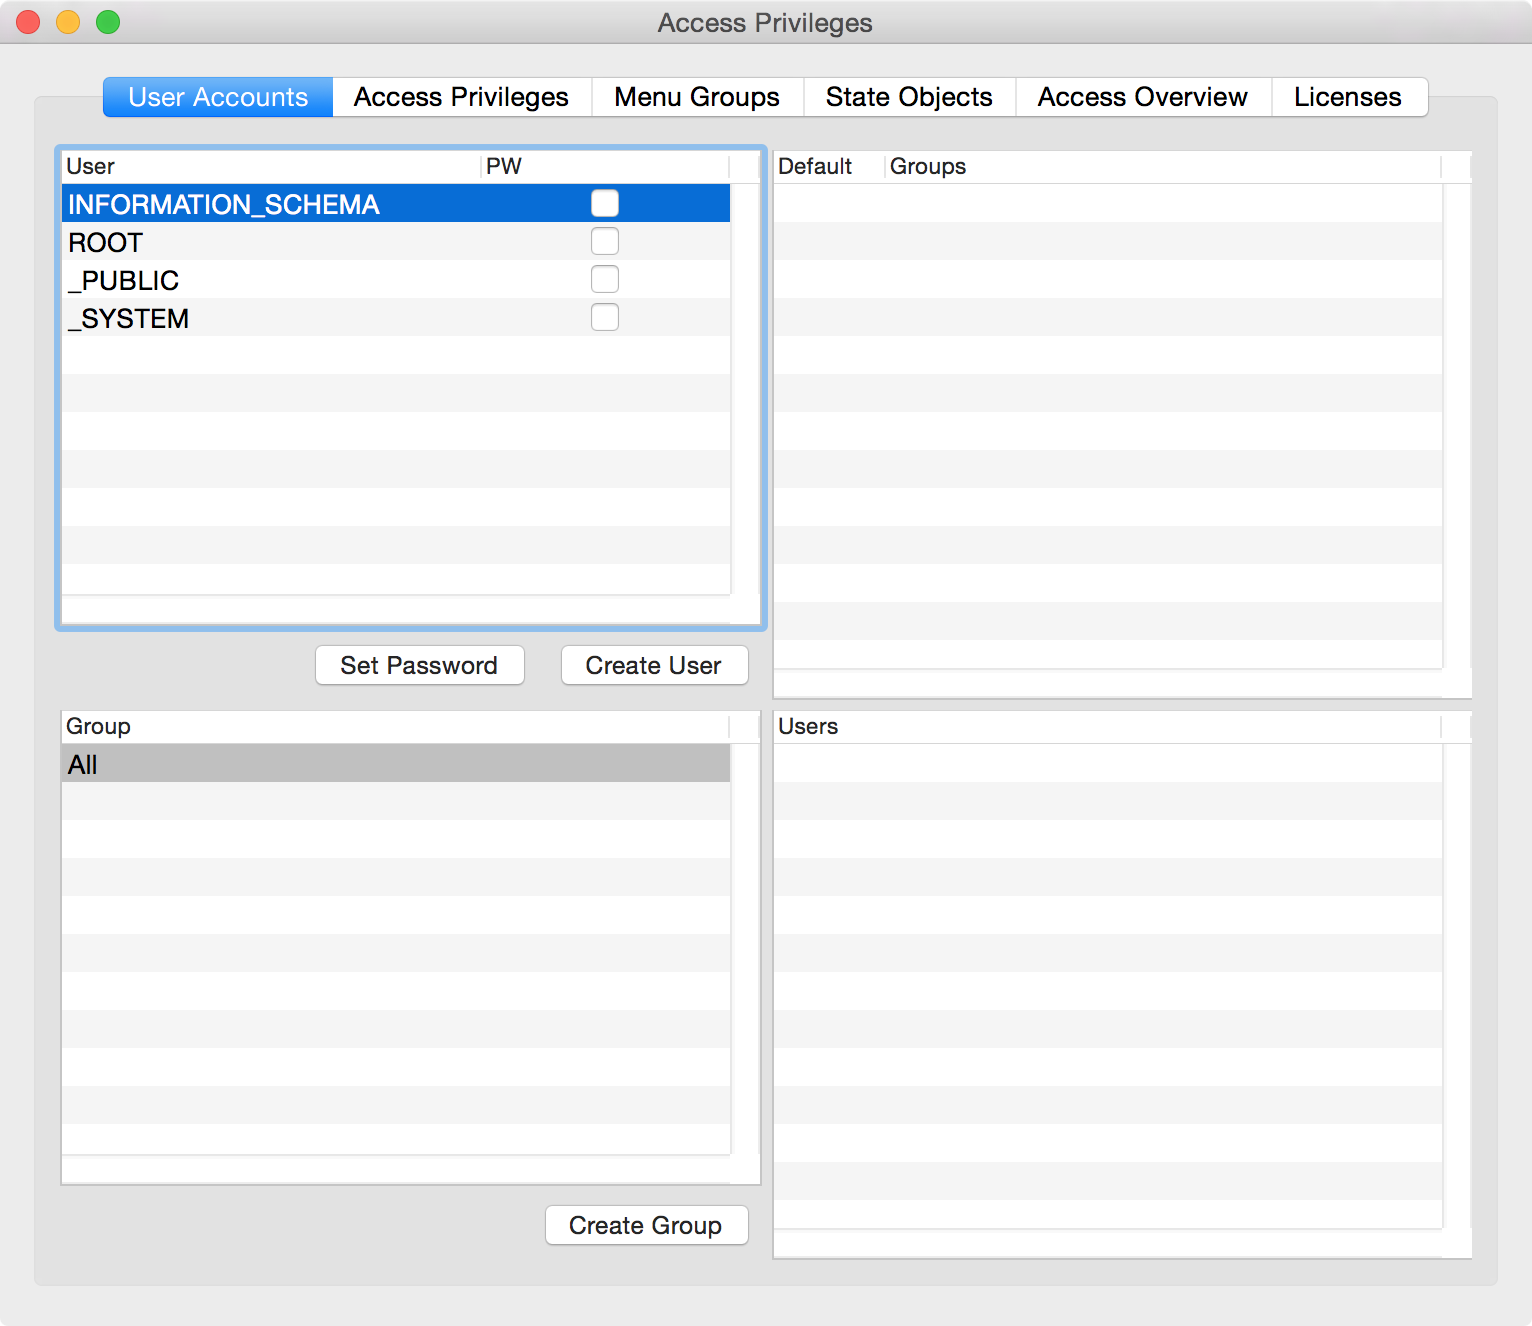 |
No password is set for any of the default user accounts. Select one after the other and click on Set Password to set passwords. Make sure to use one you can remember. You won't be able to access the database without this password once it is set.
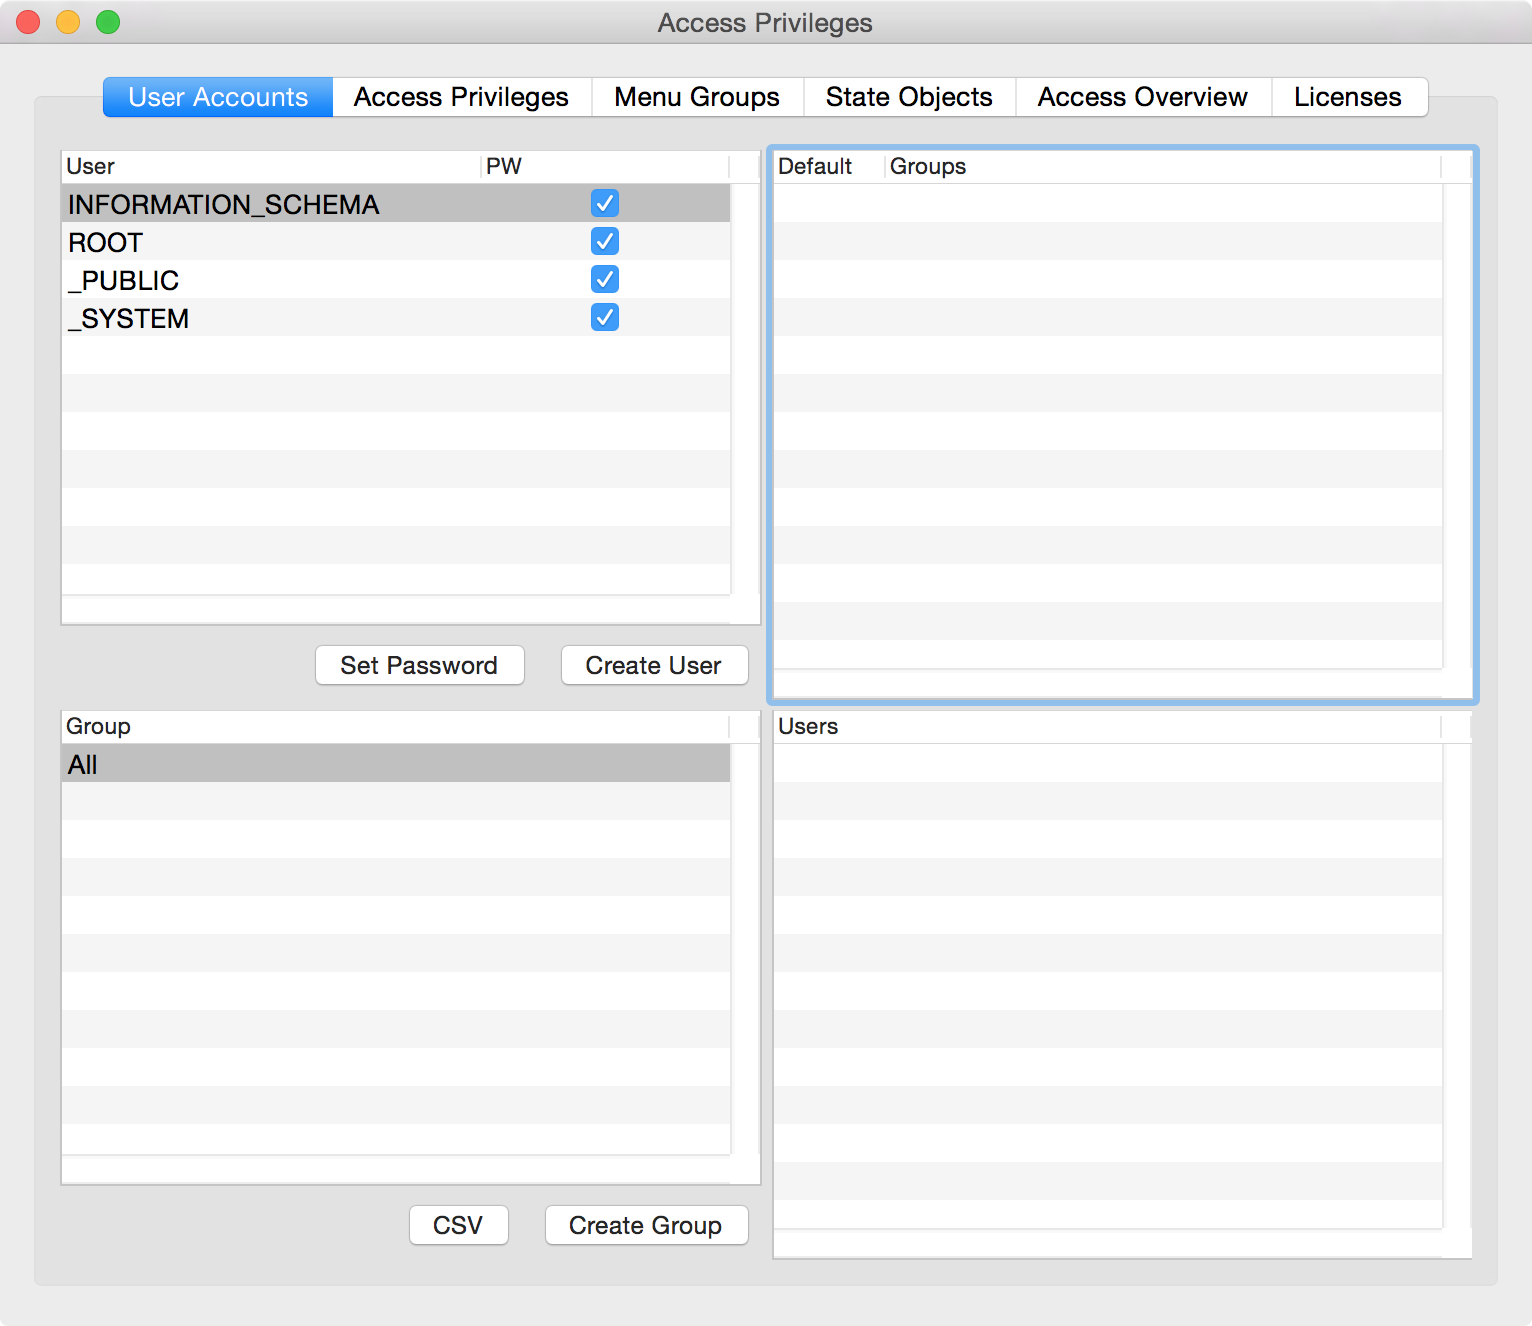 |
The check boxes indicate that you have set passwords for the users now. You might want to create dedicated user accounts now for yourself and members of your workgroup and use the super user account ROOT for administrative purposes only. Click on Create User and enter a user name, e.g. joe.
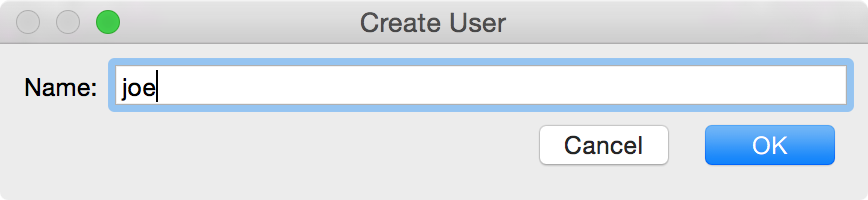 |
Click on OK to create the user. Note, that no password has been set for this user so far.
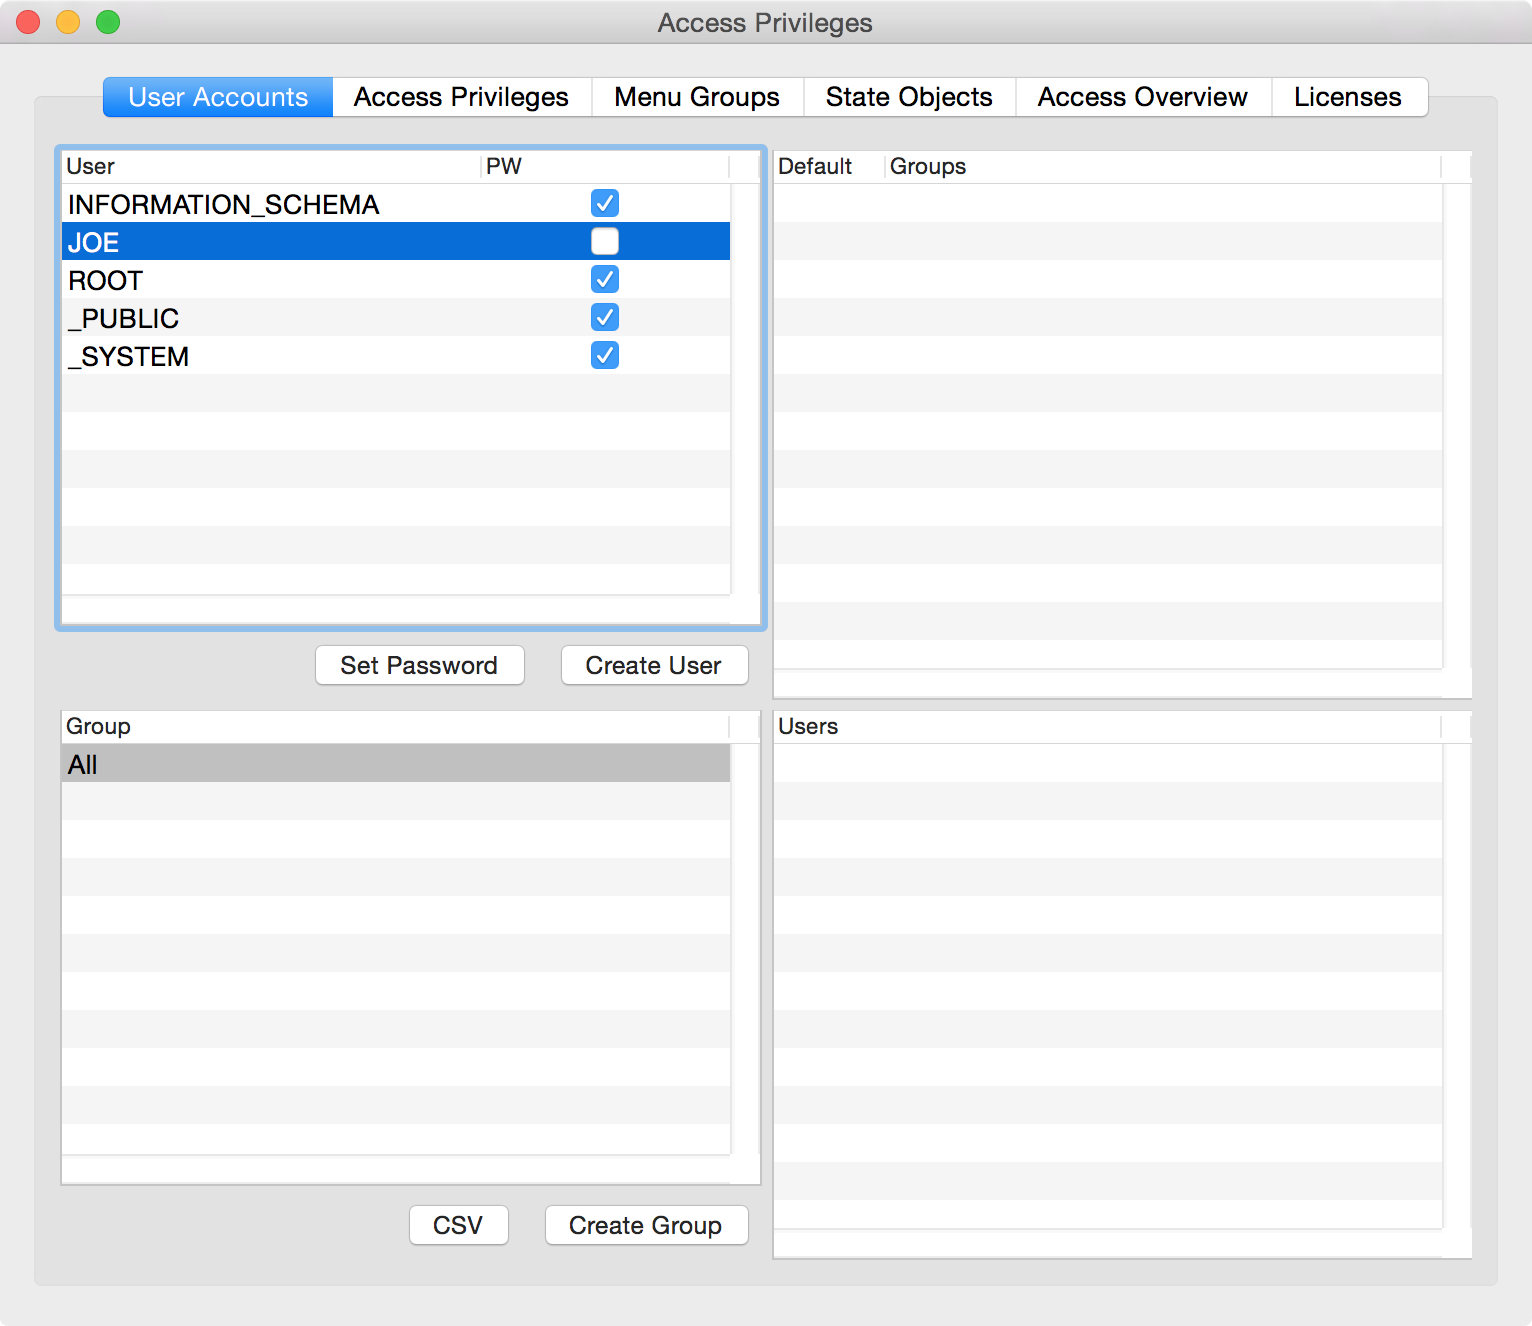 |
Select the newly created user and click in Set Password to set a pasword as described above. Create as many additional user as you like.
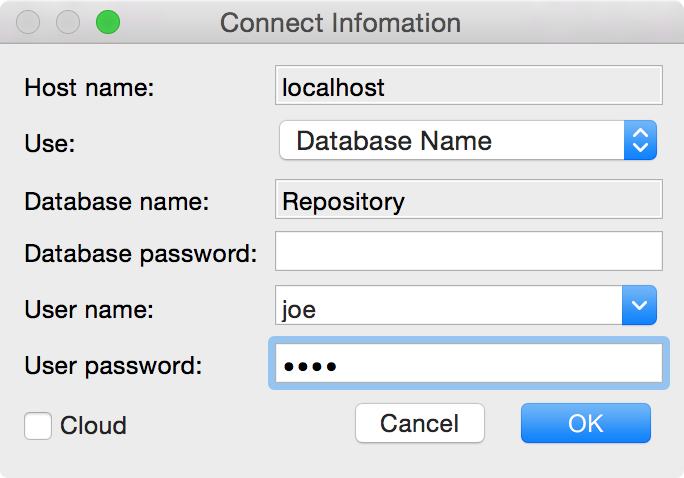
Now restart Cassiopia and try to log in with one of the newly created accounts.
 |
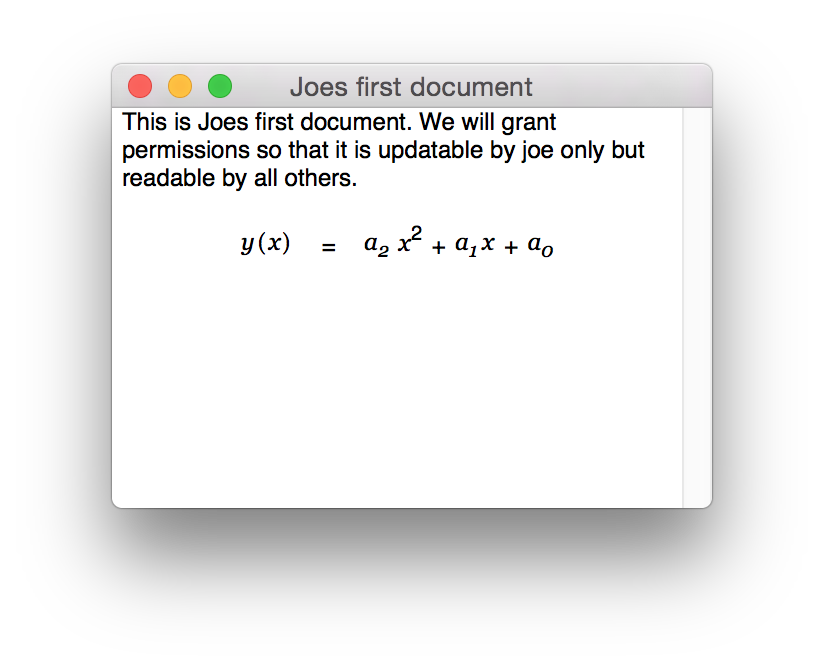
Create a new document with Database - Create Document
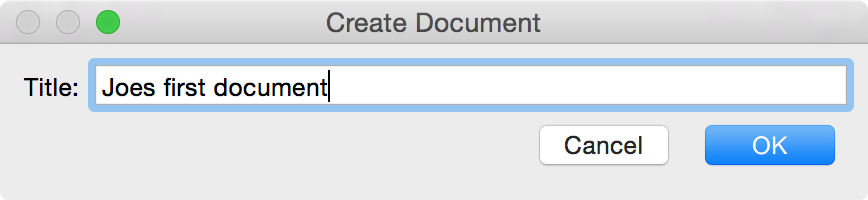 |
and enter some content.
 |
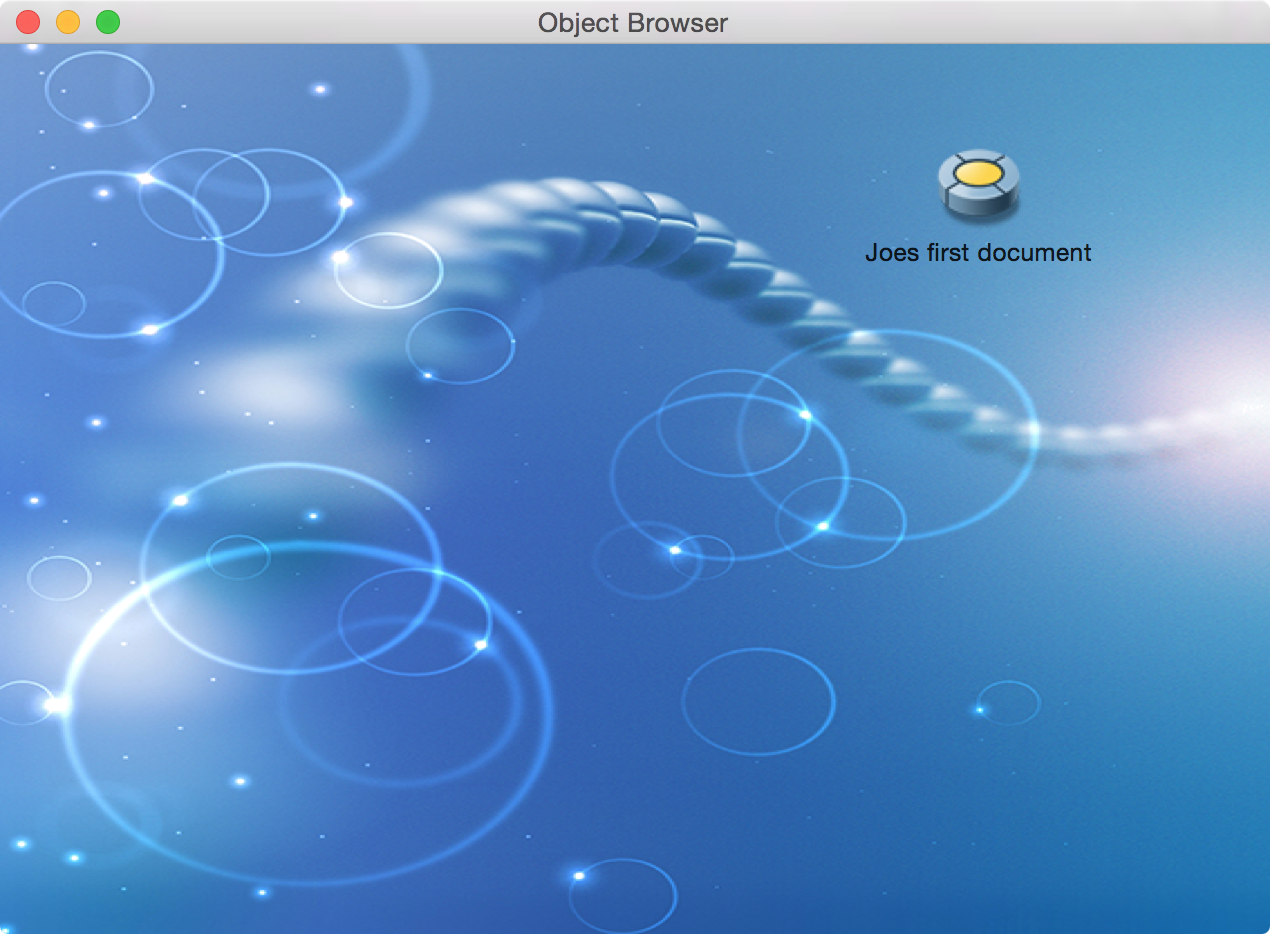 |
Now Ctrl-Shift-Double-Click on this alias to open the privilages panel.
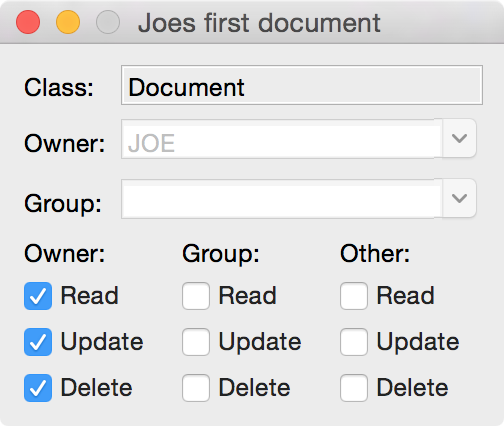 |
Note that the document is acessible by the owner (in this case joe) only by default. This means that other users logged into the databse and fetching documents with Database - Open Document would not even see this document.
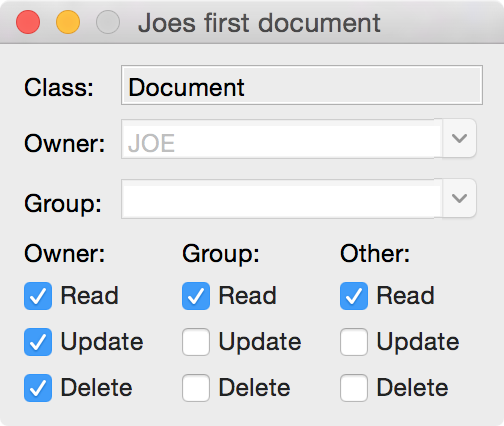
If Joe wants other database users (members of his workgroup) to have read access to his document the Read check boxes are to be checked and changes saved.
 |
News
| 23.04.2023 | Cassiopeia 2.9.0 released |
| 05.10.2022 | Cassiopeia 2.8.3 released |
| 29.09.2022 | Cassiopeia 2.8.0 released |
| 08.07.2022 | Cassiopeia 2.7.0 released |
| 14.04.2021 | Cassiopeia 2.6.5 released |
| 10.02.2021 | Cassiopeia 2.6.1 released |
| 26.06.2015 | Word Processor Comparison |
| 24.06.2015 | Updated Documentation |
| 23.06.2015 | Cassiopeia Yahoo Group |
| 18.06.2015 | Advanced Data Security |
| 11.05.2015 | Cassiopeia Overview |
| 08.05.2015 | Exporting to files |
| 14.05.2013 | LaTeX and HTML Generation |
| 08.05.2013 | Example Paper released |
| 26.04.2013 | Co-editing in a workgroup |
| 16.04.2013 | Equation Editor Quick Reference |
| 12.04.2013 | Equation Editor |
| 04.04.2013 | Links and Bibliography |
| 01.04.2013 | Books |
| 30.03.2013 | Documents |
| 28.03.2013 | Simulations |
| 16.03.2013 | 2D Graphs |
| 10.03.2013 | Symbolic Algebra |
| 08.03.2013 | Getting Started |
| 07.03.2013 | Installation and Setup |
White Papers
| 13.10.2015 | 01 Writing documents |
| 15.10.2015 | 02 Using the equation editor |
Youtube
| 08.07.2022 | Installation & Getting Started |
| 14.04.2021 | Animating Wave Functions |
| 26.01.2016 | Keystroke Navigation |
| 22.10.2015 | Equation Editor Demo |
| 19.06.2015 | Equation Editor Tutorial |
| 10.06.2015 | Sections and Equations |
| 09.06.2015 | Getting Started |
| 09.06.2015 | Damped Oscillations |
| 29.05.2015 | Solving equations |
| 13.05.2015 | Privileges and Links |
| 19.06.2013 | Magnetic Field |
| 14.06.2013 | Creating Documents |
| 10.06.2013 | Vector Algebra |
| 30.05.2013 | Differential Simulations |
Contact
Smartsoft GmbH Advanced Science Subdiv.Support: support@advanced-science.com
