
Installing Cassiopeia
To install Cassiopeia on your Mac go to the Advanced Science website, click on Download and get latest Cassiopeia package. Upon completion of the download, locate the Cassiopeia.X.Y.Z.pkg file in your Downloads folder, right-click on the file and choose Open With Installer (default) to install.
Once installed you may want to drag /Applications/Cassiopeia.app into your dock. Start the application by double-clicking on the Cassiopeia icon in your /Applications folder or single-clicking on the Cassiopeia icon in the dock. If you have already received your personal license key (optional but recommended) open the preferences panel
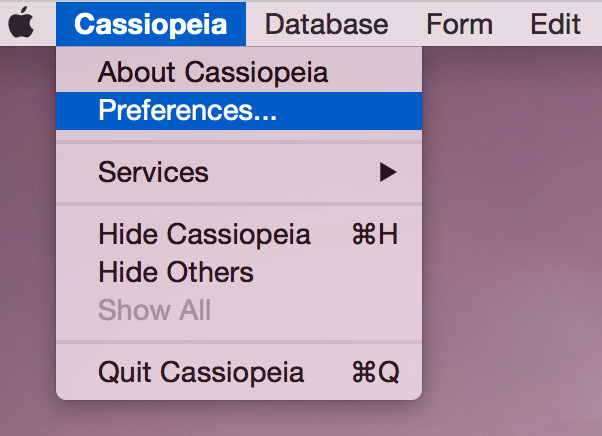 |
switch to the License pane and copy/paste your key into the License field.
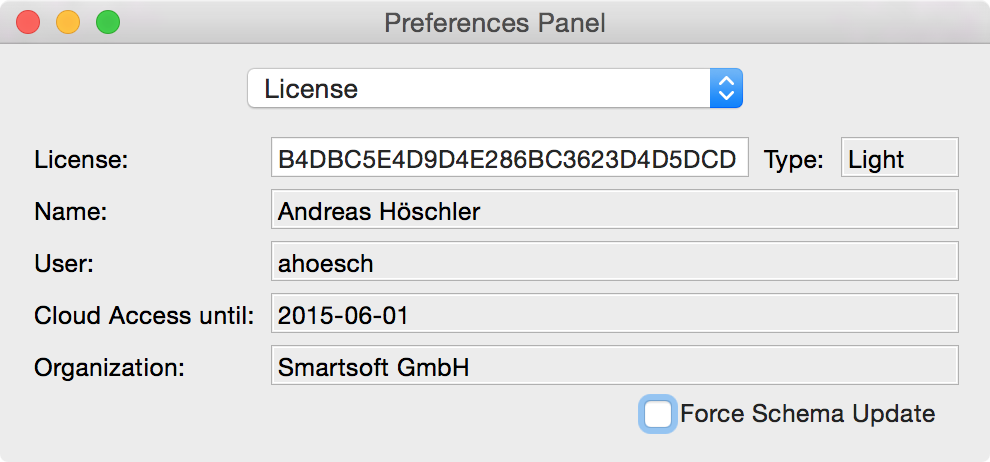 |
If you have not yet received a personal license key you may want to click on License and fill out the registration form. A key will be sent to you via Email.
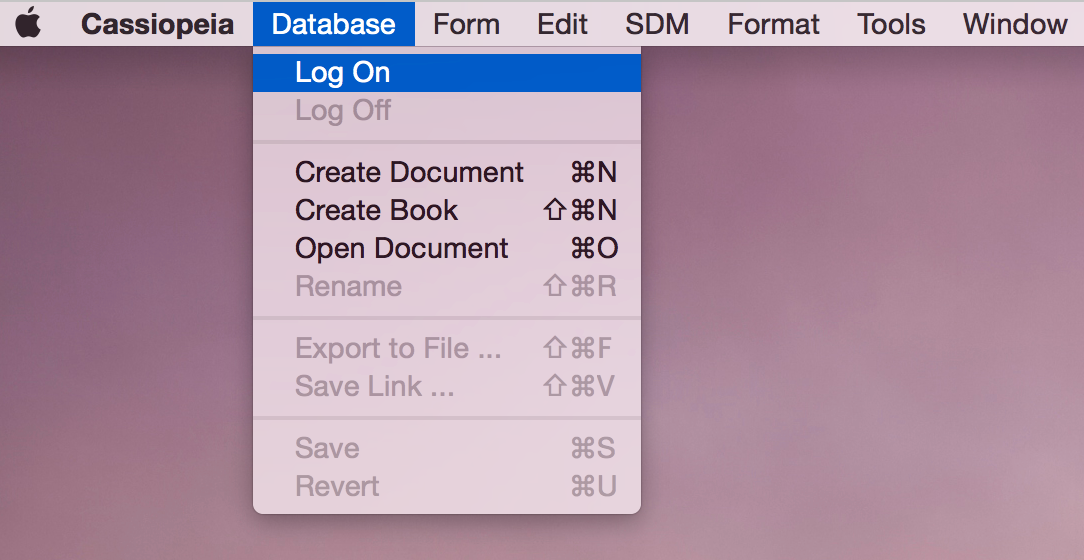
Choose Database - Log On from the Cassiopeia menu now.
 |
Cassiopeia uses a very light-weight relational database as the repository for your documents, books, bibliography entries,... This has a lot of advantages over storing documents in files which will be discussed in detail in another document. Cassiopeia currently supports FrontBase and SQLite. Since SQLite is preinstalled on MacOSX Cassiopeia uses this database by default.
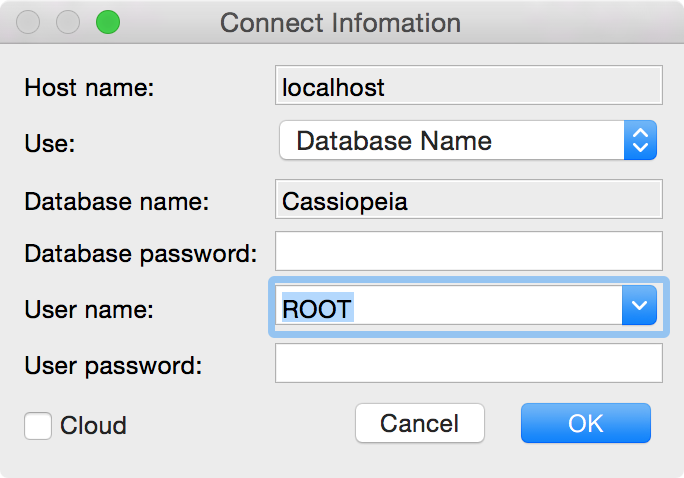
Choosing Database Log On from the menu should bring up the following connect info panel.
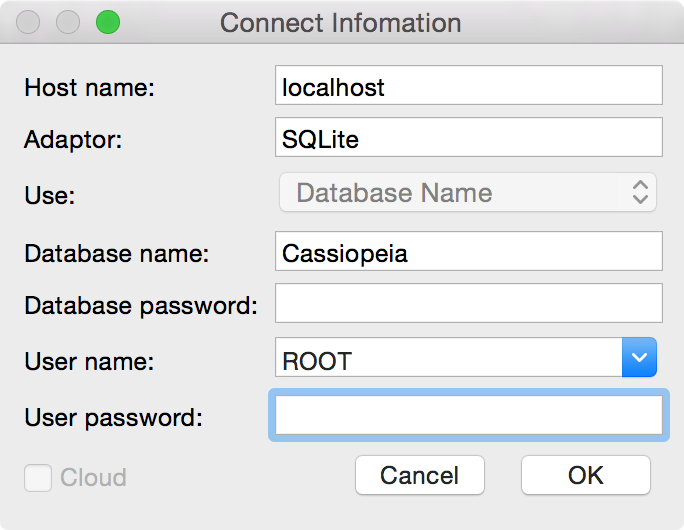 |
Note that the Adaptor field is preset to SQLite which means that we will connect against a SQLite database (actually a file in Library/SQLite/Databases in your home directory). The database name is preset to Cassiopeia which is the default (see Central Database for instructions about setting up additional databases). ROOT is the default user for connecting to databases. This parameter is not used when connecting to a SQLite database but will become important once we setup FrontBase databases for multi user setups.
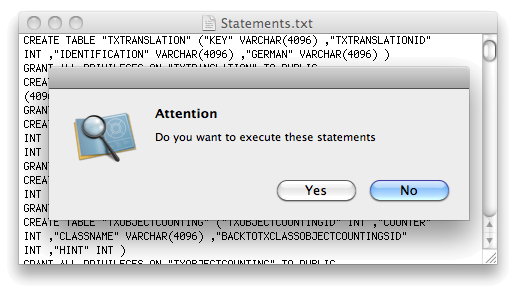
For now do not change any of the default values but simly click OK (you may have to do this twice when connecting to a new database for the first time). Cassiopeia will check if the directory Library/SQLite/Databases in your home directory exists and create it if it does not. It will then create an SQLite database file named Cassiopeia in this directory and starts to setup it up. You may see panels like the one shown below asking you for permission to execute SQL statements for setting up the database.
 |
 |
Cassiopeia is fully operational and you may start creating documents as described in Getting Started.
However, when it comes to printing Cassiopeia generates LaTeX code. It needs a LaTeX installation to automatically compile the generated LaTeX code and open the resulting PDF. There are numerous sources for LaTeX packages for MacOSX available on the internet (google for MacTeX).
Converting images
Cassiopeia uses ImageMagick to convert inserted pictures to PDF while generating LaTeX code. A binary convert must be available on your machine.
Upgrading a local database
After upgrading Cassiopeia to a newer version the database schema of the local (pre-existing) database may have to be upgraded as well. This process is completely automated and requires hardly any user intervention. Choose Database - Log On as usual
 |
and log into the local database. Use ROOT for the username and leave the password field blank. If Cassiopeia detects a discrepancy between the current database schema and the schema required by the new Cassiopeia version corresponding SQL statements are generated automatically to upgrade the schema. You may be asked a couple of times for permission to execute these statements.
 |
 |
You may start using Cassiopeia now as usual. See Getting Started for a detailed introduction.
If you encounter any problems feel free to contact our support team at support@advanced-science.com. Your questions are welcome and feedback is greatly appreciated!
News
| 23.04.2023 | Cassiopeia 2.9.0 released |
| 05.10.2022 | Cassiopeia 2.8.3 released |
| 29.09.2022 | Cassiopeia 2.8.0 released |
| 08.07.2022 | Cassiopeia 2.7.0 released |
| 14.04.2021 | Cassiopeia 2.6.5 released |
| 10.02.2021 | Cassiopeia 2.6.1 released |
| 26.06.2015 | Word Processor Comparison |
| 24.06.2015 | Updated Documentation |
| 23.06.2015 | Cassiopeia Yahoo Group |
| 18.06.2015 | Advanced Data Security |
| 11.05.2015 | Cassiopeia Overview |
| 08.05.2015 | Exporting to files |
| 14.05.2013 | LaTeX and HTML Generation |
| 08.05.2013 | Example Paper released |
| 26.04.2013 | Co-editing in a workgroup |
| 16.04.2013 | Equation Editor Quick Reference |
| 12.04.2013 | Equation Editor |
| 04.04.2013 | Links and Bibliography |
| 01.04.2013 | Books |
| 30.03.2013 | Documents |
| 28.03.2013 | Simulations |
| 16.03.2013 | 2D Graphs |
| 10.03.2013 | Symbolic Algebra |
| 08.03.2013 | Getting Started |
| 07.03.2013 | Installation and Setup |
White Papers
| 13.10.2015 | 01 Writing documents |
| 15.10.2015 | 02 Using the equation editor |
Youtube
| 08.07.2022 | Installation & Getting Started |
| 14.04.2021 | Animating Wave Functions |
| 26.01.2016 | Keystroke Navigation |
| 22.10.2015 | Equation Editor Demo |
| 19.06.2015 | Equation Editor Tutorial |
| 10.06.2015 | Sections and Equations |
| 09.06.2015 | Getting Started |
| 09.06.2015 | Damped Oscillations |
| 29.05.2015 | Solving equations |
| 13.05.2015 | Privileges and Links |
| 19.06.2013 | Magnetic Field |
| 14.06.2013 | Creating Documents |
| 10.06.2013 | Vector Algebra |
| 30.05.2013 | Differential Simulations |
Contact
Smartsoft GmbH Advanced Science Subdiv.Support: support@advanced-science.com
