Getting Started with Cassiopeia
This document gives a brief overview of the most frequently used features of Cassiopeia. Successive tutorials will go into further detail (links at the bottom of this page). If you have not yet installed Cassiopeia you may want to read Installation and Setup first.- Logging into a local database
- Creating Documents
- Sections and Subsections
- Inserting Equations
Logging into a local database
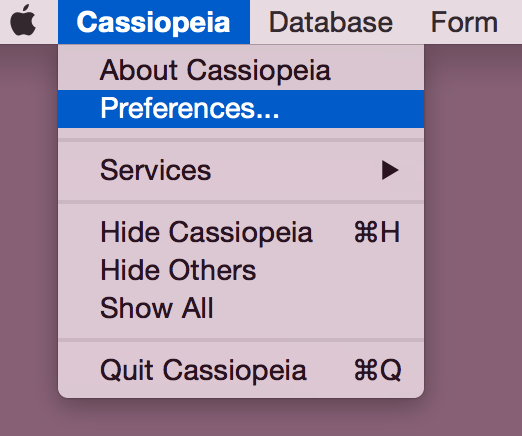
This section explains how to connect to the default SQLite database that was automatically created as part of the installation procedure (see Installation and Setup). Please open the Preferences panel from the Cassiopeia menu
 |
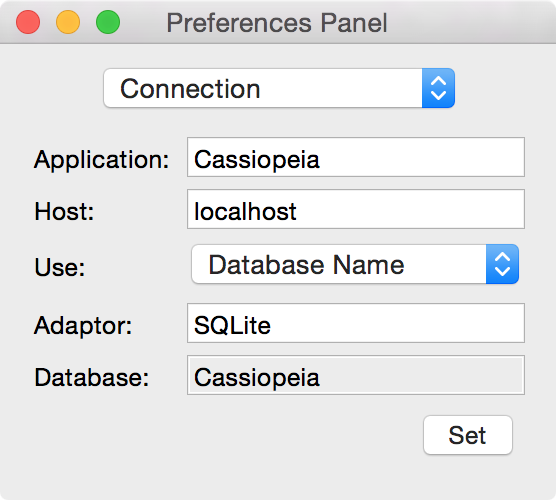
and verify your settings. They should look as shown below (default values).
 |
Choose Database - Log On from the menu.
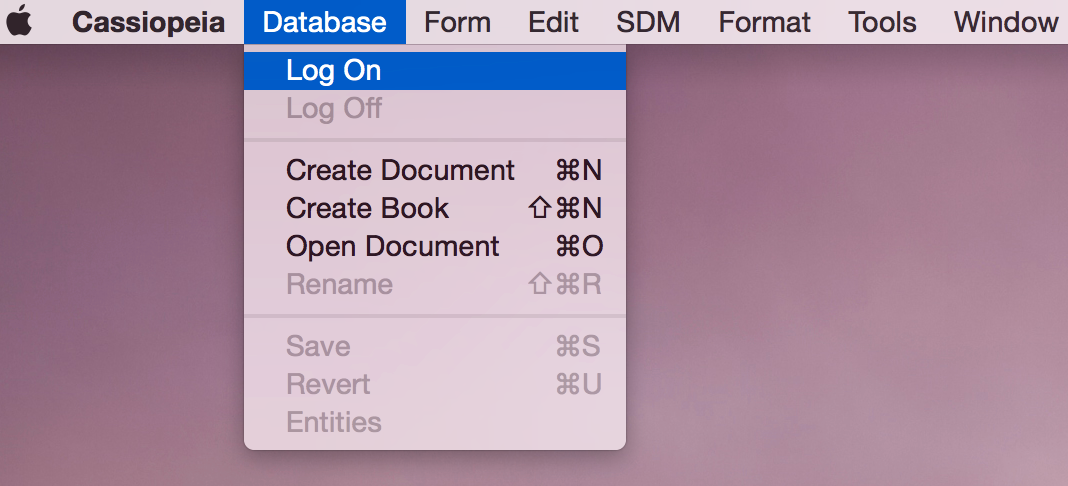 |
Choosing Database Log On from the menu should bring up the following connect info panel.
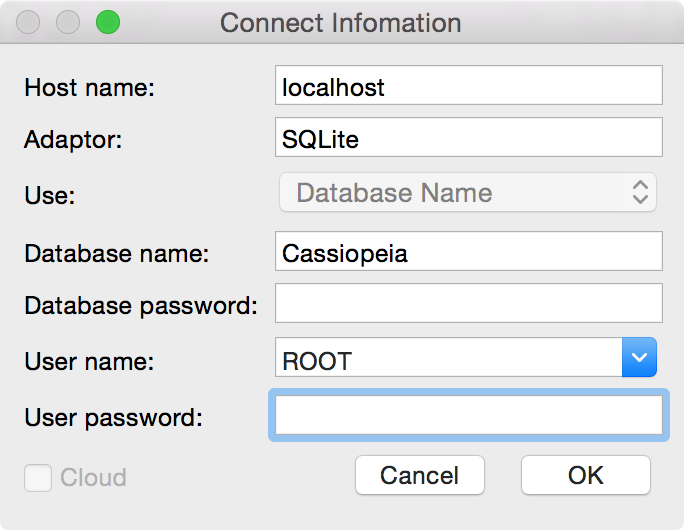 |
Simply accept the default values and click on OK. Cassiopeia can be made to automatically login with a default account whenever the application is started. This is explained in the Autologin section of the Central Database document (you might want to check this out later).
Creating Documents
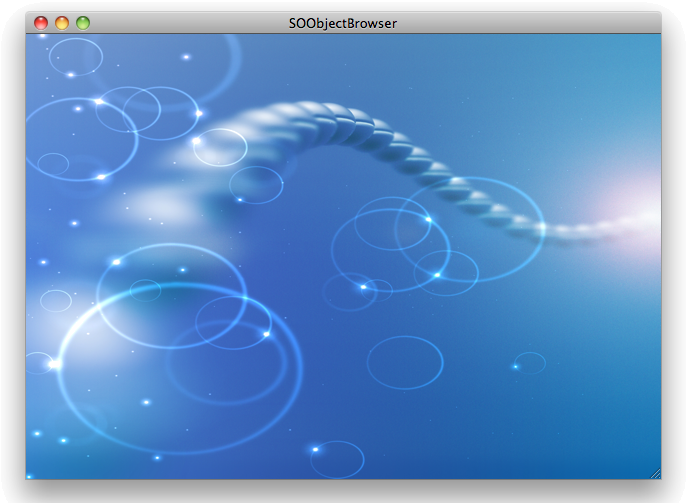
After starting Cassiopeia.app the first step is to choose Database - Log On from the menu to log into the database as explained in the previous two sections. After a successful login the following object browser window appears.
 |
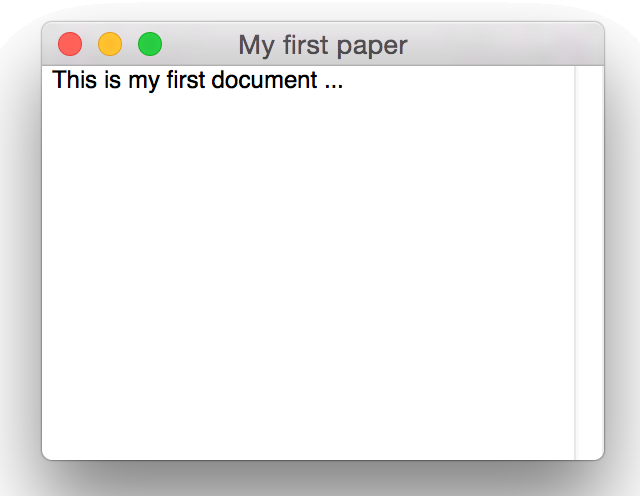 |
Please note the little black dot in the center of the red bullet in the window title(s) after modifying a document. This black dot indicates unsaved changes. Choose Database - Save from the menu or simply hit Command-s to save changes to the database. You should become used to hitting save fairly often when editing documents. If you have performed unwanted changes either use Command-z (undo) or hit Command-u to discard all changes and revert back to the latest saved state in the database.
Close your document and press Command-O or choose Database - Open Document from the menu.
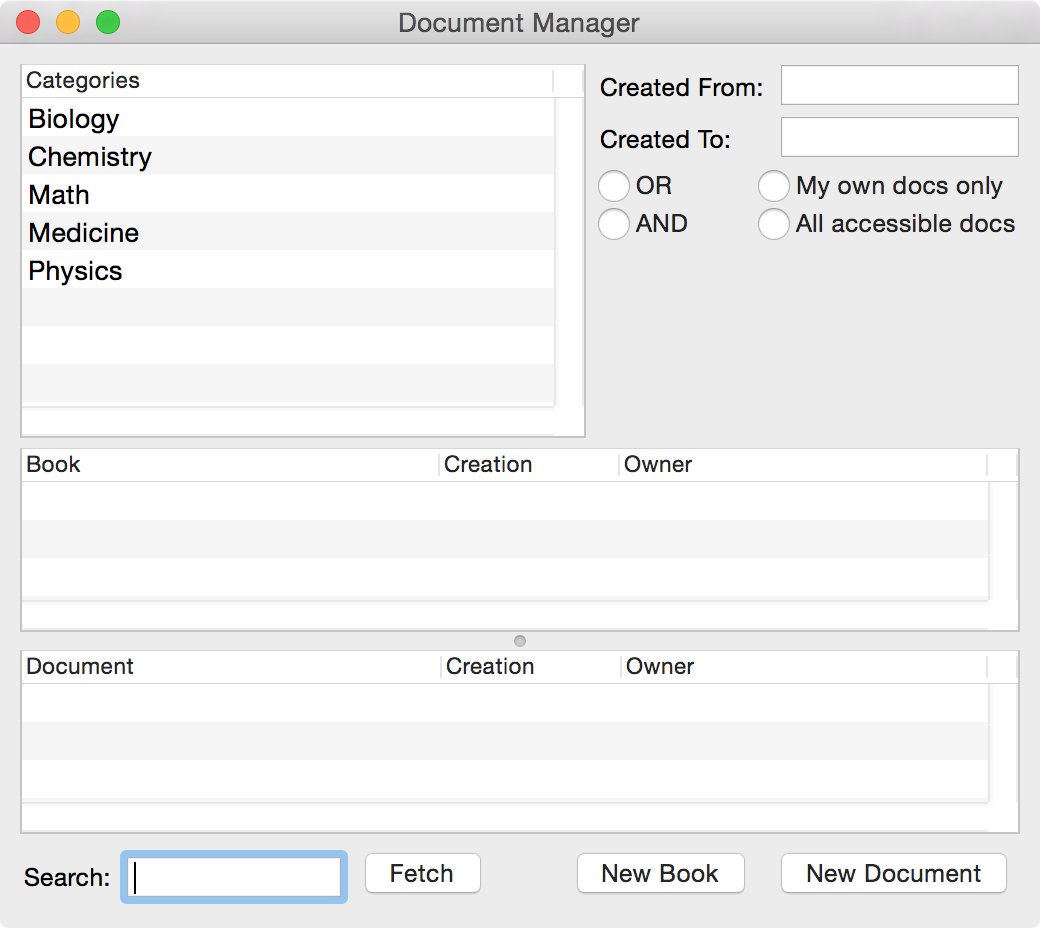 |
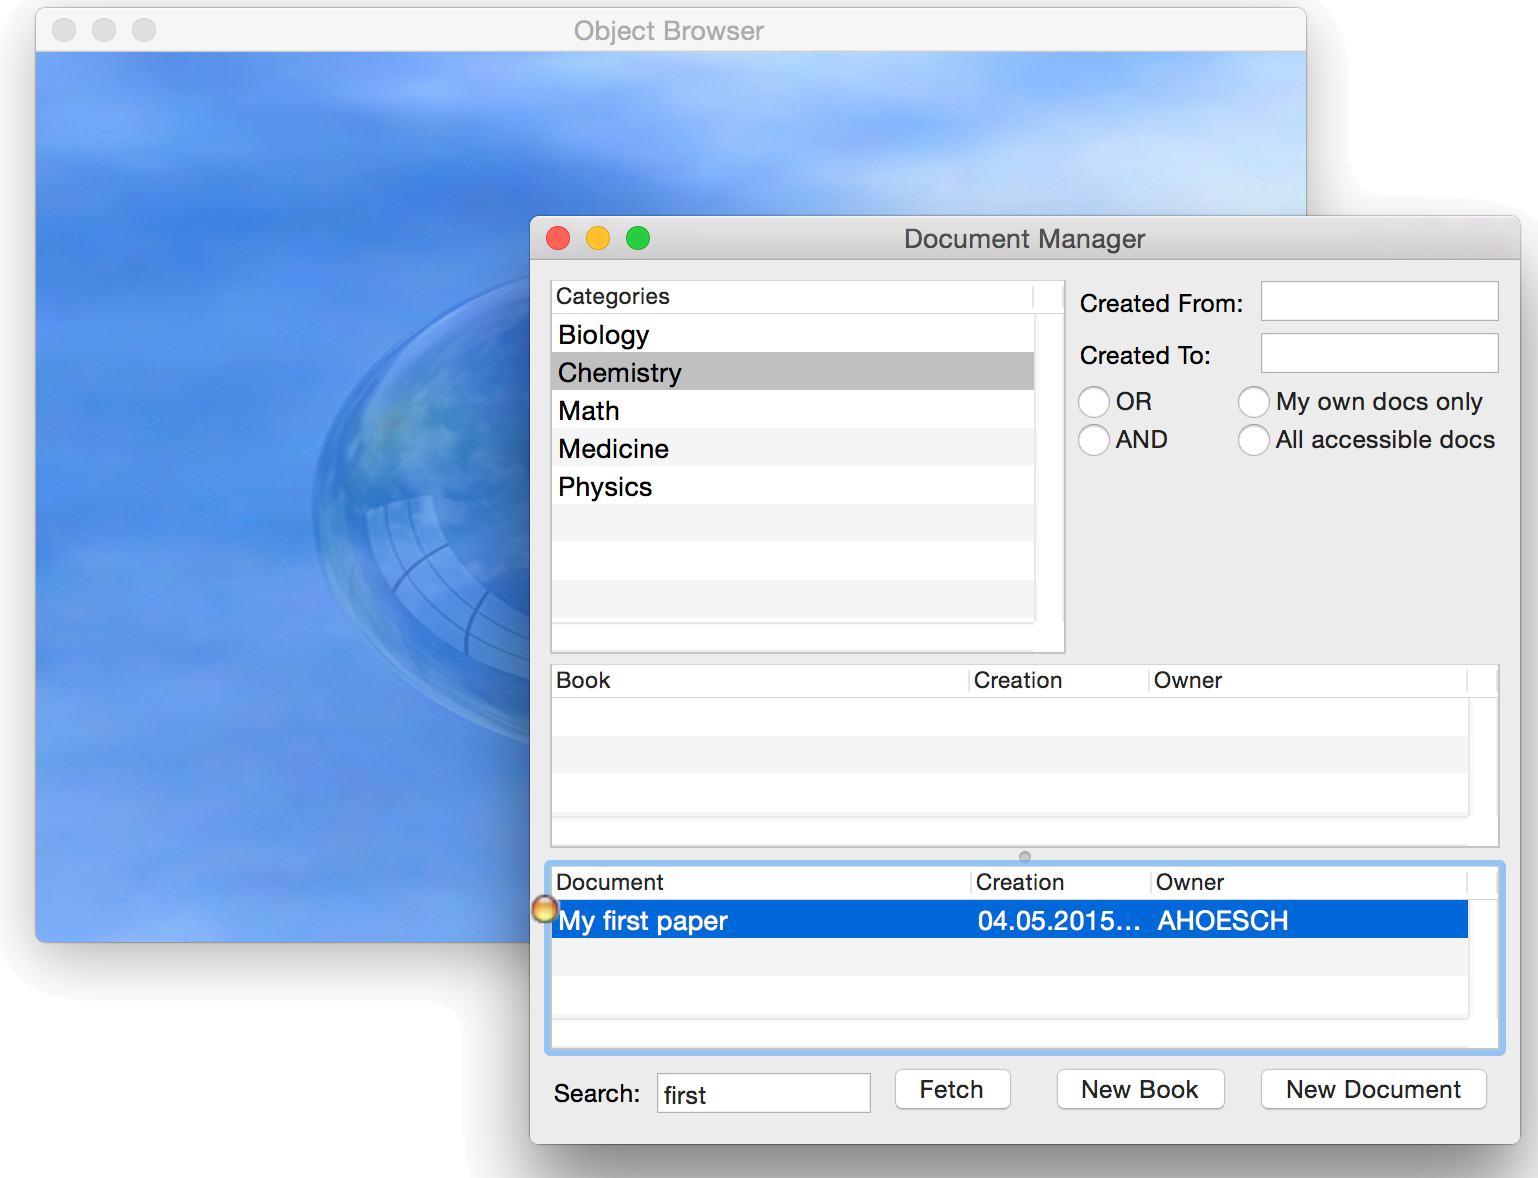
Documents and books aren't autofetched when the document manager is opened. This makes sense since you might have hundreds of documents in the database (especially if sharing the database with colleagues in a multi user setup) and you are currently interested in a small subset or even a specific one only. The document we have created above has "first" in its title. Type "first" in the search field and press Enter. There it is again.
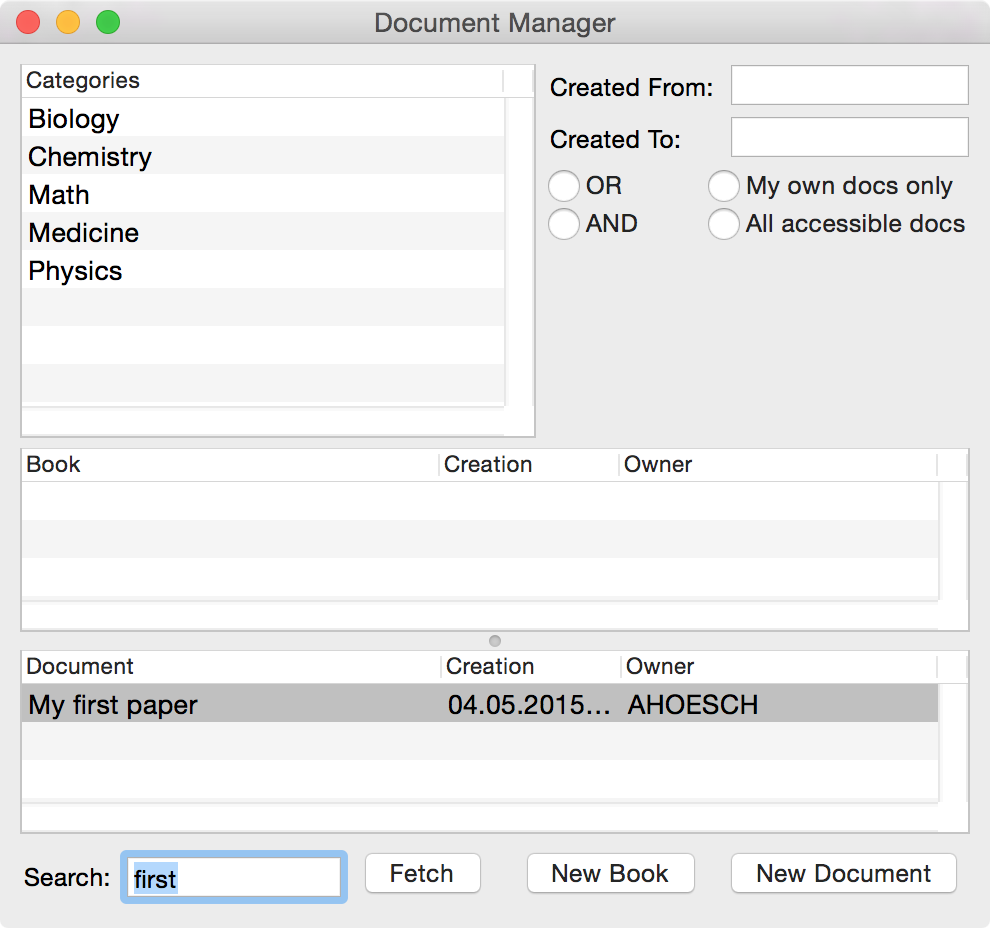 |
Should you ever want to fetch all documents you have access to simply click into the search field, leave it blank and press <Return> (make sure no category is selected, you can deselect with Command-Click). Doubleclick on the document listed in the tableview to reopen it, do some modifications, hit save and close it again. Suppose you expect to work fairly often with this document. It then makes sense to put a bookmark for this document on the object browser window. You can do so by Ctrl-dragging the document from the tableview to the object browser window.
 |
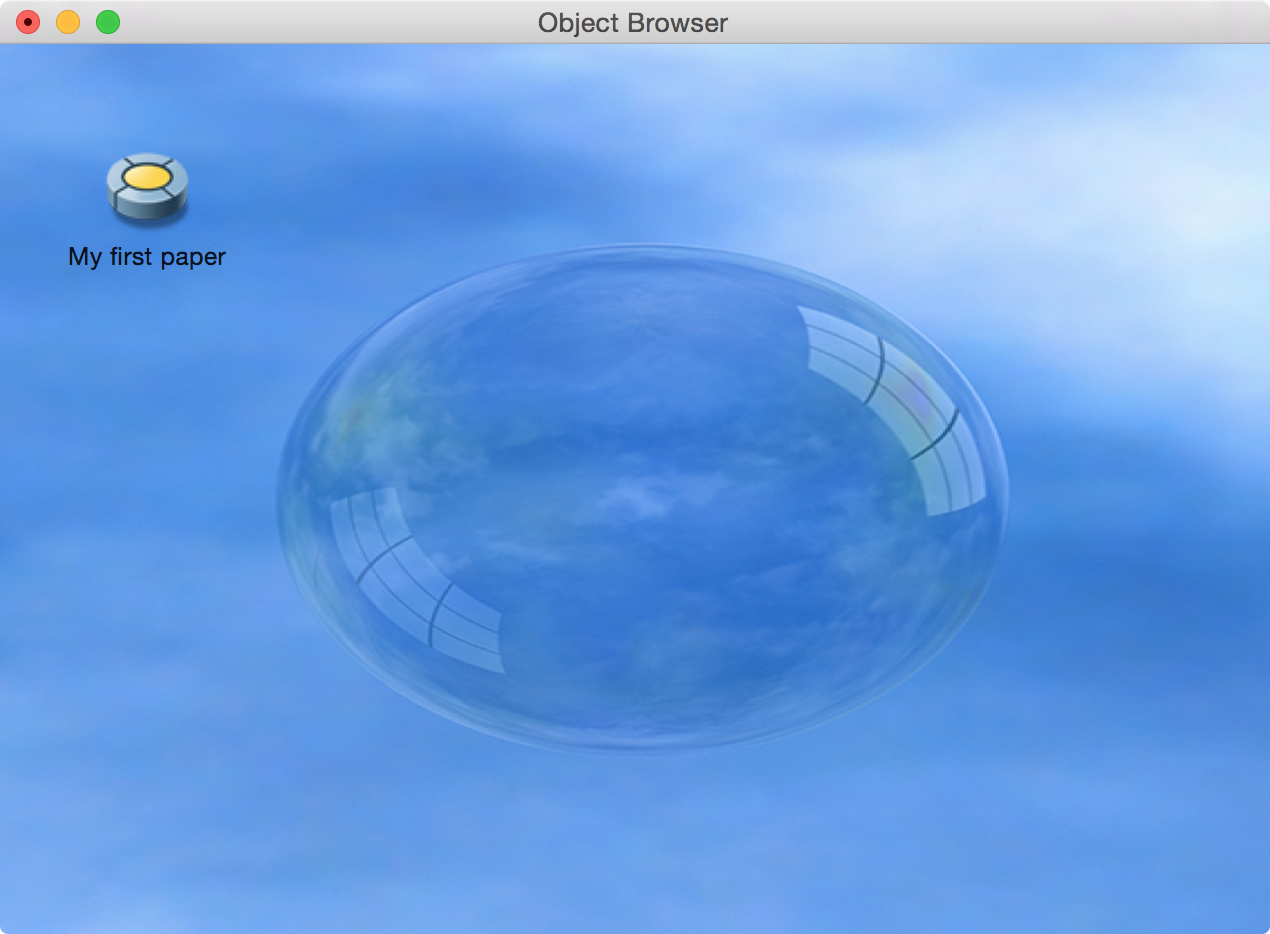
When you let go the yellow ball over the blue object browser window a so called enterprise object - actually an alias for an object in the database - is created. A doubleclick on the alias opens the viewer for the object referenced by the alias, in this case the document window. Bookmarking allows fast access to frequently used documents and books. A document or book can also be bookmarked by opening it and then pressing Command-Shift-B.
 |
Sections and Subsections
Publications usually have some inner structure of sections and subsections. You can create a section by choosing SDM - Create Section from the menu or simply hitting Command-Shift-S. A panel appears and asks for the title of the section. Type some title and hit Enter.
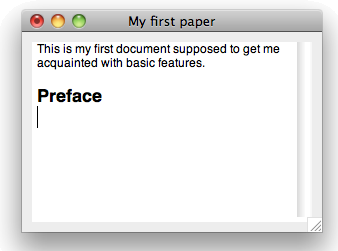 |
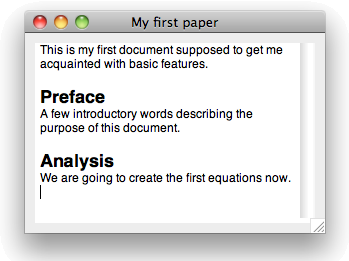
Note the black dot indicating unsaved changes. Don't forget to hit save from time to time. Now type a few words and hit Command-Shift-S again to create another section.
 |
Now hit Command-Shift-G to open the table of contents drawer. You can doubleclick on any entry in this drawer to get to the corresponding section quickly.
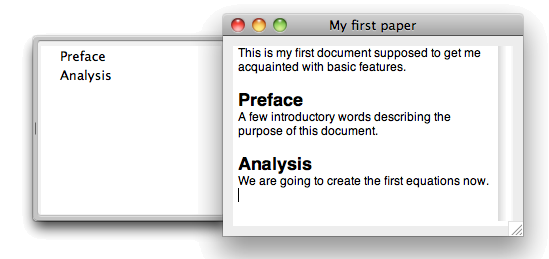 |
You can also drag up and down sections in the drawer to change their location within the document or to make them a subsection of some other section.
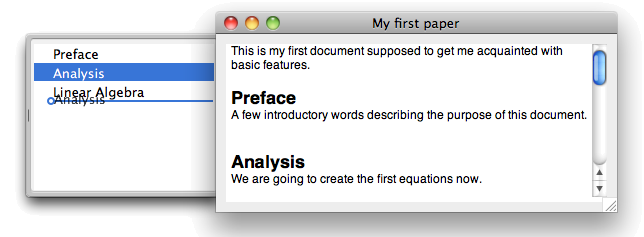 |
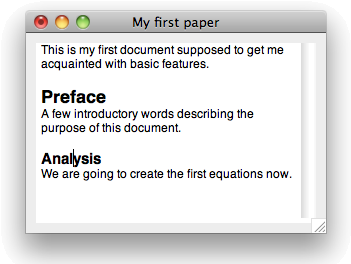 |
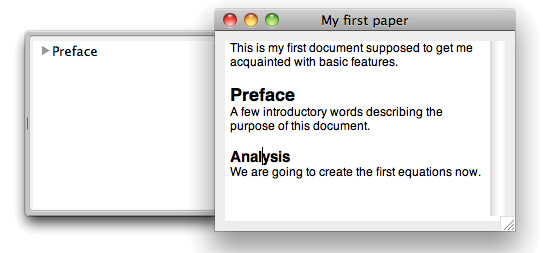
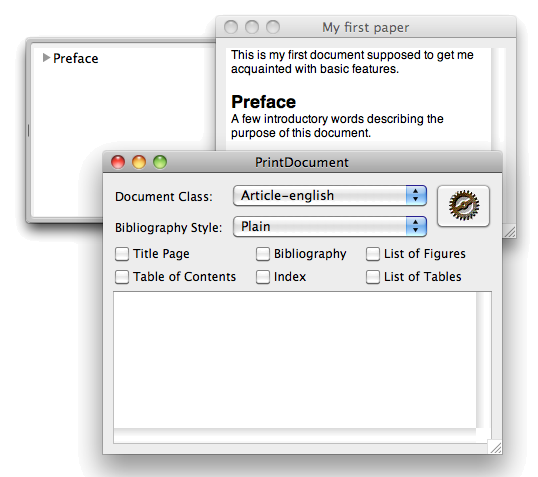
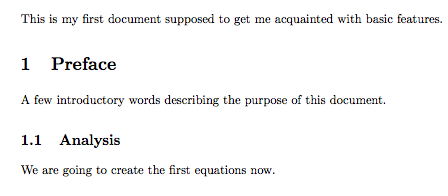
Note that Analysis appears in a smaller font now indicating it to be a subsection of Preface. Hit save and reopen the TOC drawer with Command-Shift-G. Note the small triangle to the left of Preface in the TOC drawer.
 |
 |
 |
Try out a few of the options on this panel. We will go into further detail with regard to LaTeX generation in a forthcoming tutorial. A detailed introduction into structuring documents, emphasing ranges of text, inserting figures, creating enumerations, etc. is given in Documents.
Inserting Equations
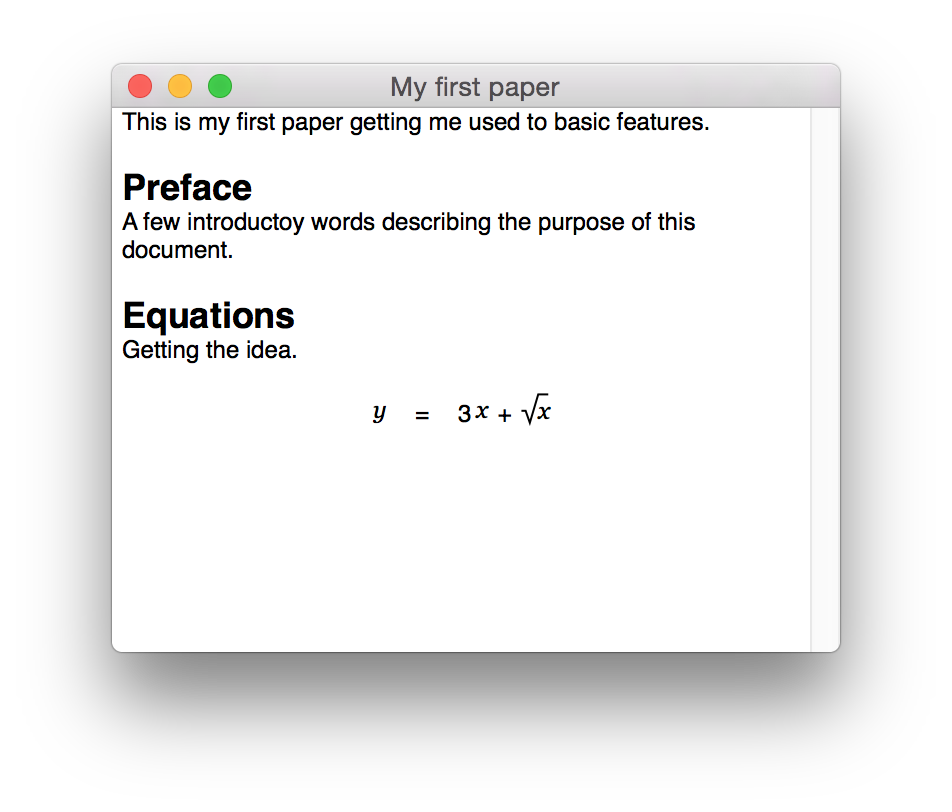
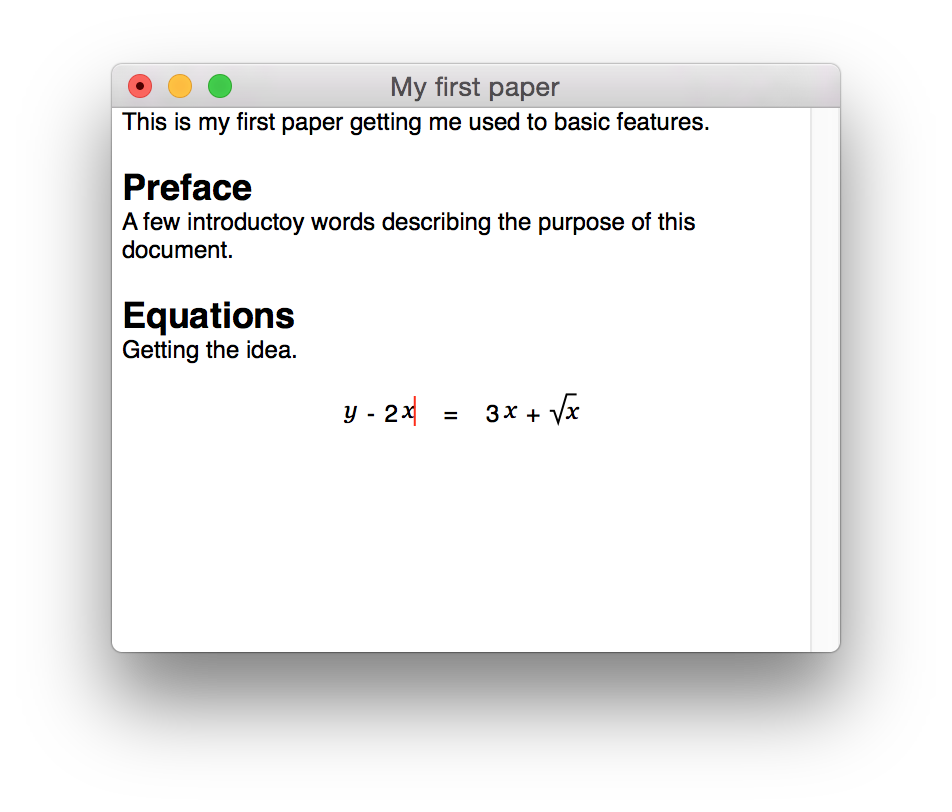
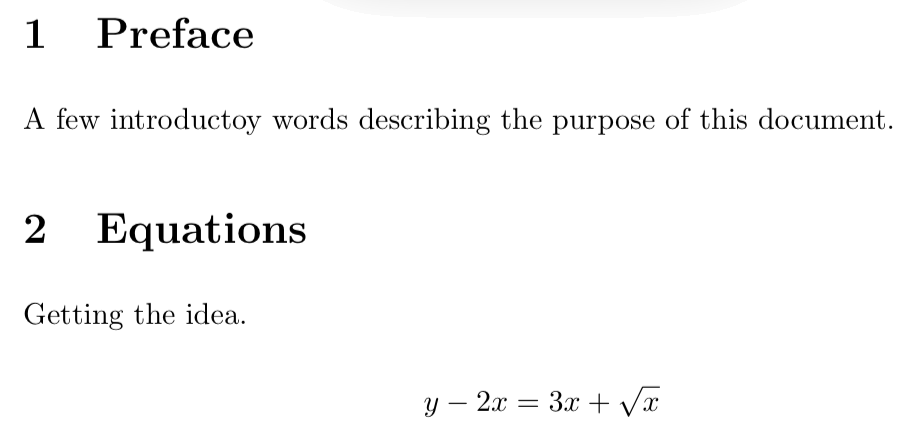
All symbols and parts are available via easy to remember key strokes or alternatively via a palette (choose Tools - Palette from the Cassiopeia menu) making the creation and modification of formulas as seamless as possible. Hit <Return> once or twice to place the cursor on an empty line. Then press Command-y to insert an equation and get into formula mode.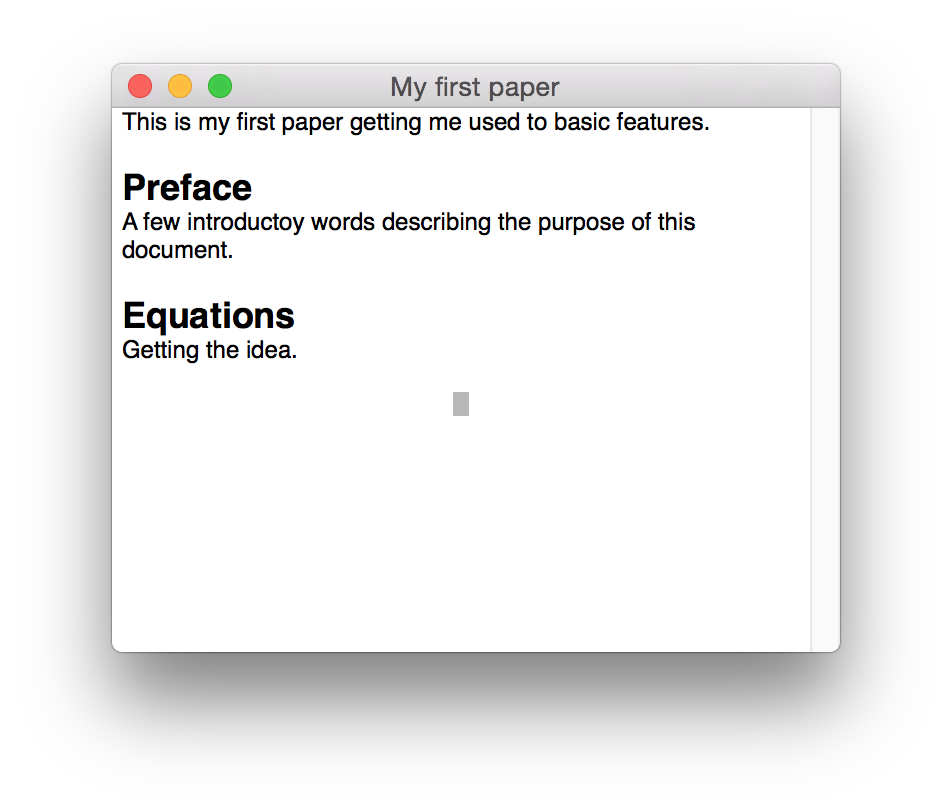 |
 |
 |
 |
A detailed introduction into the equation editor is given in Equation Editor.
This quick start tutorial could give a brief overview only. We recommend to read the following documents now:
If you encounter any problems feel free to contact our support team at support@advanced-science.com. Your questions are welcome and feedback is greatly appreciated!
News
| 23.04.2023 | Cassiopeia 2.9.0 released |
| 05.10.2022 | Cassiopeia 2.8.3 released |
| 29.09.2022 | Cassiopeia 2.8.0 released |
| 08.07.2022 | Cassiopeia 2.7.0 released |
| 14.04.2021 | Cassiopeia 2.6.5 released |
| 10.02.2021 | Cassiopeia 2.6.1 released |
| 26.06.2015 | Word Processor Comparison |
| 24.06.2015 | Updated Documentation |
| 23.06.2015 | Cassiopeia Yahoo Group |
| 18.06.2015 | Advanced Data Security |
| 11.05.2015 | Cassiopeia Overview |
| 08.05.2015 | Exporting to files |
| 14.05.2013 | LaTeX and HTML Generation |
| 08.05.2013 | Example Paper released |
| 26.04.2013 | Co-editing in a workgroup |
| 16.04.2013 | Equation Editor Quick Reference |
| 12.04.2013 | Equation Editor |
| 04.04.2013 | Links and Bibliography |
| 01.04.2013 | Books |
| 30.03.2013 | Documents |
| 28.03.2013 | Simulations |
| 16.03.2013 | 2D Graphs |
| 10.03.2013 | Symbolic Algebra |
| 08.03.2013 | Getting Started |
| 07.03.2013 | Installation and Setup |
White Papers
| 13.10.2015 | 01 Writing documents |
| 15.10.2015 | 02 Using the equation editor |
Youtube
| 08.07.2022 | Installation & Getting Started |
| 14.04.2021 | Animating Wave Functions |
| 26.01.2016 | Keystroke Navigation |
| 22.10.2015 | Equation Editor Demo |
| 19.06.2015 | Equation Editor Tutorial |
| 10.06.2015 | Sections and Equations |
| 09.06.2015 | Getting Started |
| 09.06.2015 | Damped Oscillations |
| 29.05.2015 | Solving equations |
| 13.05.2015 | Privileges and Links |
| 19.06.2013 | Magnetic Field |
| 14.06.2013 | Creating Documents |
| 10.06.2013 | Vector Algebra |
| 30.05.2013 | Differential Simulations |
Contact
Smartsoft GmbH Advanced Science Subdiv.Support: support@advanced-science.com

