
Documents
We gave a brief overview of creating and managing documents, creating sections and inserting equations in Getting Started. This document is supposed to explain all features of the document window and its drawers in great detail:- sections and subsections
- table of contents
- abstract
- clone
- context
- emphases
- enumerations
- images
- latex regions
 |
Sections
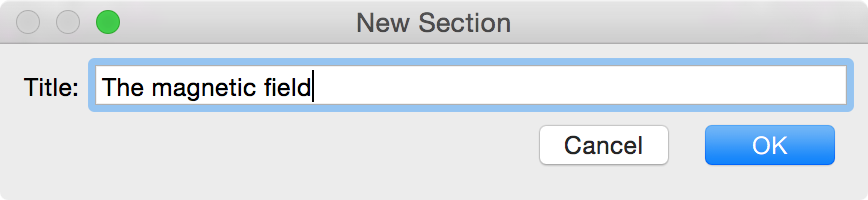
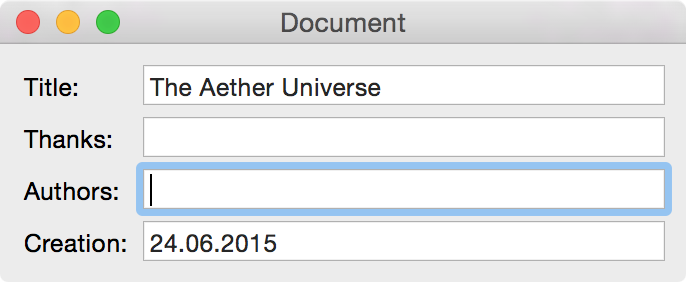
Publications usually have an inner structure of sections and subsections. You can create a section by choosing SDM - Create Section from the menu or simply hitting Command-Shift-S. A panel appears and asks for the title of the section.
 |
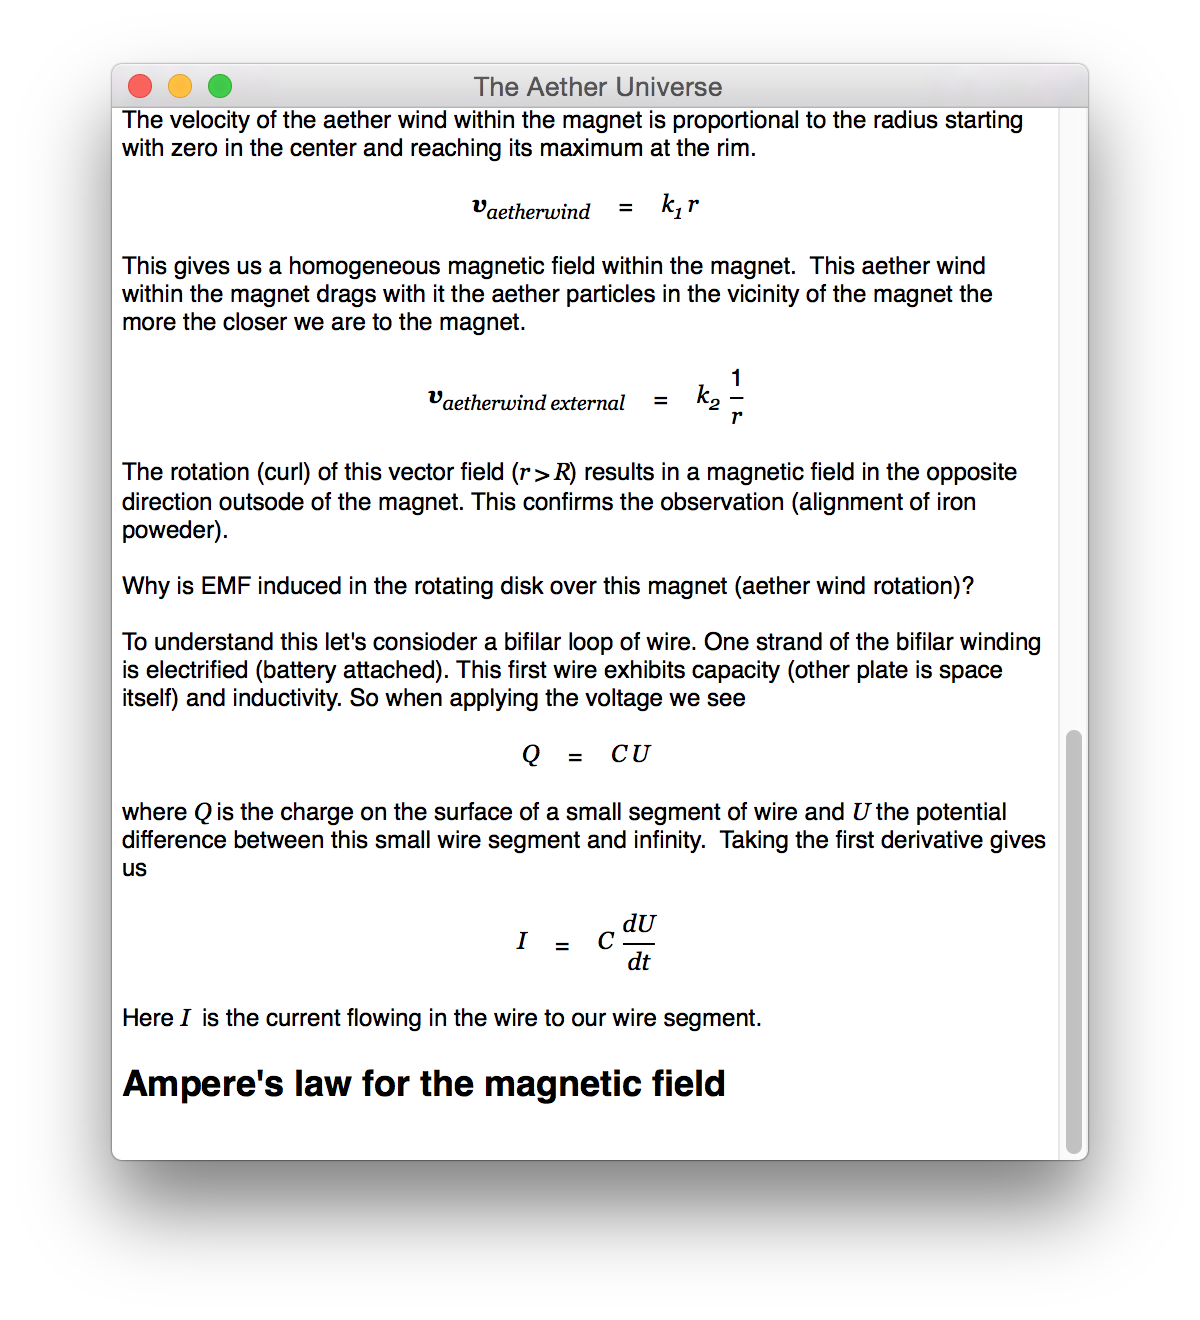
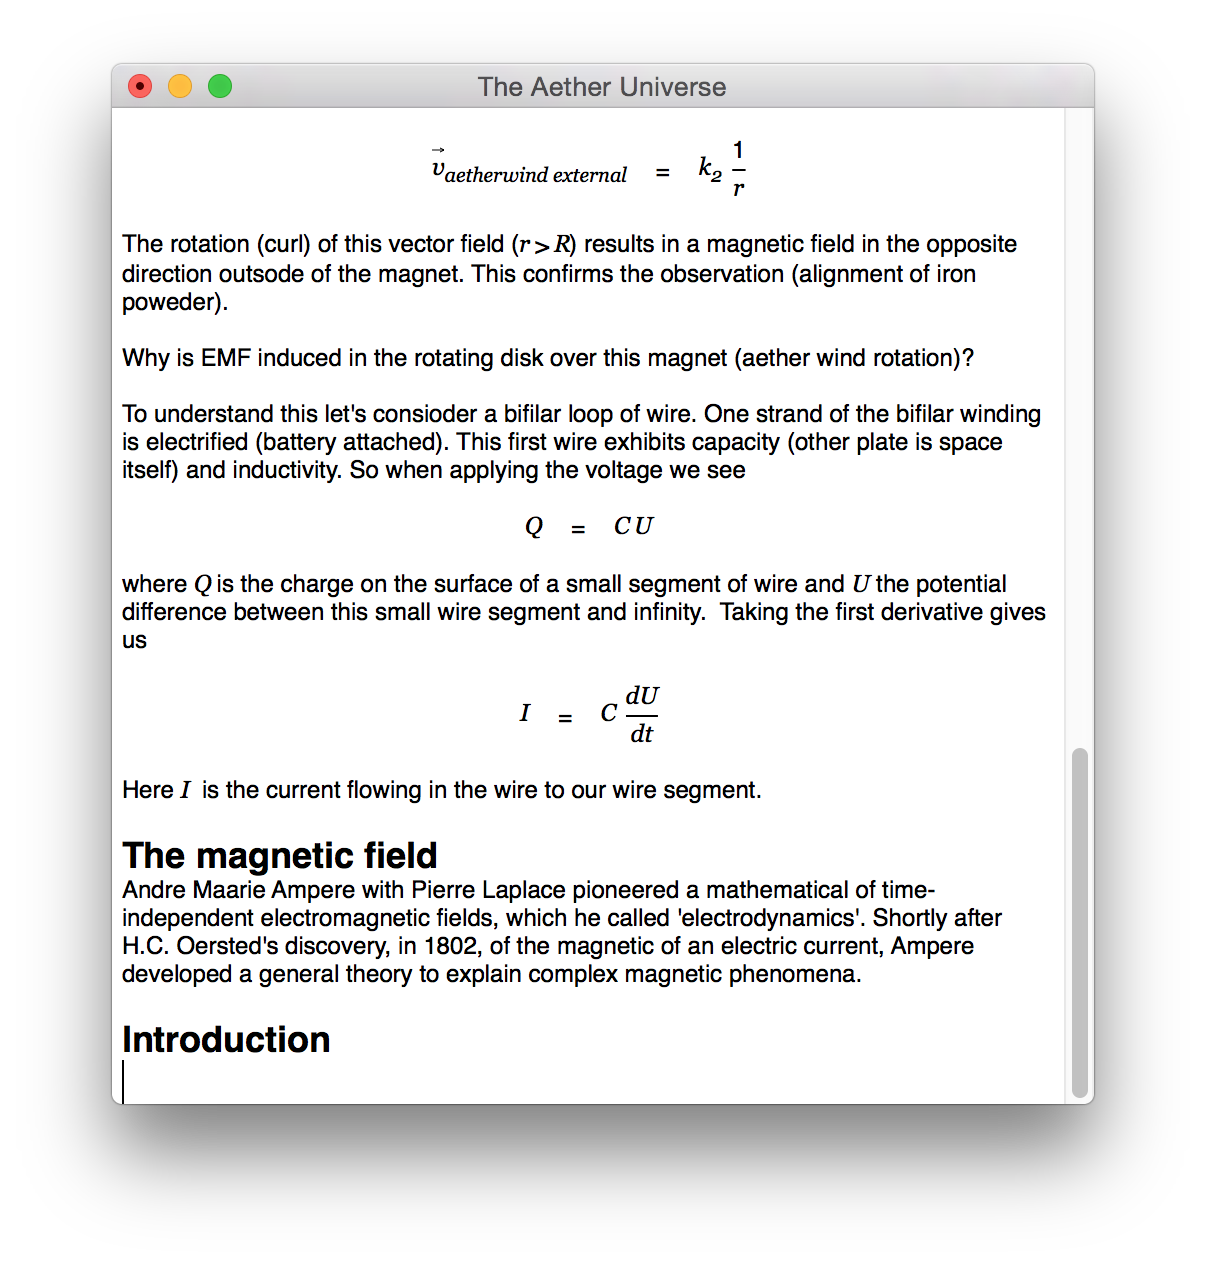
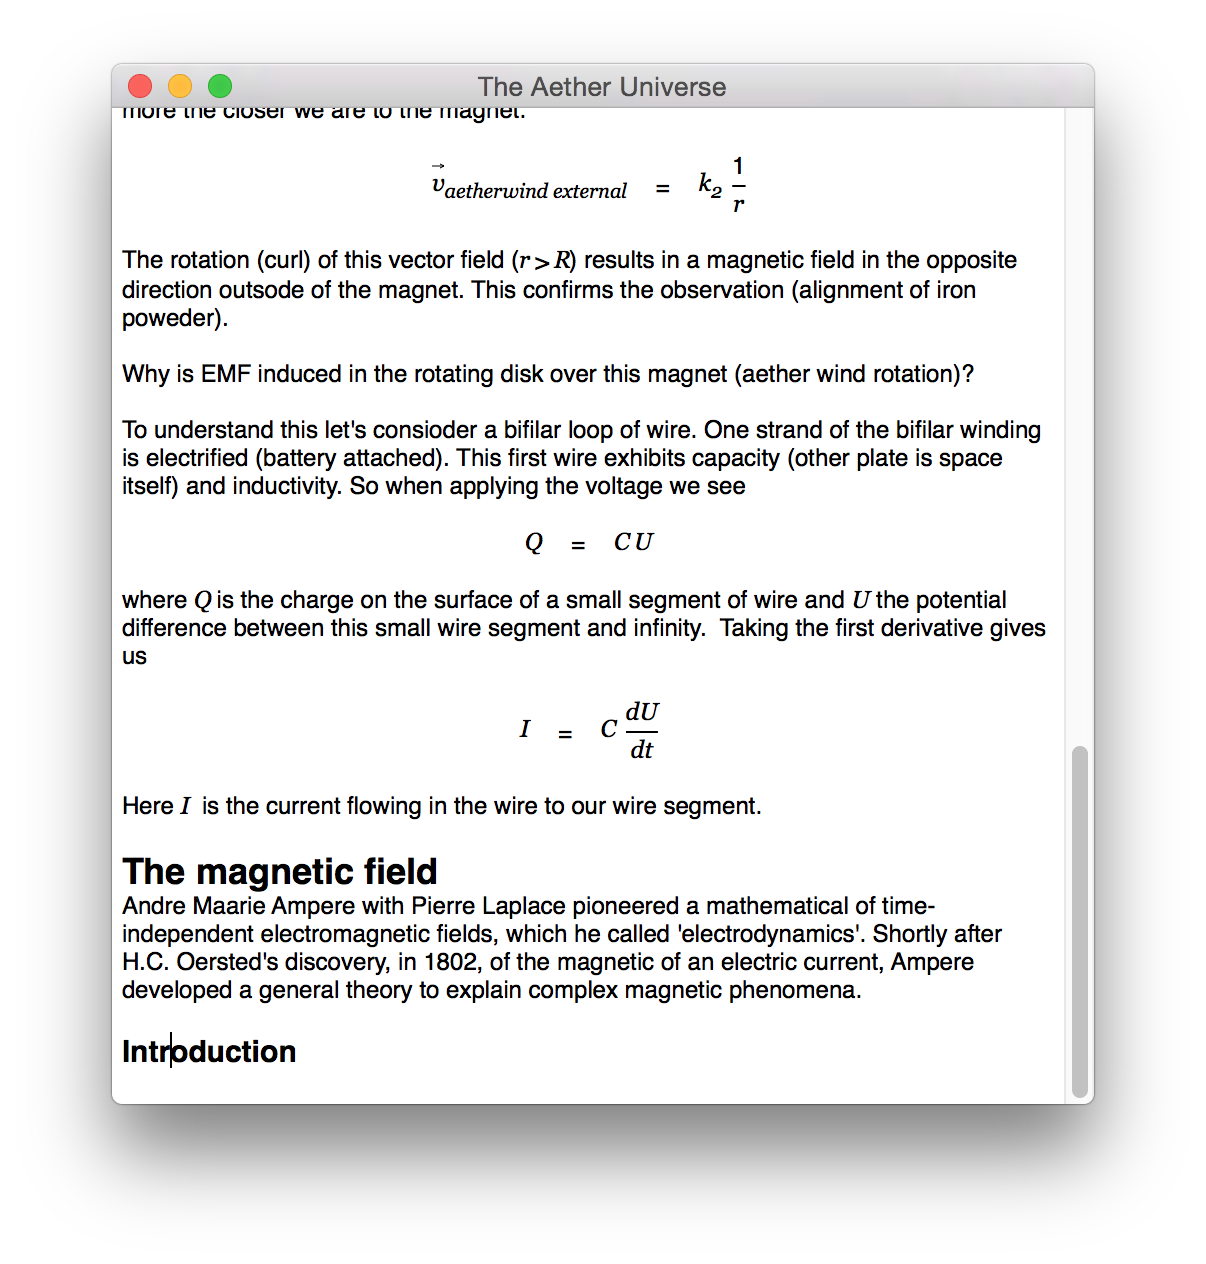
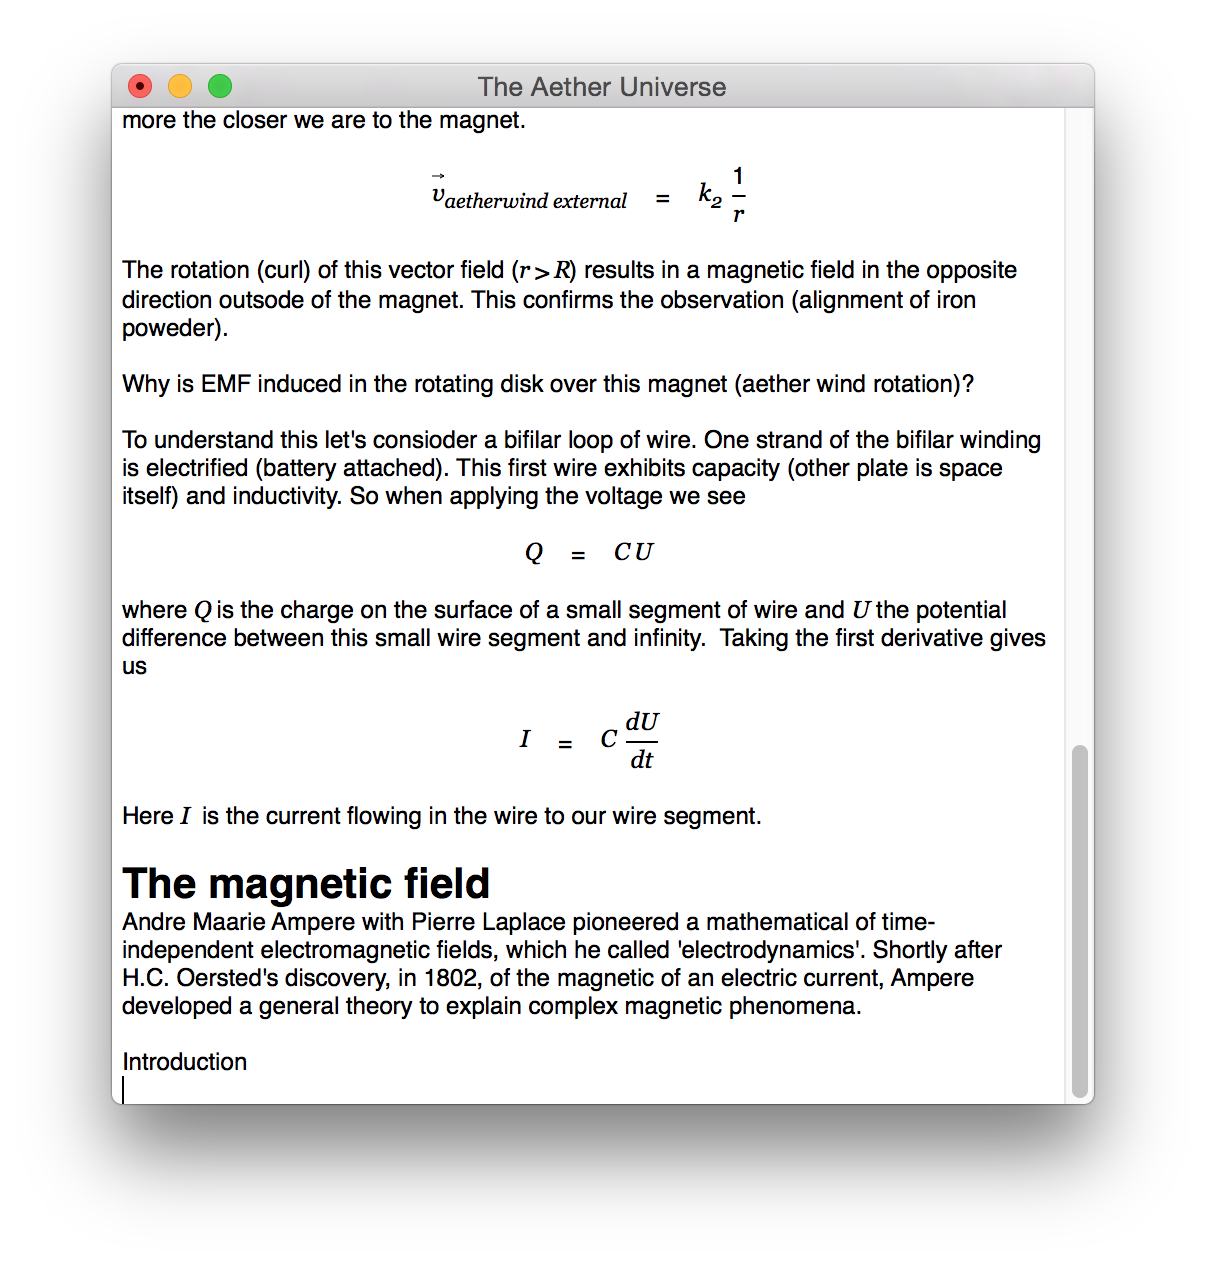
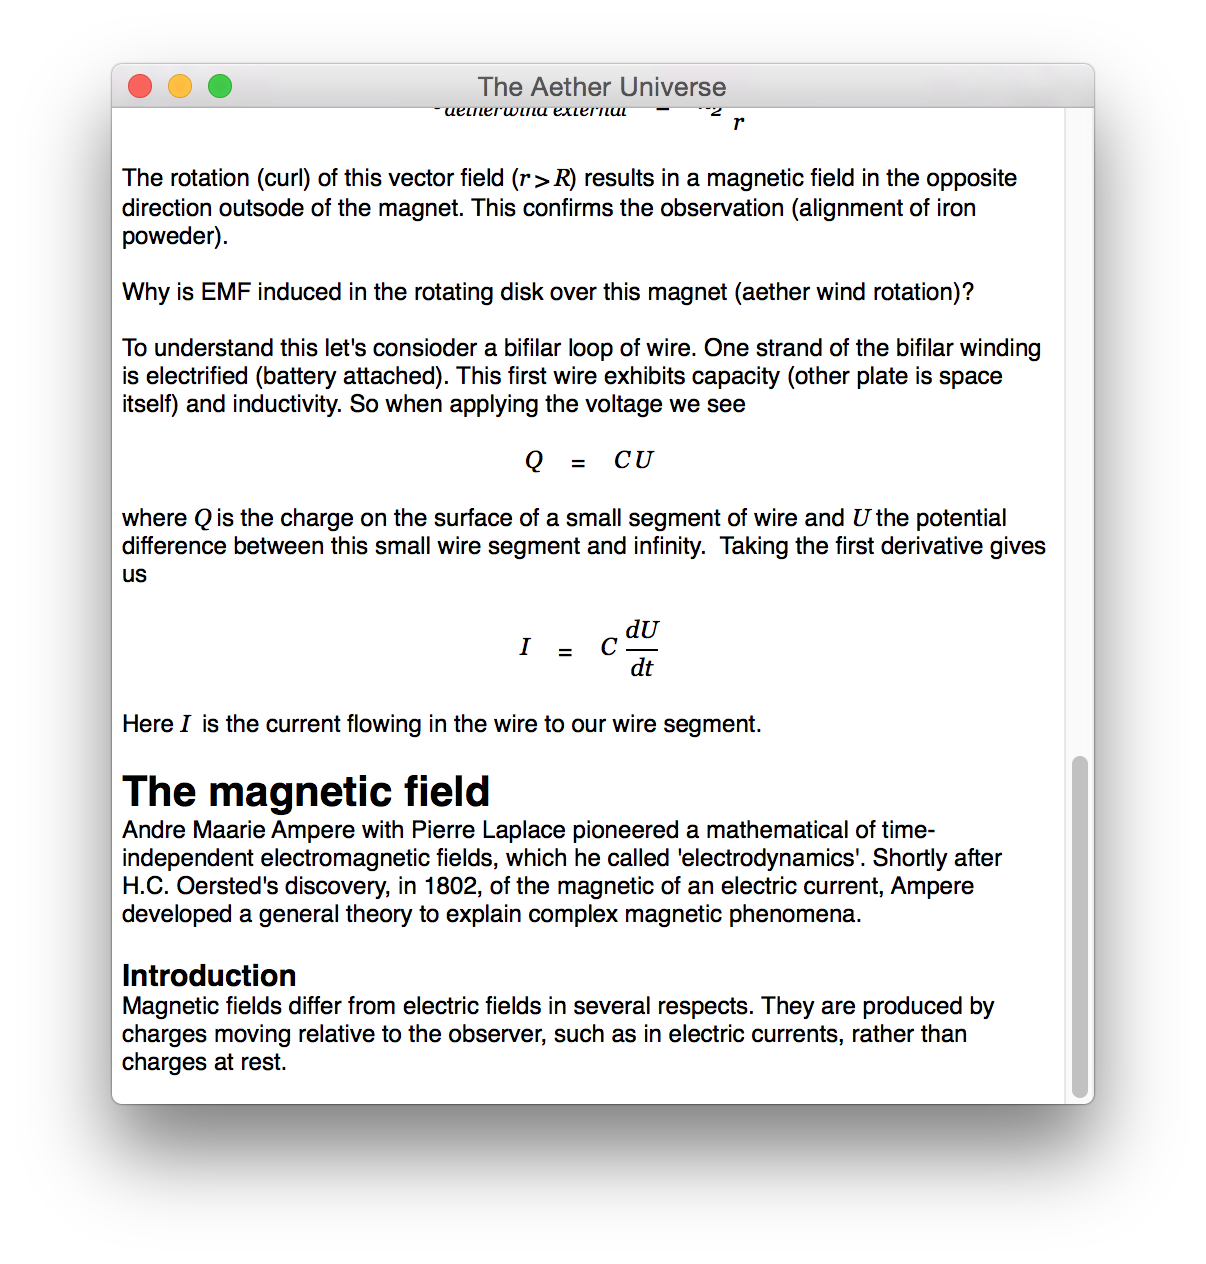
Enter a title and hit Enter. A corresponding section title is inserted into the document.
 |
 |
 |
 |
 |
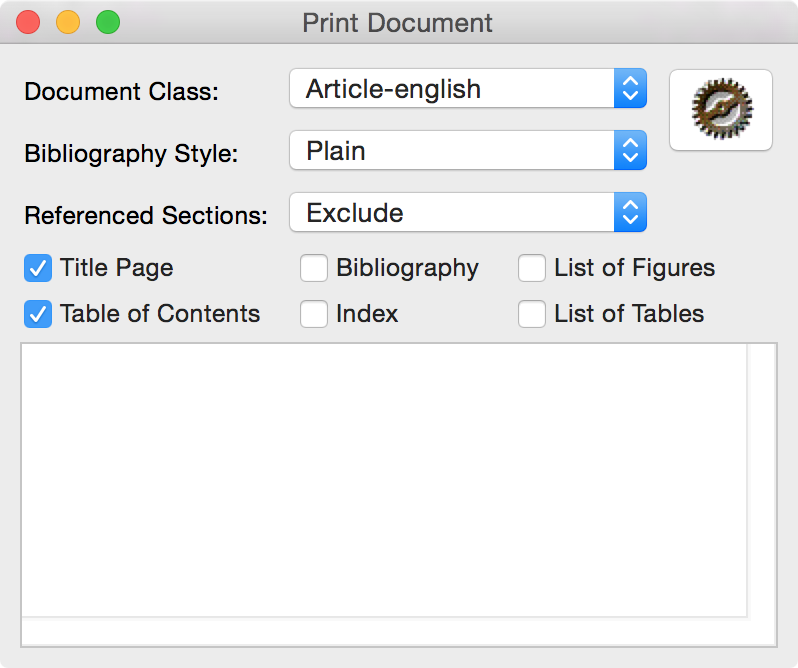 |
This may also raise the following inspector panel which allows you to set values for the LaTeX title page.
 |
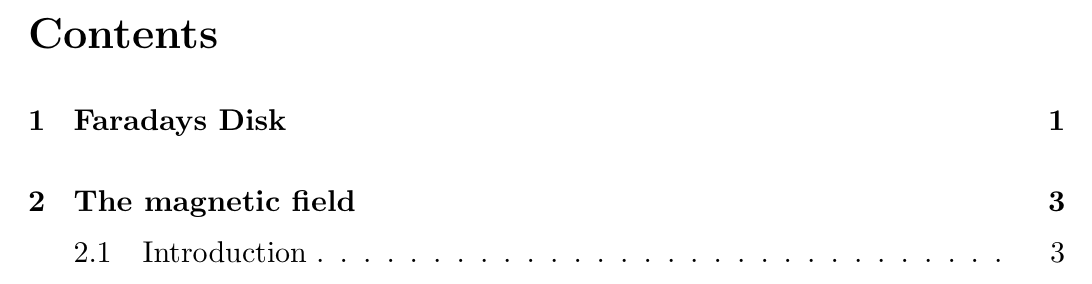
Get back to the print panel and click on the brown wheel in the top right corner to start LaTeX generation and compilation. The resulting PDF is opened automatically in your default viewer (most likely Preview.app). Scroll to the table of contents in the PDF and see how the inner structure of your document looks like on paper.
 |
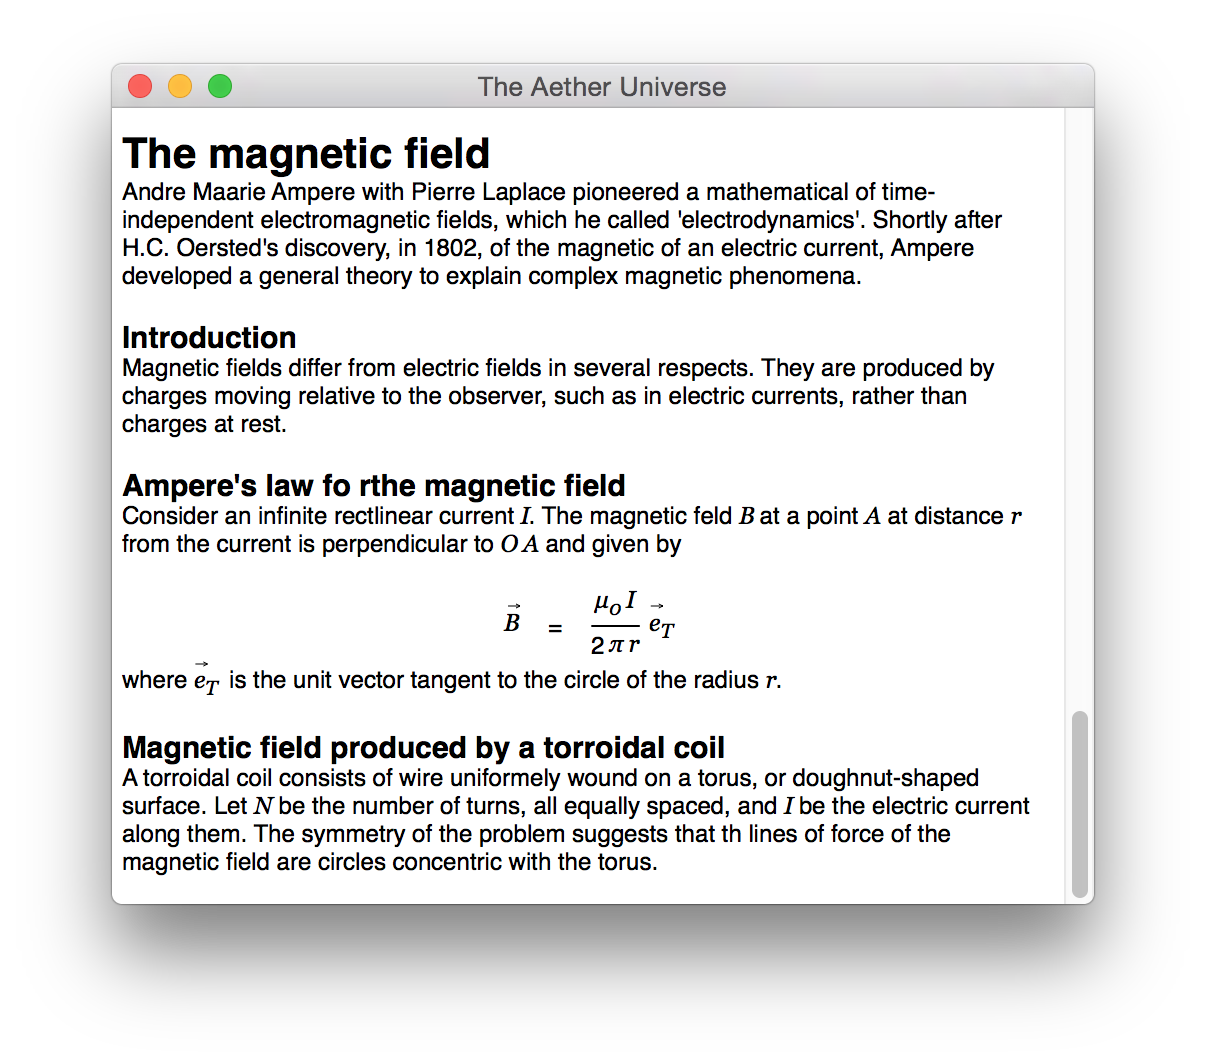
Get back to the document and add a few more sections.
 |
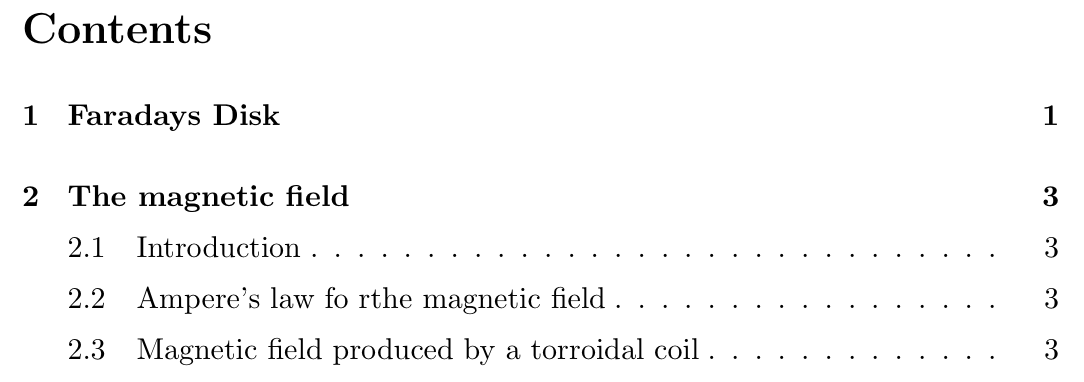 |
Table of Contents
Click anywhere into your document and choose SDM - Show TOC from the menu or press Command-Shift-G . The table of contents drawer is extended to the left.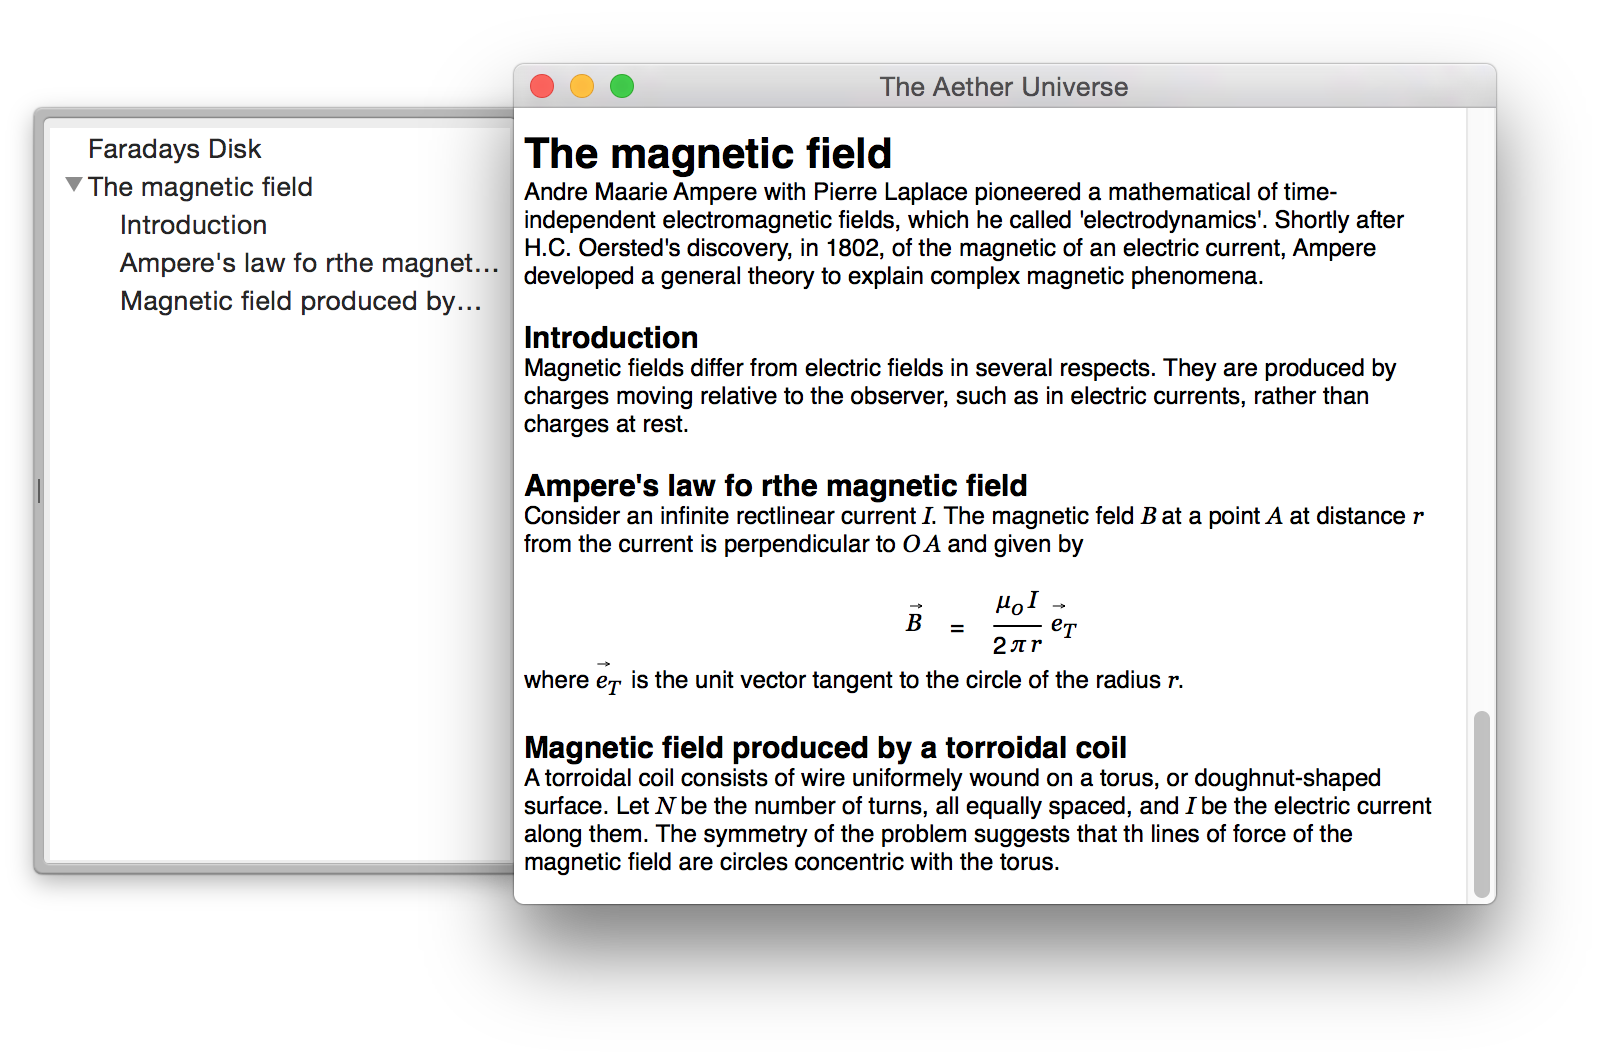 |
The sections of a document can be reordered by drag and drop in the table of contents drawer or made a subsection of another section. Press Command-Shift-G again to withdraw the TOC drawer if it is no longer needed.
Abstract
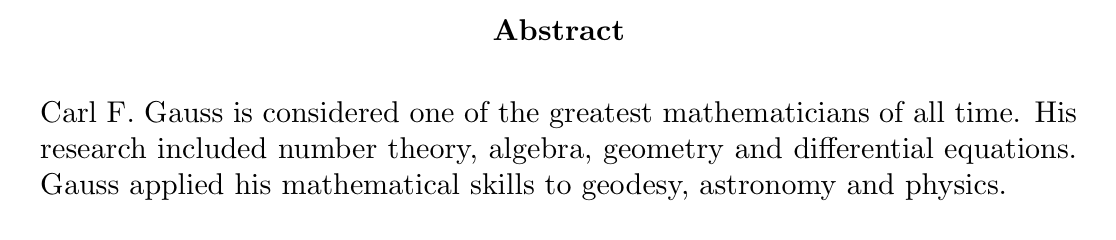
Each document can have an abstract. An abstract is just text potentially containing equations and emphases but no subsections. Click into your document and press Command-Shift-A to open the abstract drawer in order to edit the abstract.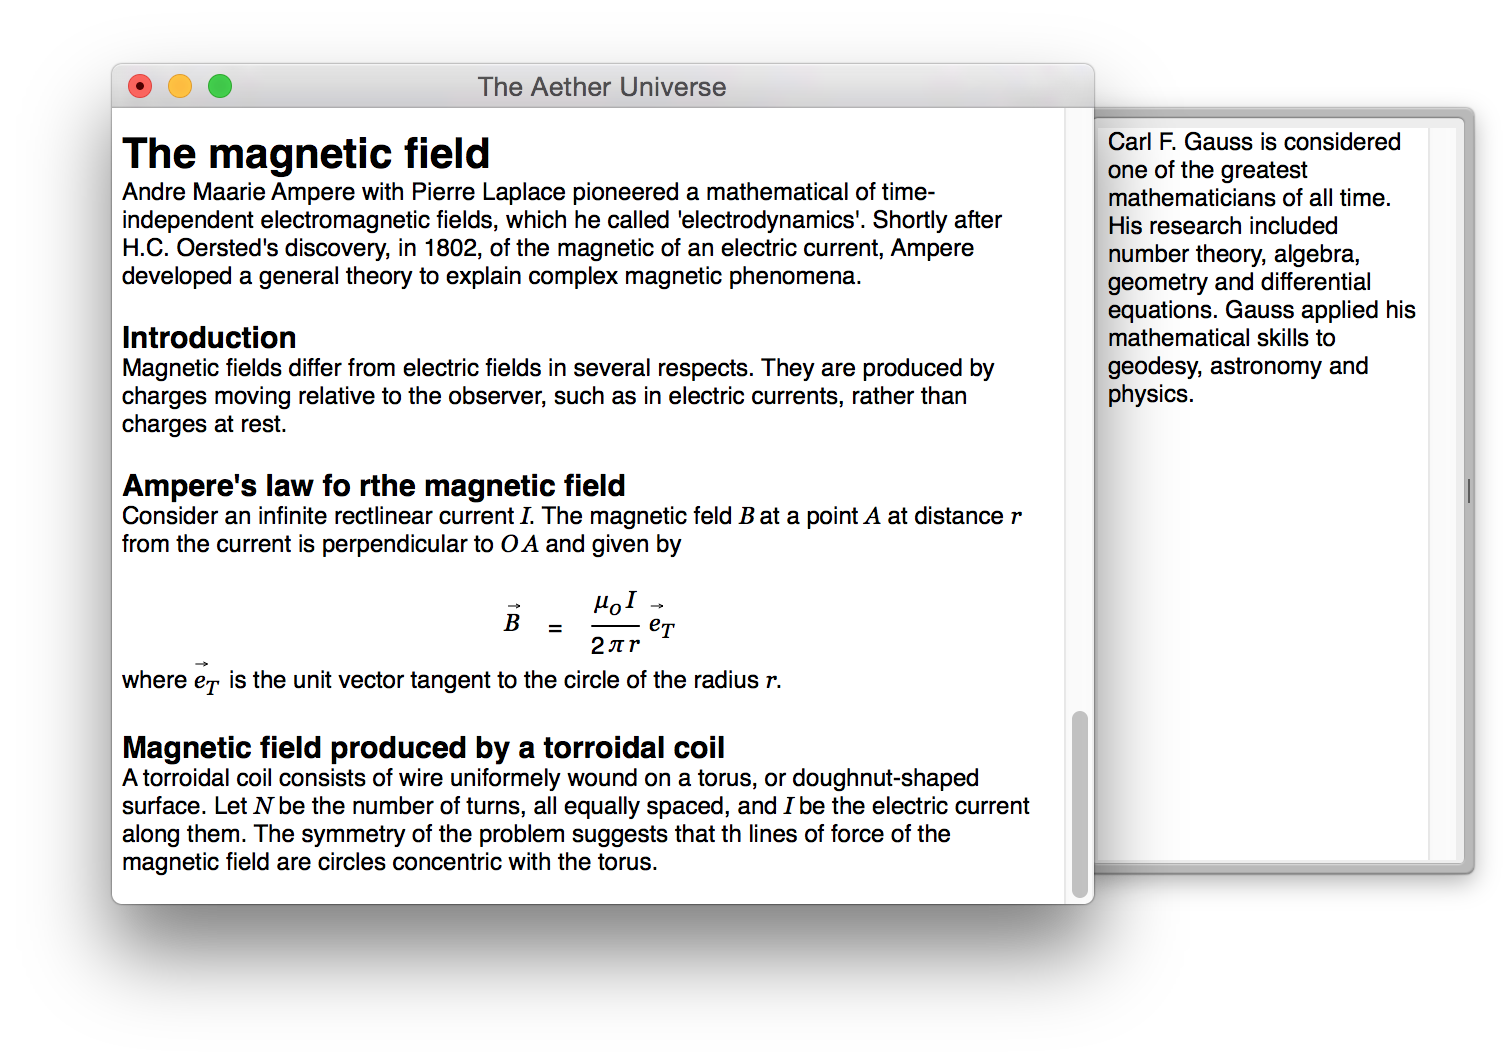 |
 |
Clone
Assume you are working on a section of a large document and while doing so need to view a part written earlier. You could scroll up to this part of the document using the scroll-wheel of your mouse. You could also make use of the table of contents drawer to quickly jump back and forth between the section you are currently working on and the other section you have written earlier. However, you could work more efficiently - less interruptive - if you saw the earlier section while writing the current one both at the same time. This is possible using the clone view. Choose Command-Shift-O to extend the clone drawer to the right of your document window and find therein a read only copy of your document.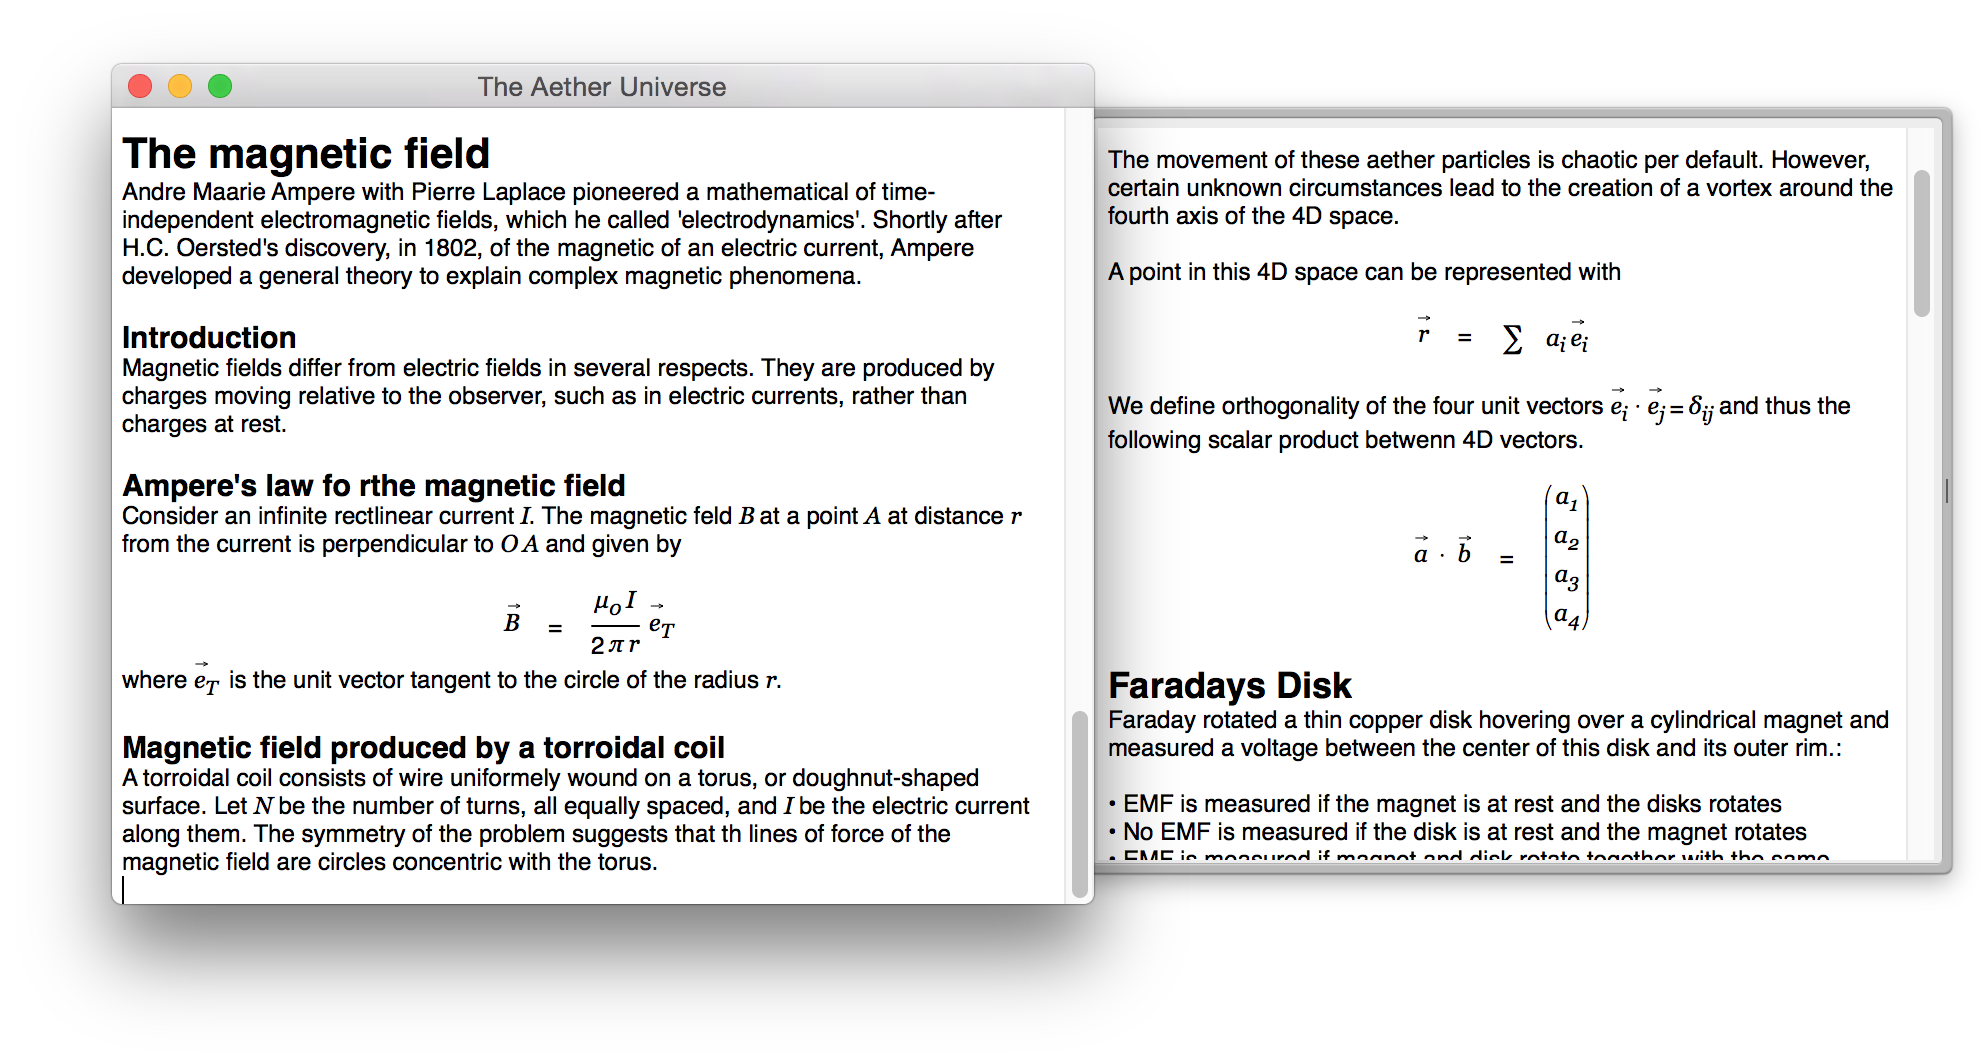 |
Context
Choose Command-Shift-C to open the context drawer of your document which lets you assign document categories and classes for mathematical identifiers.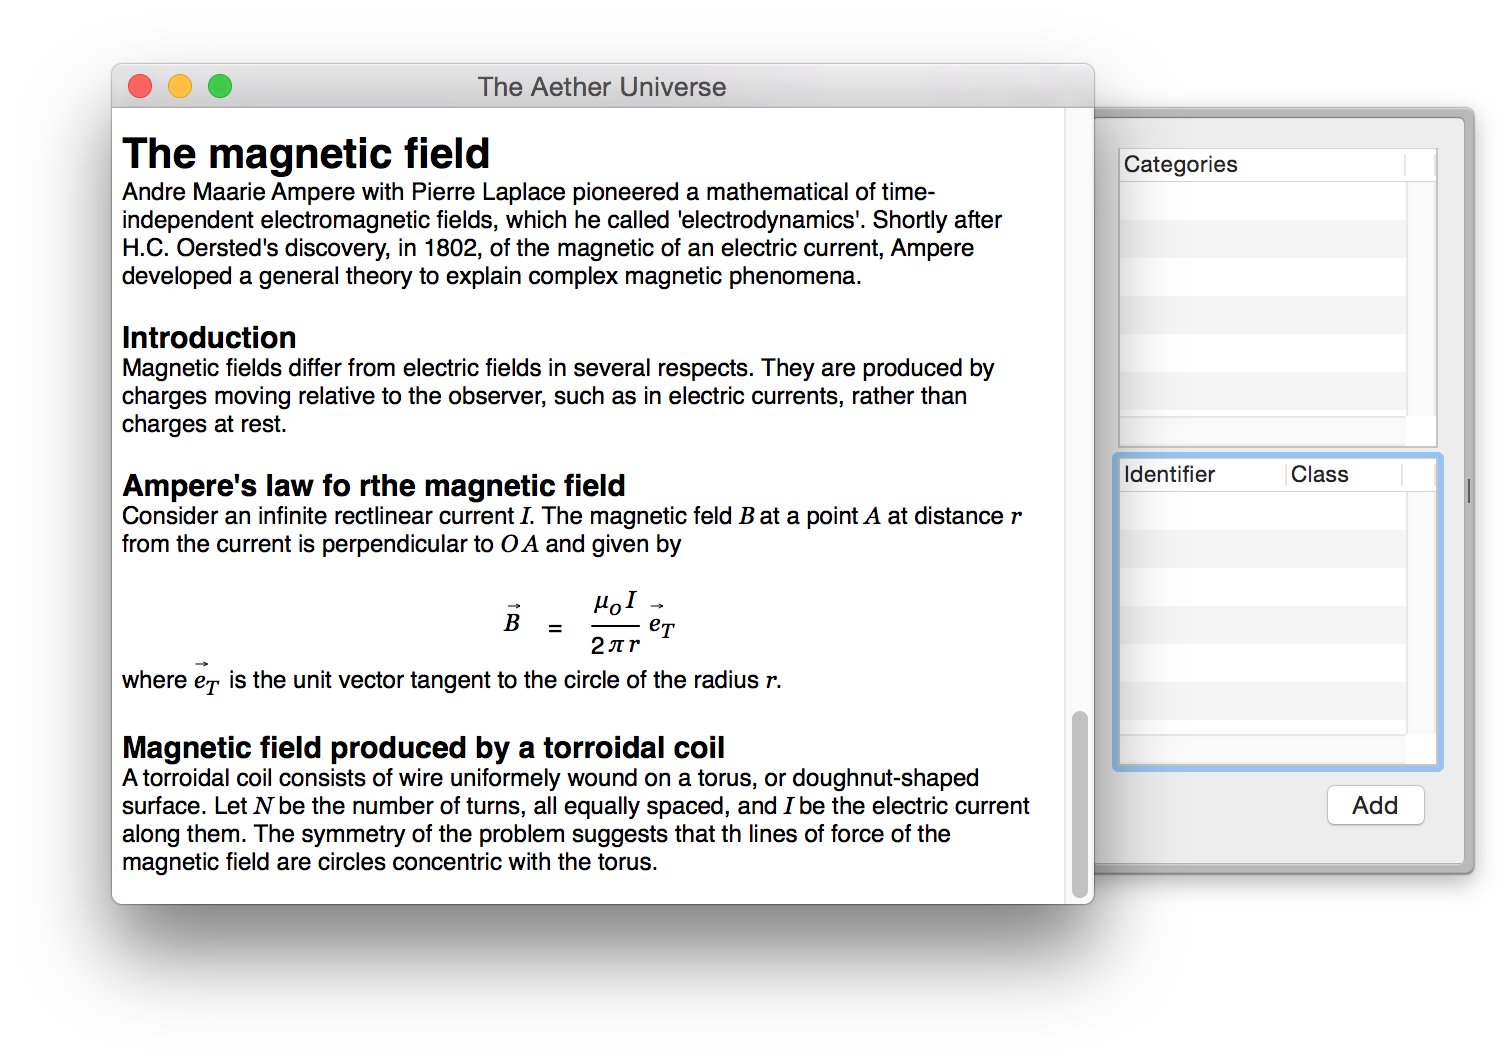 |
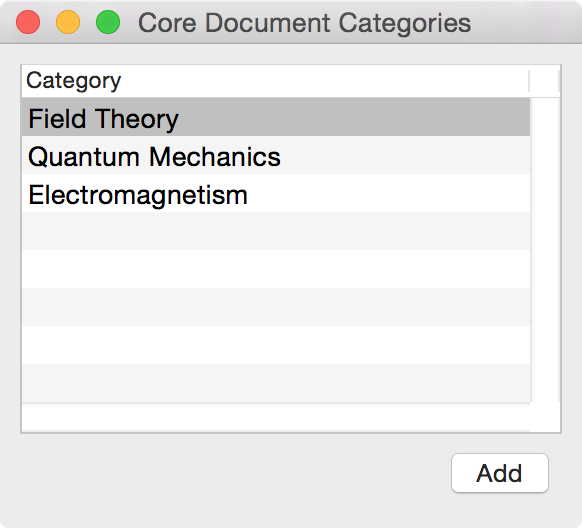 |
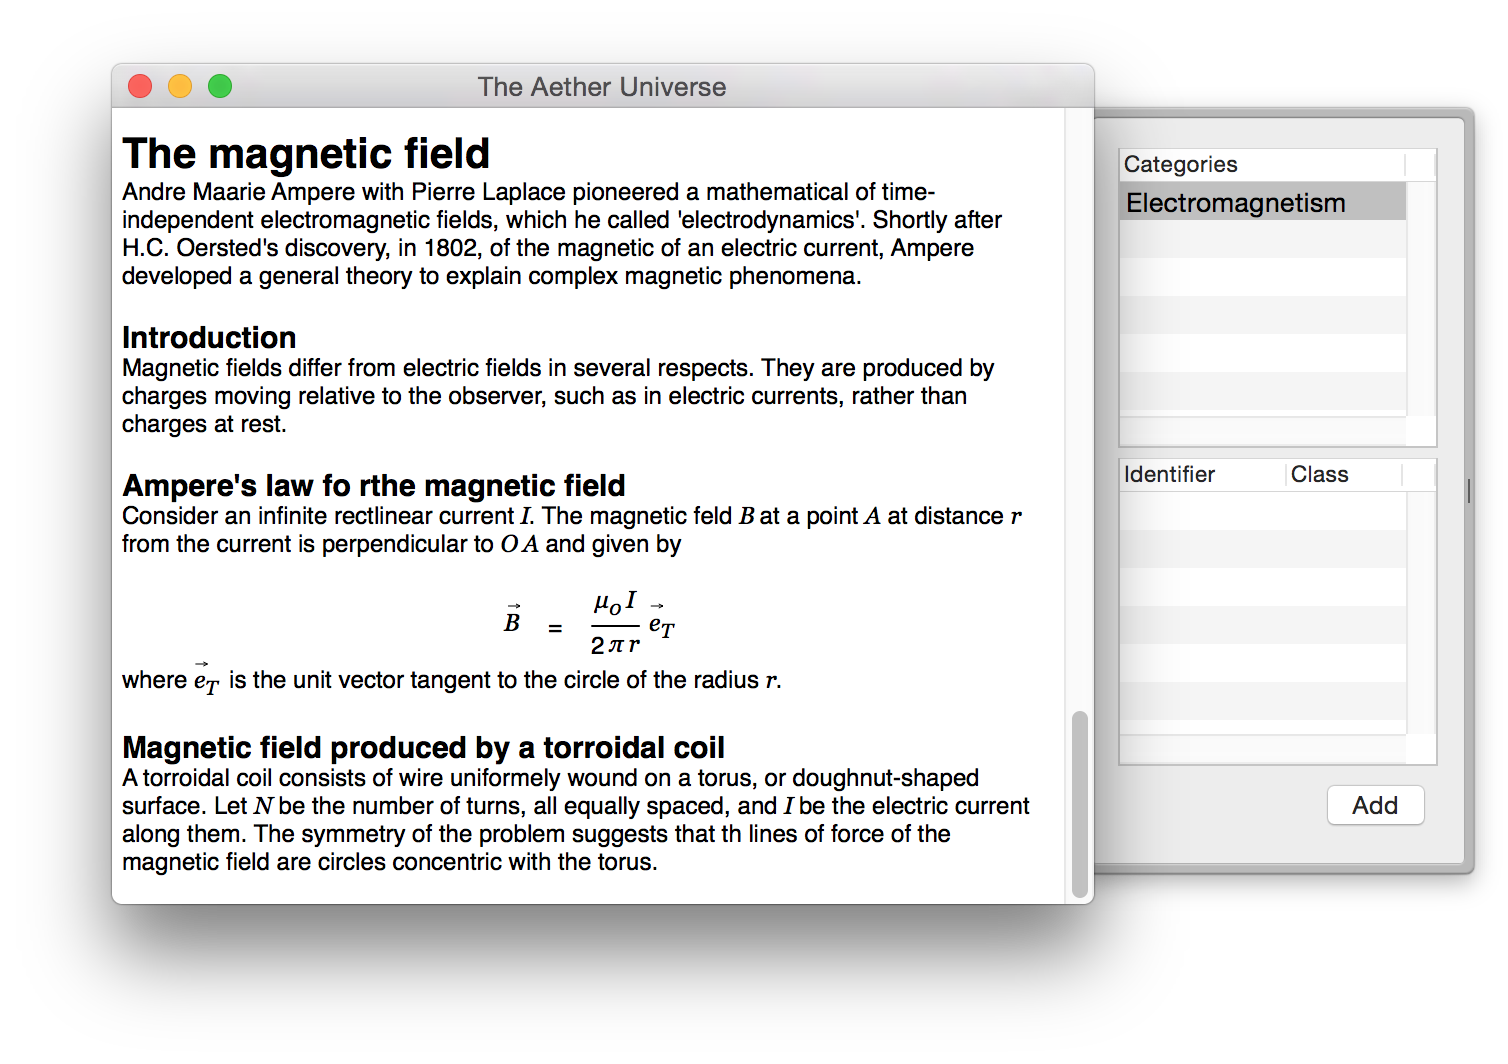
and Ctrl-drag the categories you want to assign to the upper tableview of the context drawer. Don't forget to click into your document after the drag operation to reactive your document window and then to hit save to save changes to the database.
 |
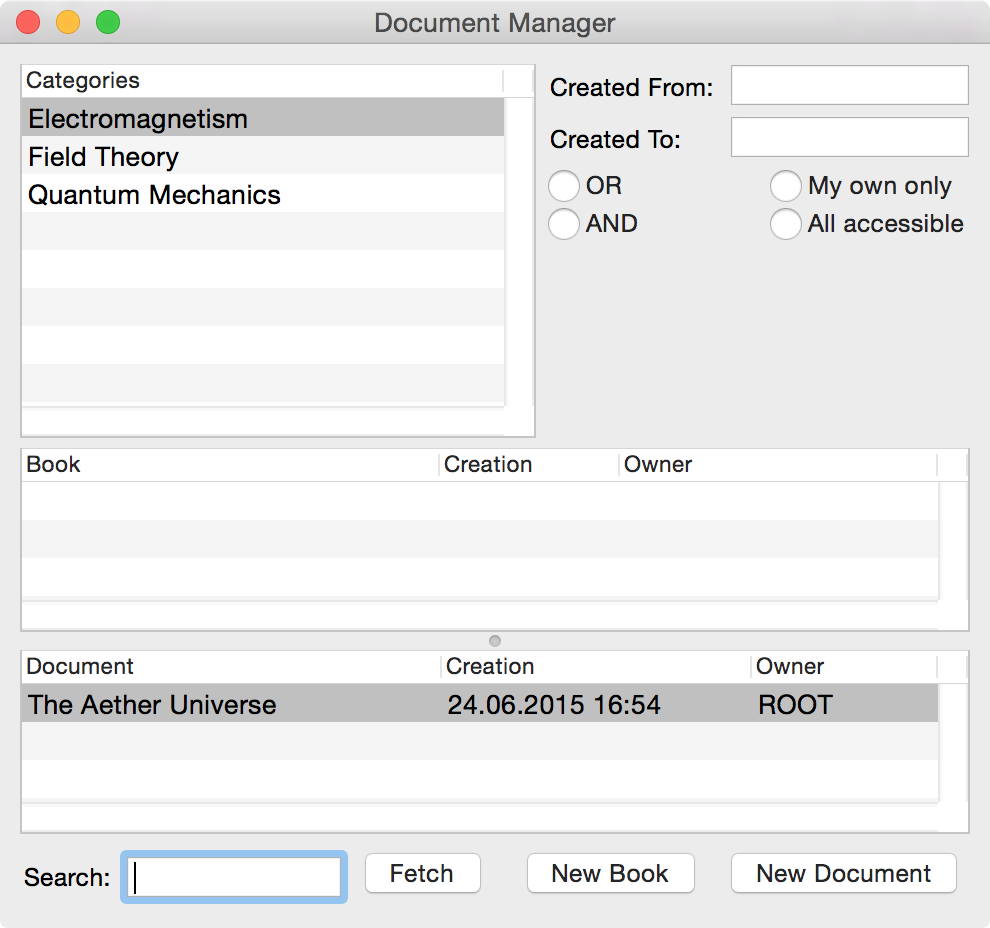 |
All suitable documents and books should appear. Doubleclick on an entry in the tableview to open the document or book. To remove the catgeory selection in order to fetch all documents again - independet of assigned categories - Command-click on a category in the tableview. This deselects it.
Emphases
You might want to emphasize a word or a small range of text in your document. The idea of LaTeX and especially of Cassiopeia is to concentrate on content. You do not want to wonder about which font to use or which font size to select. You just want to emphasize a range of text and let LaTeX decide what font and size to use when it comes to printing. To emphasize a word just doubleclick on it or select some range of text with the mouse and then press Command-Shift-E.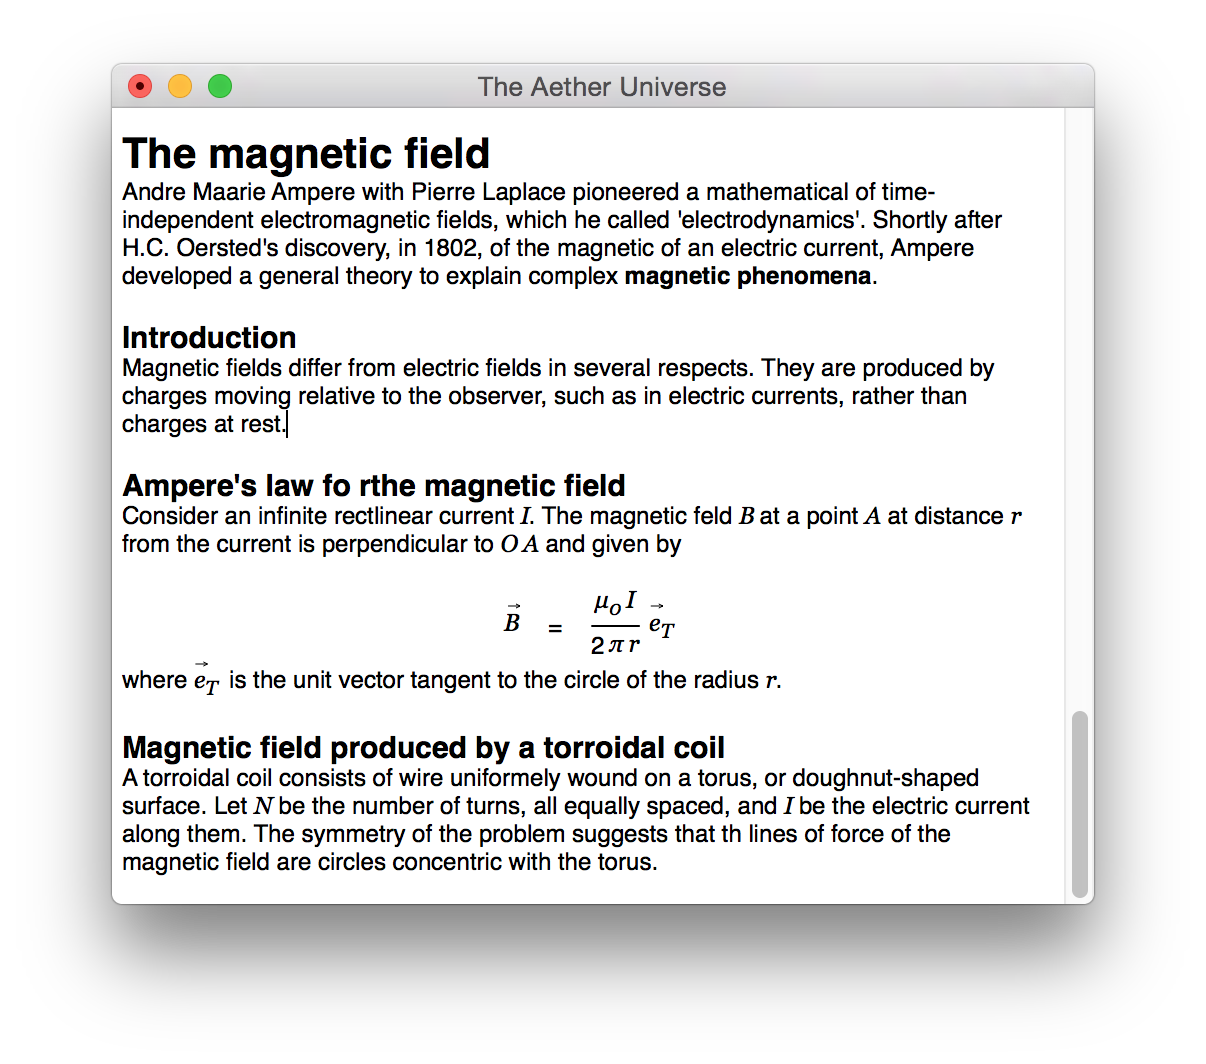 |
 |
If you want to remove the accentuation of text again click on the emphasized text and press Command-r.
Enumerations
You might want to have a list of items in your document. No special formatting functions are required to do so. Just write down the list and use the centered dot to mark the beginning of a list entry.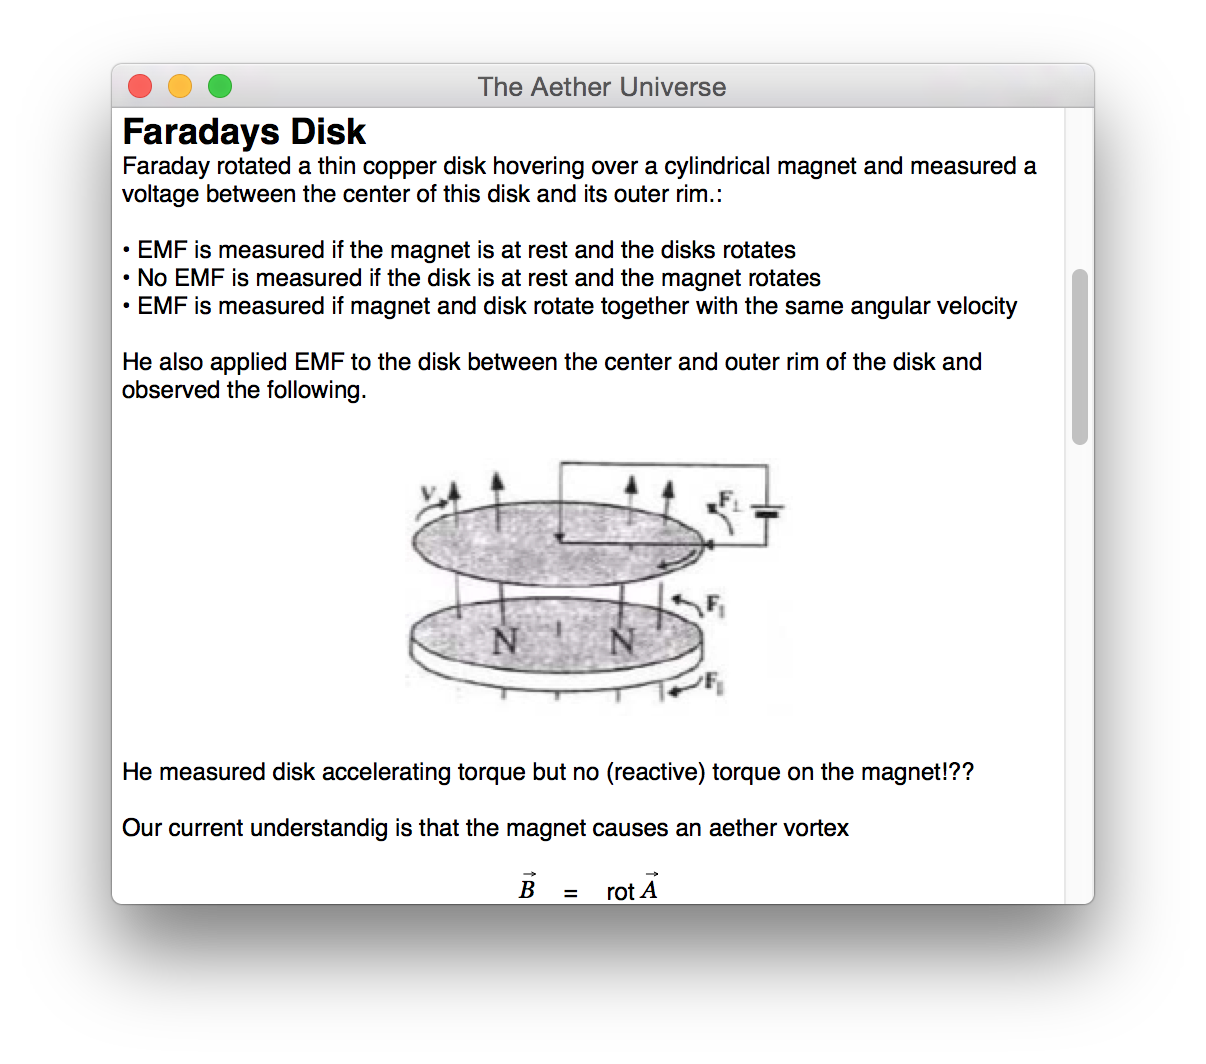 |
 |
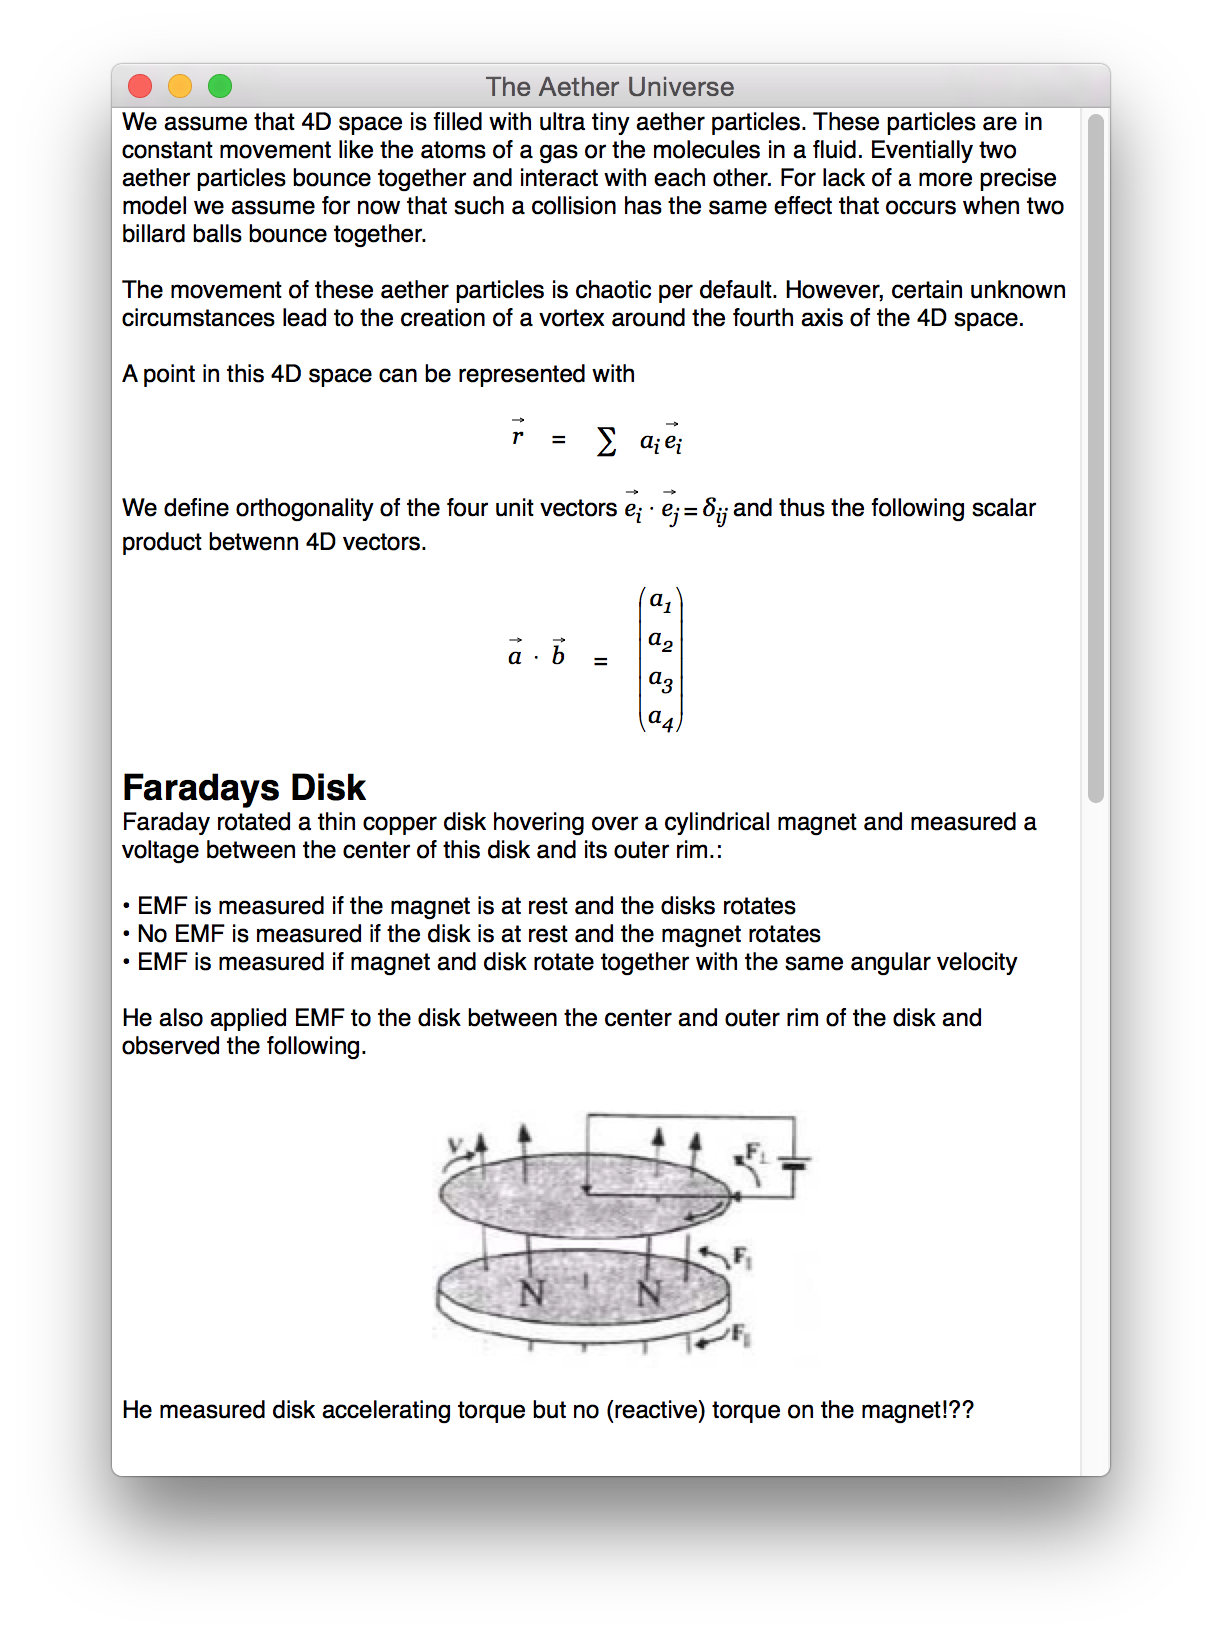
Images
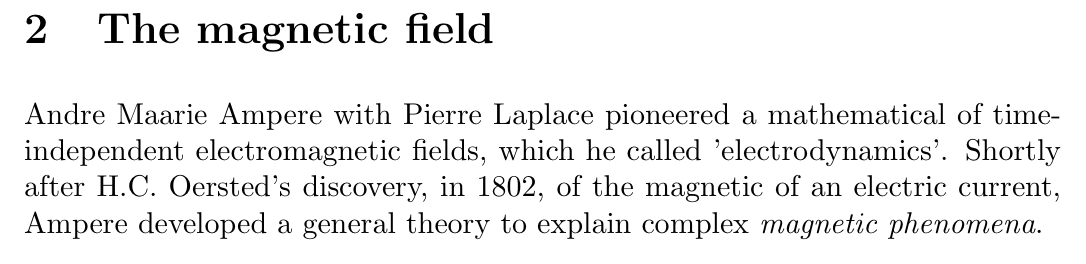
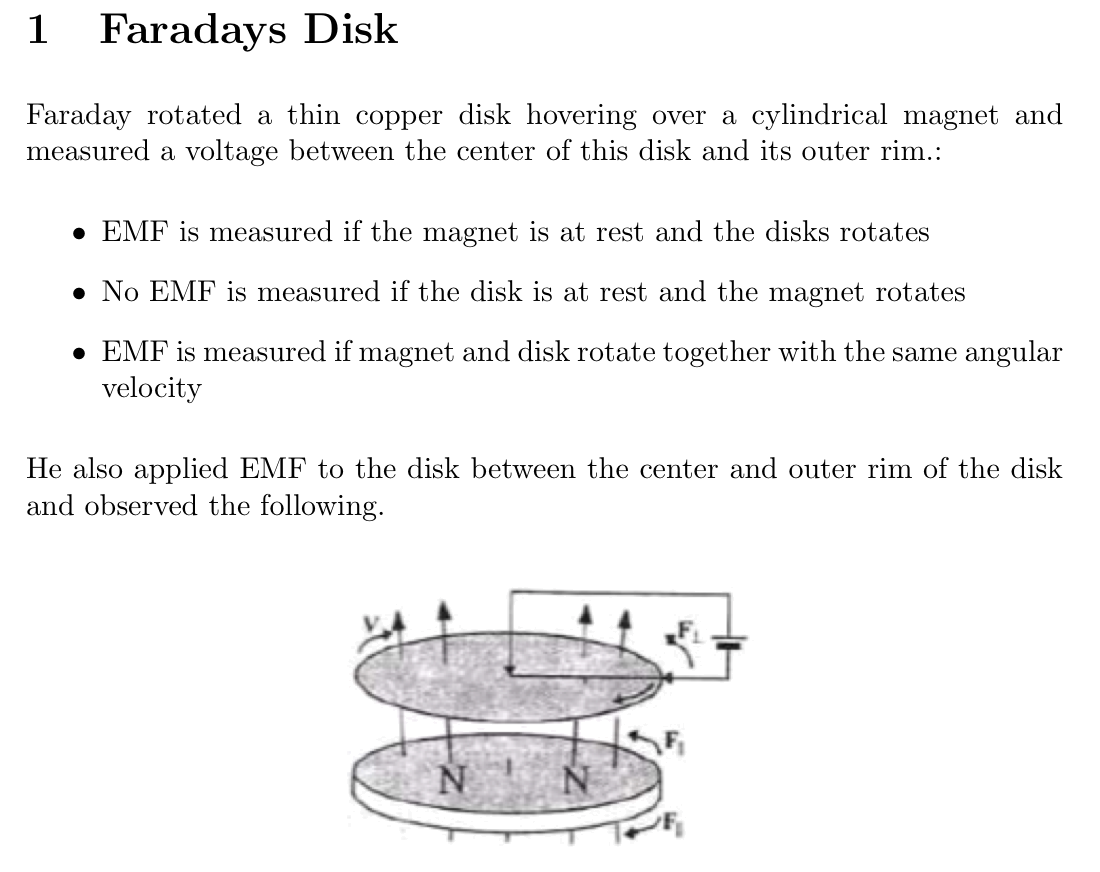
You might have an application that allows to draw electronic circuits like FidoCadJ.app or you want to include a screenshot from your scope into your document. Whatever source you have you can include images (pdf, tiff, png,...) easily by just dragging them from Finder.app into your document. The image will be inserted at the current cursor position and automatically centered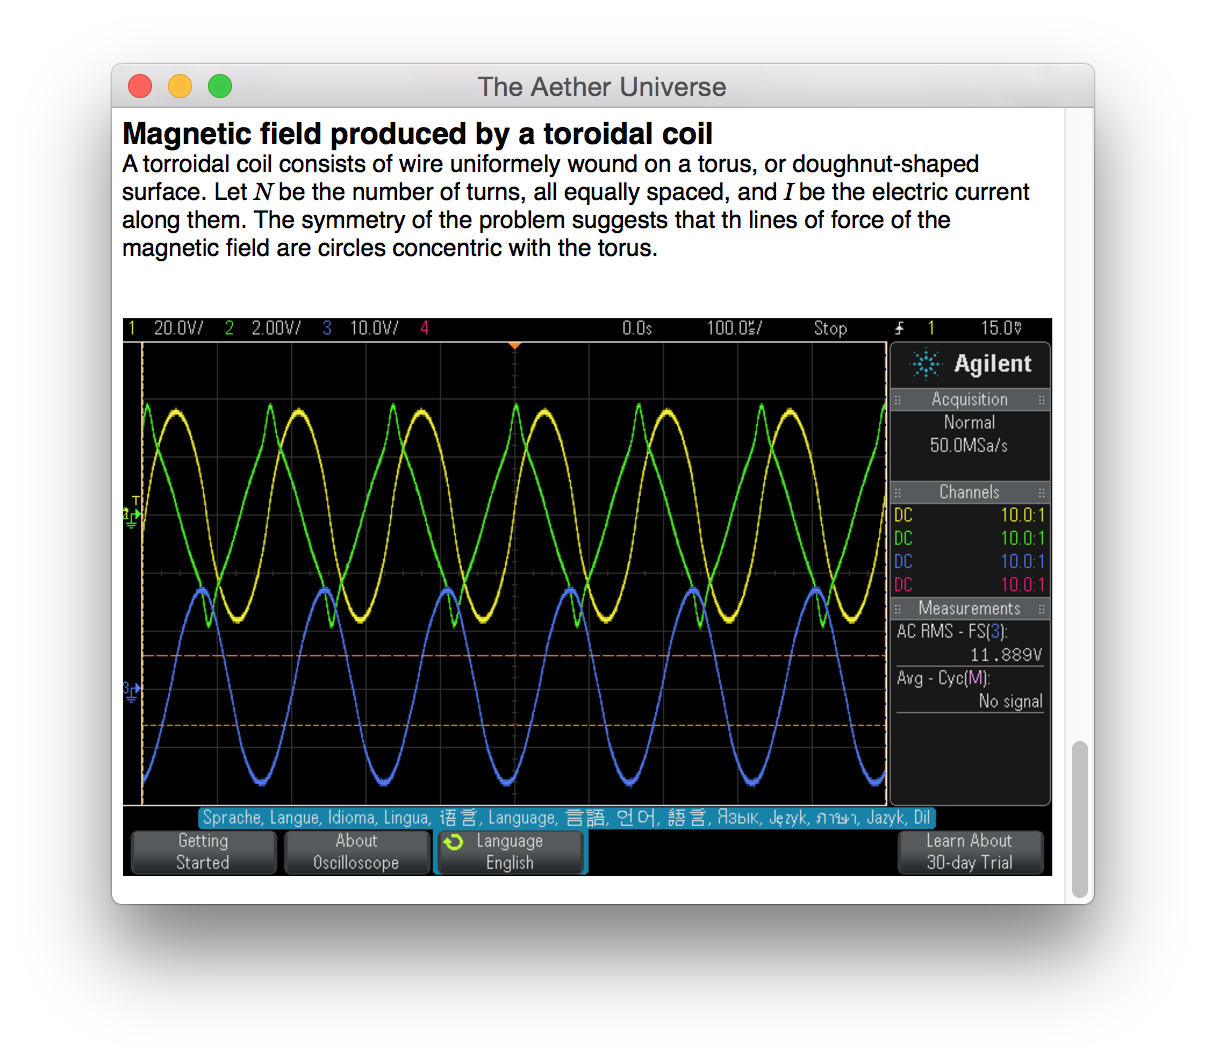 |
 |
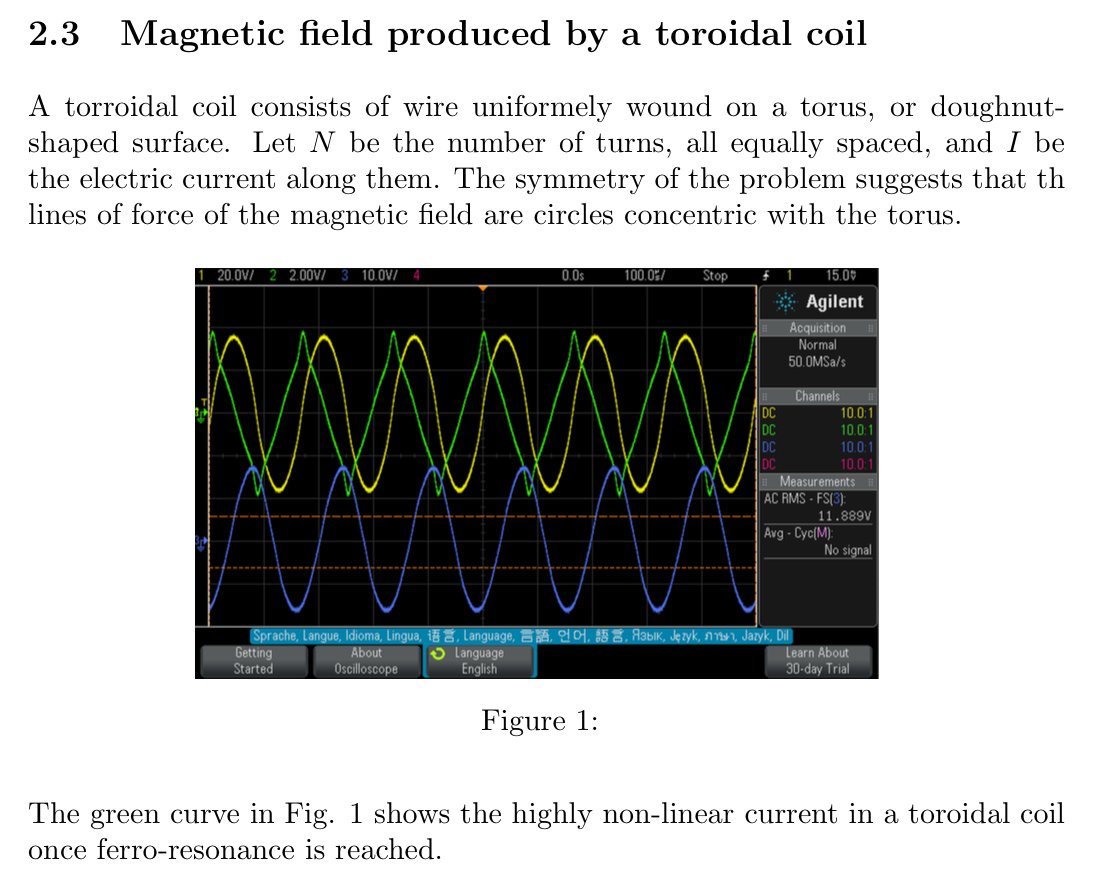
Read Links and Bibliography to learn how to create references to inserted images and other text objects.
 |
LaTeX Regions
The equation editor of Cassiopeia is MathML content markup based. This means that equations inserted into the document have mathematical meaning and can thus be processed by the integrated symbolic algebra system or plotted by the 2D graph engine. However, the content markup approach comes also with a drawback. An author might in rare cases find himself in a situation where an equation (or other kind of text structure) is to be added to the document that cannot be expressed by any means known by Cassiopeia, e.g.
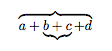 |
If the LaTeX representation of such a text structure is known the LaTeX code can directly be typed into the document and the corresponding range of text can then be assigned the pure LaTeX attribute. Type the following into your document
\[ \overbrace{a + \underbrace{b+c} +d} \]
select this range of text and press Command-Shift-X. The previously selected text will be redrawn in a dark gray color to indicate that the pure latex attribute was assigned to the region. When LaTeX code for the document is generated this region of text is copied as is and thus produces the desired result in the resulting PDF. The pure latex attribute (like any other text attribute) can be removed again with Command-r.
We recommend to read the following documents now:
If you encounter any problems feel free to contact our support team at support@advanced-science.com. Your questions are welcome and feedback is greatly appreciated!
News
| 23.04.2023 | Cassiopeia 2.9.0 released |
| 05.10.2022 | Cassiopeia 2.8.3 released |
| 29.09.2022 | Cassiopeia 2.8.0 released |
| 08.07.2022 | Cassiopeia 2.7.0 released |
| 14.04.2021 | Cassiopeia 2.6.5 released |
| 10.02.2021 | Cassiopeia 2.6.1 released |
| 26.06.2015 | Word Processor Comparison |
| 24.06.2015 | Updated Documentation |
| 23.06.2015 | Cassiopeia Yahoo Group |
| 18.06.2015 | Advanced Data Security |
| 11.05.2015 | Cassiopeia Overview |
| 08.05.2015 | Exporting to files |
| 14.05.2013 | LaTeX and HTML Generation |
| 08.05.2013 | Example Paper released |
| 26.04.2013 | Co-editing in a workgroup |
| 16.04.2013 | Equation Editor Quick Reference |
| 12.04.2013 | Equation Editor |
| 04.04.2013 | Links and Bibliography |
| 01.04.2013 | Books |
| 30.03.2013 | Documents |
| 28.03.2013 | Simulations |
| 16.03.2013 | 2D Graphs |
| 10.03.2013 | Symbolic Algebra |
| 08.03.2013 | Getting Started |
| 07.03.2013 | Installation and Setup |
White Papers
| 13.10.2015 | 01 Writing documents |
| 15.10.2015 | 02 Using the equation editor |
Youtube
| 08.07.2022 | Installation & Getting Started |
| 14.04.2021 | Animating Wave Functions |
| 26.01.2016 | Keystroke Navigation |
| 22.10.2015 | Equation Editor Demo |
| 19.06.2015 | Equation Editor Tutorial |
| 10.06.2015 | Sections and Equations |
| 09.06.2015 | Getting Started |
| 09.06.2015 | Damped Oscillations |
| 29.05.2015 | Solving equations |
| 13.05.2015 | Privileges and Links |
| 19.06.2013 | Magnetic Field |
| 14.06.2013 | Creating Documents |
| 10.06.2013 | Vector Algebra |
| 30.05.2013 | Differential Simulations |
Contact
Smartsoft GmbH Advanced Science Subdiv.Support: support@advanced-science.com
