
Account Management
When Cassiopeia.app is started for the very first time a default database Cassiopeia is created on localhost. In the database a user/schema ROOT is created and filled with all required tables and columns. After this fully automated setup process has completed Cassiopeia.app can be used and the database accessed by logging in with the default account ROOT (no password).
This tutorial explains how to create additional users, set passwords, assign access privileges and how to log into Cassioleia using a non-ROOT user account.
- Creating user accounts and setting passwords
- Logging in as a normal user
Creating user accounts and setting passwords
You can use either FrontBaseManager.app which is part of the FrontBase installation or AccountManager.app which is part of the Cassiopeia installation to create user accounts and set passwords. Since AccountManager.app can also be used to assign access privileges and set multi-user licenses as discussed further below we will make use of AccountManager.app in this tutorial.Open AccountManager.app and open the Preferences panel.
 |
In my case the correct database is already set. In the general case it has to be selected by clicking on Set.
 |
Type localhost (or the ipaddress of your remote FrontBase database server) in the Host name field and press Enter. The hostname appears in the left column, all databases available on this host in the right column.
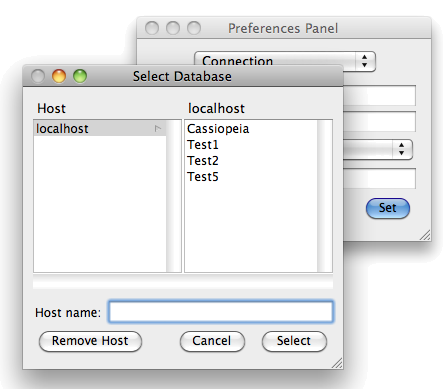 |
Click on the database you want to administer and then on Select. In this example we will administer the database Cassiopeia on localhost.
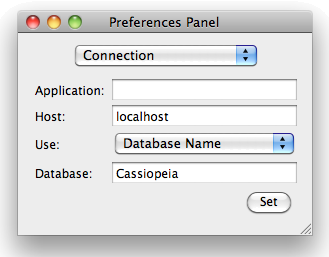 |
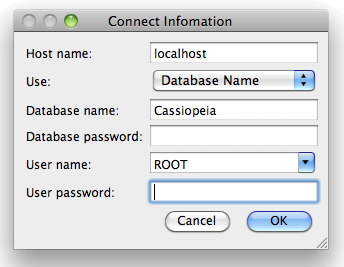
Once the correct database is set close the preferences panel and choose Database - Log On from the AccountManager menu.
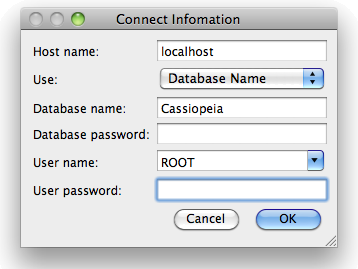 |
If a password for the default account ROOT has been set (see below) enter it in the User password field. Otherwise leave the password field blank and simply click on OK.
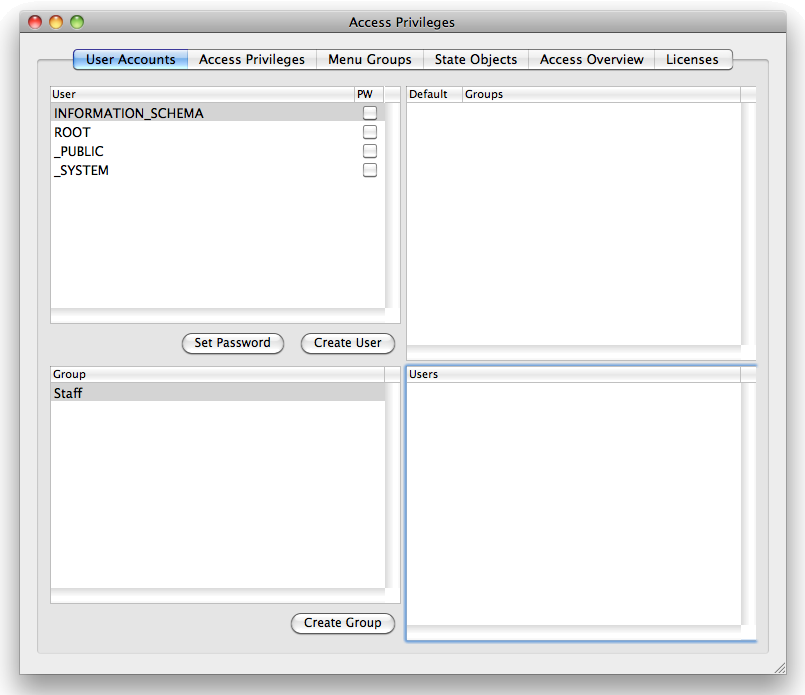 |
You might want to set a password for the super user account now. Click on ROOT or _SYSTEM in the user tableview and then on Set Password.
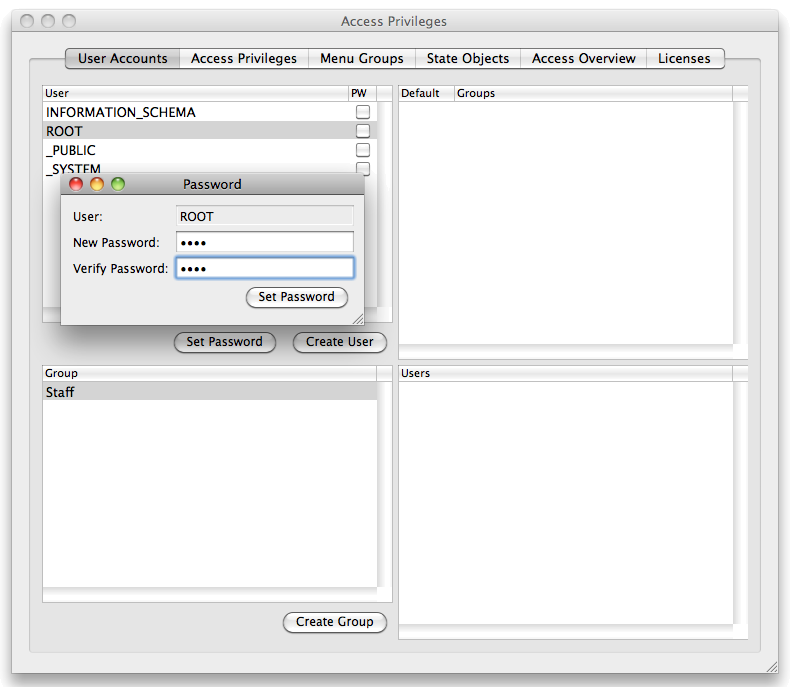 |
Enter the same password in the New Password and Verify Password field and click on Set Password.
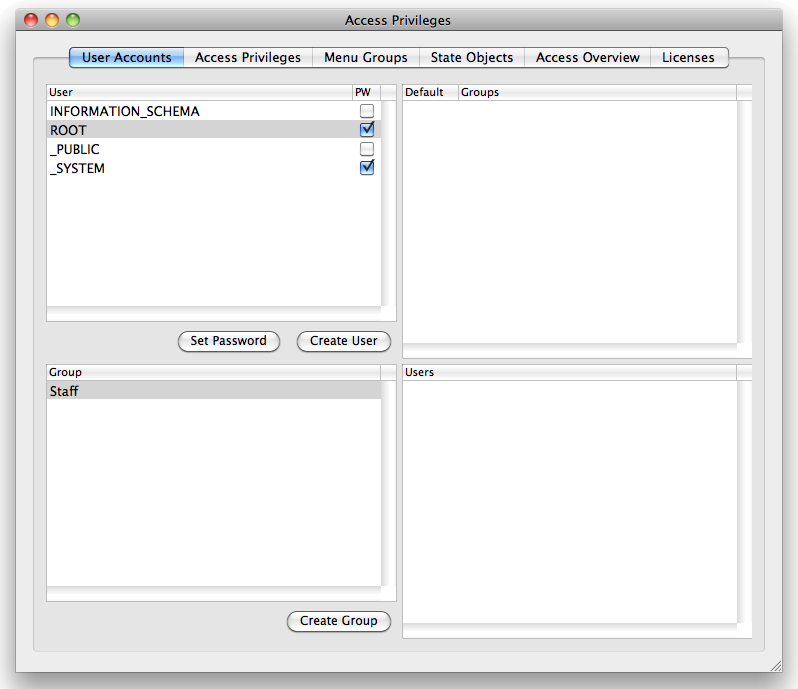 |
Note that if you change the password of the super user ROOT the same password is automatically set for _SYSTEM and vice versa. That's important. If you ever set passwords using FrontBaseManager.app make sure to set the same password for these two super user accounts. Please remember the password you set for the ROOT/_SYSTEM combo. There is no way to access the database again if the super user password gets lost (not entirely correct, FrontBase support might be able to help in such a case, but be careful anyway).
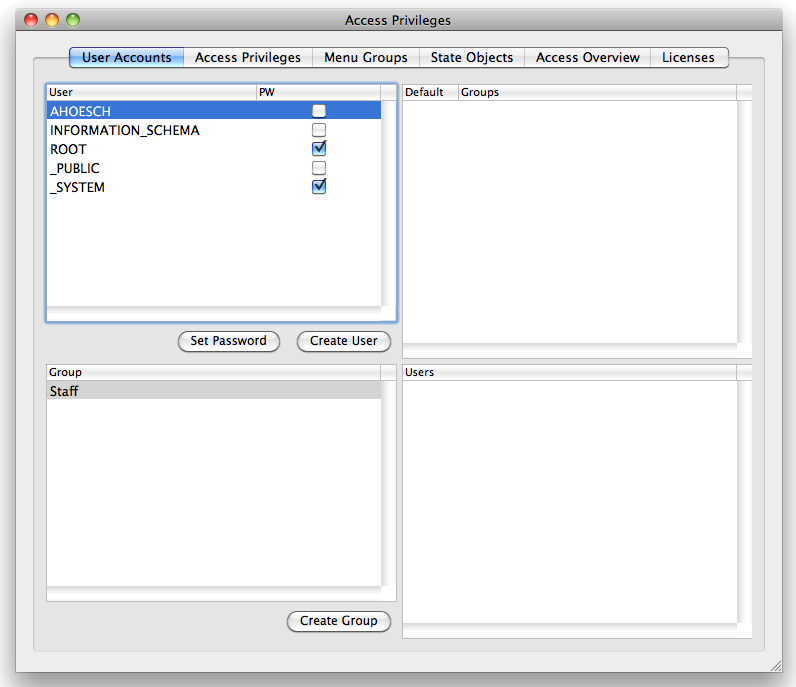
Click on Create User now to create the first normal user account.
 |
Choose whatever username you like. However, it's a good idea to use the same usernames you also use for the MacOSX accounts. My MacOSX account is ahoesch with /Users/ahoesch being my home directory. I therefore choose ahoesch for my personal database account.
 |
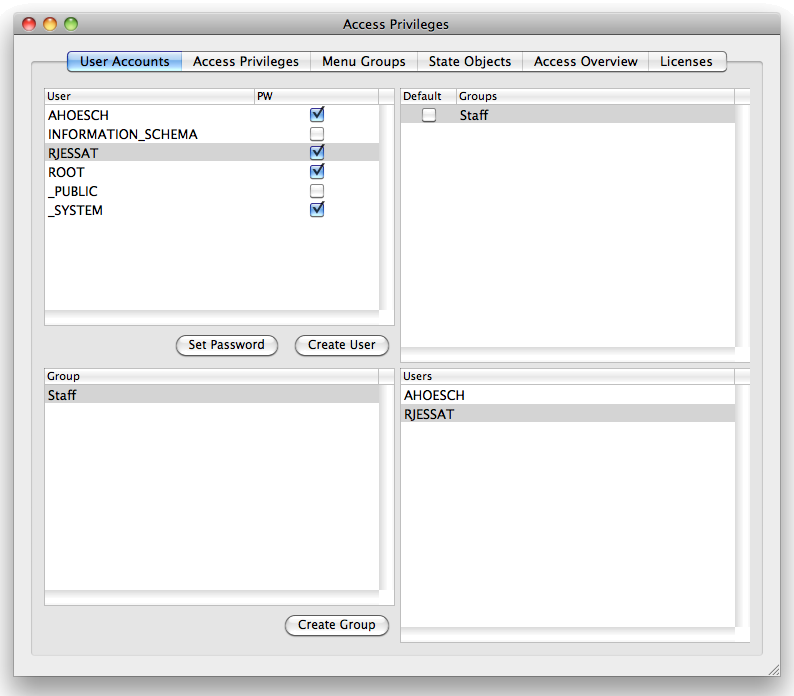
Set a password for this new account and click on Create User again to create accounts for all users that intend to access the database. Note the default group Staff in the lower left tableview. This group has automatically been created during the automated setup procedure. On the right of the group tableview is another tableview with the users assigned to the selected group. Control-drag all normal users from the top left tableview to the bottom right tableview and thus assign them to the default group Staff.
 |
Hit Save to save changes. Switch to the second pane of the tab view.
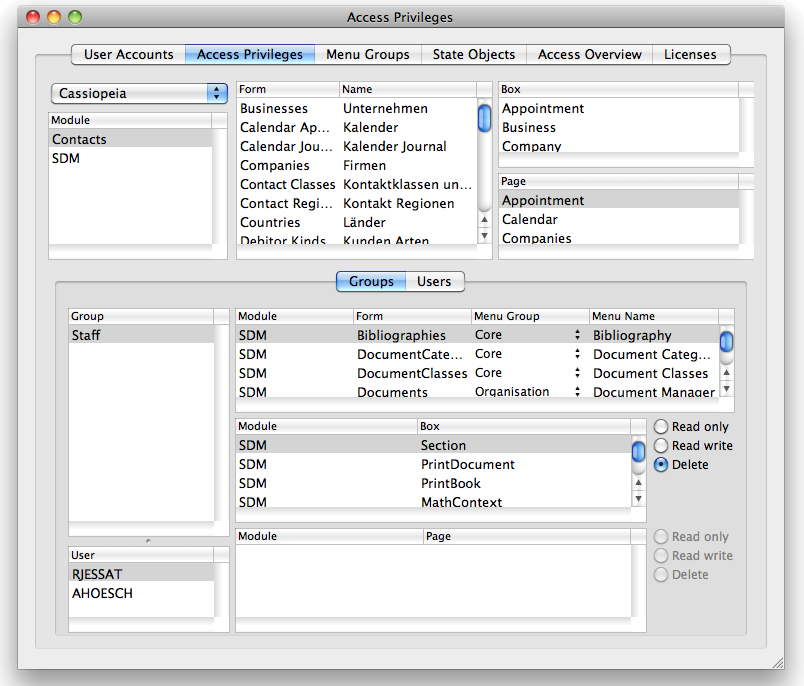 |
The Access Privileges pane shows all available forms in the top and the forms assigned to a specific group (or user) in the bottom. The automatic setup procedure has assigned all available forms to group Staff with delete privilege. You can create other groups with other privileges assign users to this other group and thus determine which user has access to which form with what privileges. For the sake of this tutorial we are happy with the users AHOESCH and RJESSAT having access to all forms with delete privilege.
Logging in as a normal user
Restart Cassiopeia and choose Database Log On from the menu.
 |
Replace the default username ROOT with the username of one of the accounts you created above and enter the corresponding password in the password field.
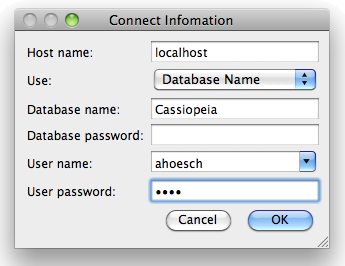 |
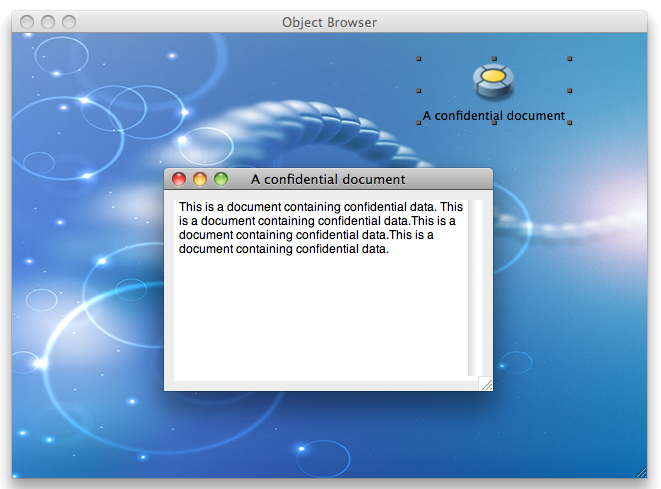
Then click on OK. The Obejct Browser windows appears as usual. Choose SDM - Organisation - Document Manager and create a new document.
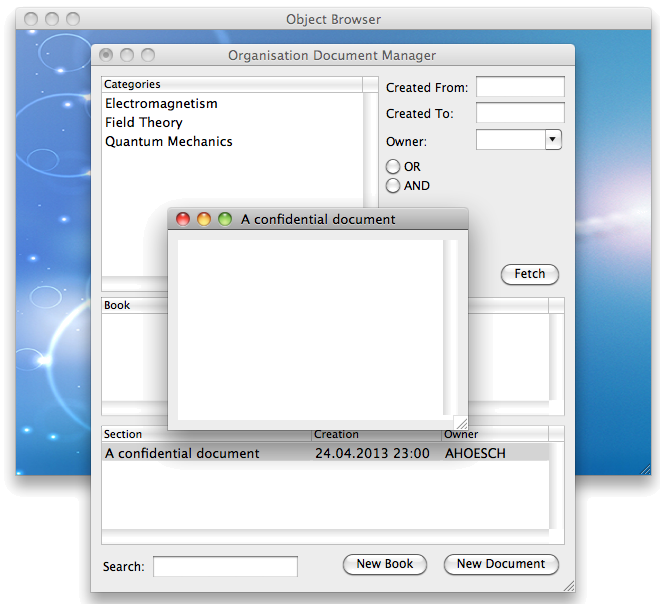 |
Note that the OWNER column now gives AHOESCH instead of ROOT. Save changes and press Command-Shift-B to bookmark this document. An alias appears on the Object Browser window.
 |
Ctrl-Shift-Doubleclick on the alias. This raises the privileges inspector for the document.
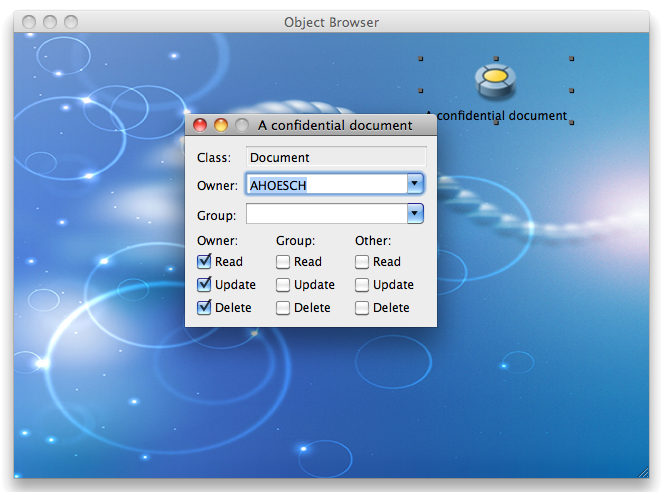 |
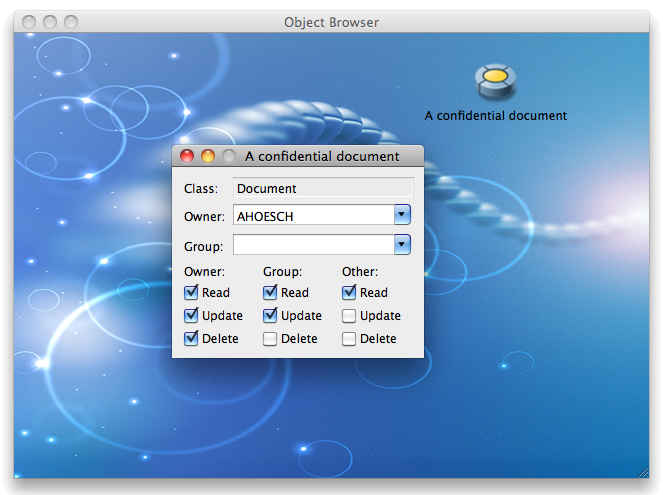
The privilges inspector allows to modify the owner of the document and to set access privileges fo rthe owner and other database users. Note that documents are accessible by the owner only by default. If you want to grant update access to all users in your group and read only access for all others database users set the checkboxes accordingly and save changes.
 |
News
| 23.04.2023 | Cassiopeia 2.9.0 released |
| 05.10.2022 | Cassiopeia 2.8.3 released |
| 29.09.2022 | Cassiopeia 2.8.0 released |
| 08.07.2022 | Cassiopeia 2.7.0 released |
| 14.04.2021 | Cassiopeia 2.6.5 released |
| 10.02.2021 | Cassiopeia 2.6.1 released |
| 26.06.2015 | Word Processor Comparison |
| 24.06.2015 | Updated Documentation |
| 23.06.2015 | Cassiopeia Yahoo Group |
| 18.06.2015 | Advanced Data Security |
| 11.05.2015 | Cassiopeia Overview |
| 08.05.2015 | Exporting to files |
| 14.05.2013 | LaTeX and HTML Generation |
| 08.05.2013 | Example Paper released |
| 26.04.2013 | Co-editing in a workgroup |
| 16.04.2013 | Equation Editor Quick Reference |
| 12.04.2013 | Equation Editor |
| 04.04.2013 | Links and Bibliography |
| 01.04.2013 | Books |
| 30.03.2013 | Documents |
| 28.03.2013 | Simulations |
| 16.03.2013 | 2D Graphs |
| 10.03.2013 | Symbolic Algebra |
| 08.03.2013 | Getting Started |
| 07.03.2013 | Installation and Setup |
White Papers
| 13.10.2015 | 01 Writing documents |
| 15.10.2015 | 02 Using the equation editor |
Youtube
| 08.07.2022 | Installation & Getting Started |
| 14.04.2021 | Animating Wave Functions |
| 26.01.2016 | Keystroke Navigation |
| 22.10.2015 | Equation Editor Demo |
| 19.06.2015 | Equation Editor Tutorial |
| 10.06.2015 | Sections and Equations |
| 09.06.2015 | Getting Started |
| 09.06.2015 | Damped Oscillations |
| 29.05.2015 | Solving equations |
| 13.05.2015 | Privileges and Links |
| 19.06.2013 | Magnetic Field |
| 14.06.2013 | Creating Documents |
| 10.06.2013 | Vector Algebra |
| 30.05.2013 | Differential Simulations |
Contact
Smartsoft GmbH Advanced Science Subdiv.Support: support@advanced-science.com
