
Data Storage
Cassiopeia makes use of a relational database for storing documents, books, bibliography entries,... This storage approach has a couple of advantages over the classical filesystem approach.- References between documents can be maintained easily (see Links and Bibliography).
- Saving large documents can be accelerated since only the actually modified parts need to be saved
- Multiple users can access the same set of documents and thus cooperate seamlessly
SQLite
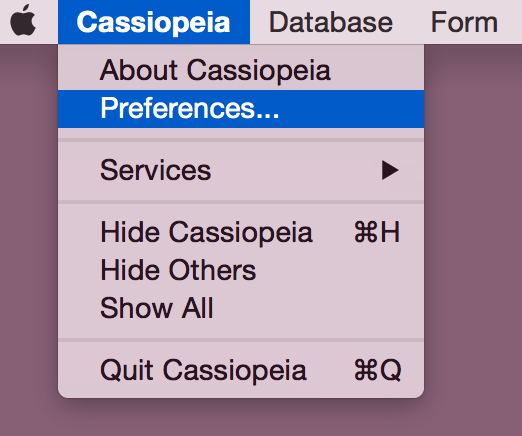
The database settings can be checked by opening the preferences panel of Cassiopeia
 |
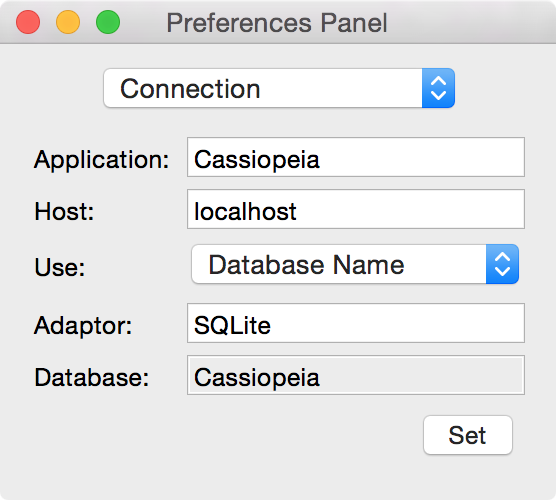
which should look as follows after a fresh installation.
 |
Note the entry in the Adaptor field which says SQLite and the entry in the database field which says Cassiopeia in this example. If you have already logged in once
 |
the above settings should have caused the automatic creation of a SQLite database file named Cassiopeia in
Library/SQLite/Databases
in your home directory. You may want to check that by choosing Go - Go to Folder in Finder.app
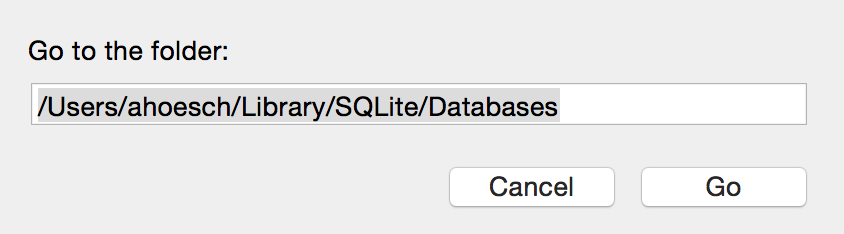 |
Please replace ahoesch with your system username in the above panel and click on Go. This should open a Finder.app window showing the contents of this directory.
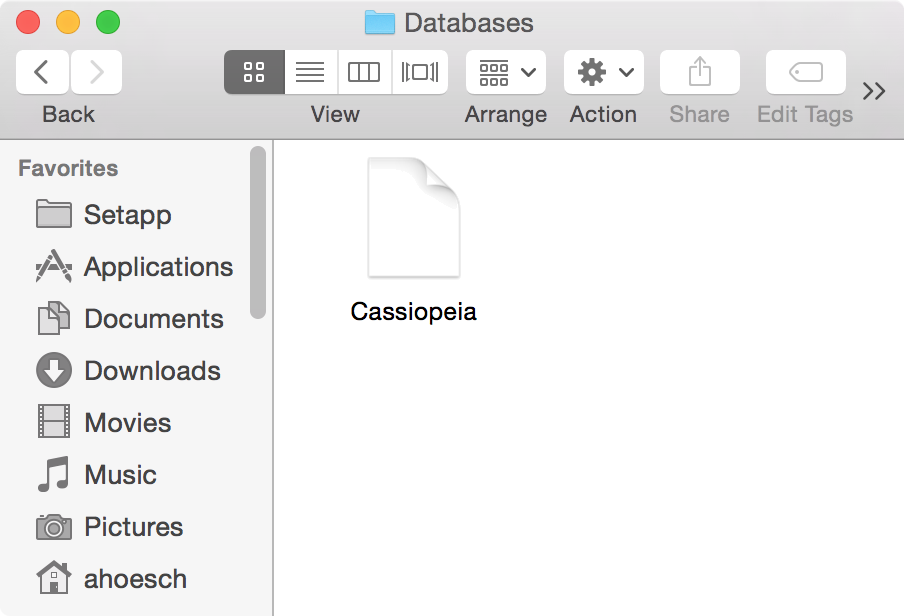 |
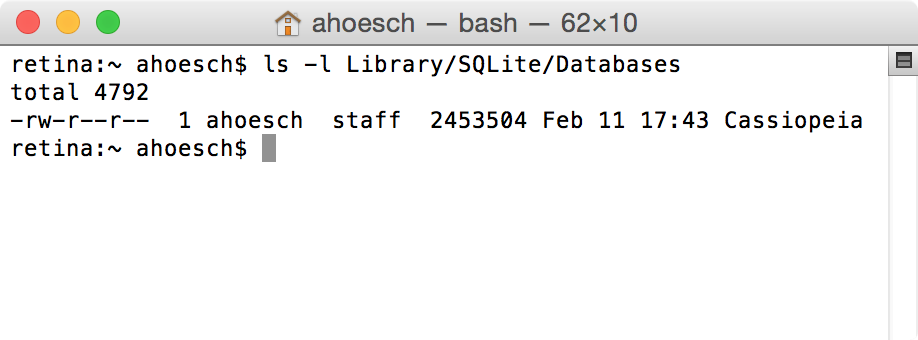
You could also list the files in this directory by executing the command
ls -l Library/SQLite/Databases
in a terminal session window.
 |
Please make sure that you create a backup of this file from time to time once you have created valuable contents in your database.
We will now show you how to create an additional SQLite database and use that instead of the default one. Choose Database - Show List View from the Cassiopeia menu. The following panel will appear.
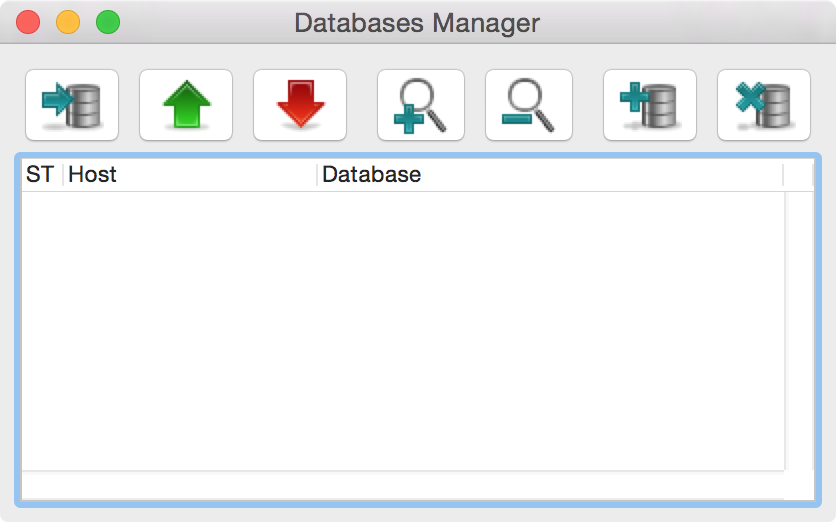 |
Now click on the sixth icon on this panel - the one with the plus sign on the database stack - to create a new database.
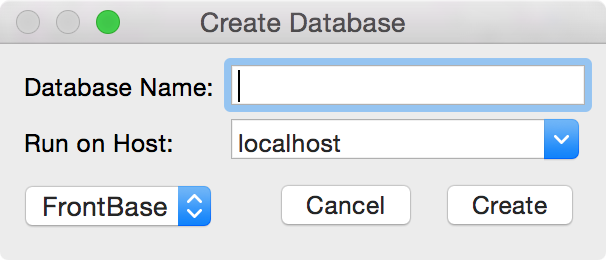 |
Note that the popup selection in the lower left corner is FrontBase by default. Change that to SQLite (for now). Then enter a database name of your choice in the Database Name field.
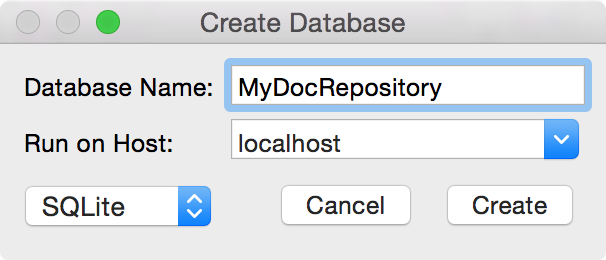 |
We use MyDocRepository in this example but you can choose whatever you like. Click on Create. You should see the following now.
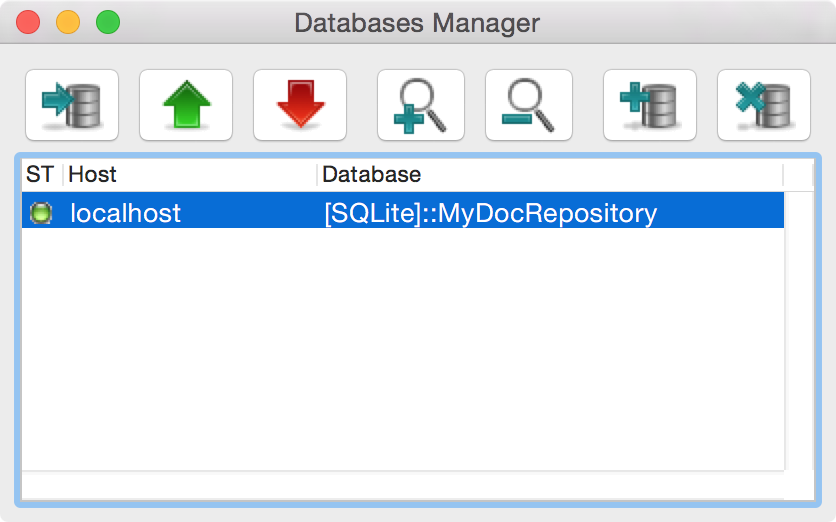 |
We have one monitored datatabase in the list. The green dot in the left most column usually tells us that the database is running (for real databases). In case of SQLite it simply means that the database file is supposed to exist. Now open the preferences panel again
 |
and on the Connection pane click on the Set button.
 |
The following panel appears.
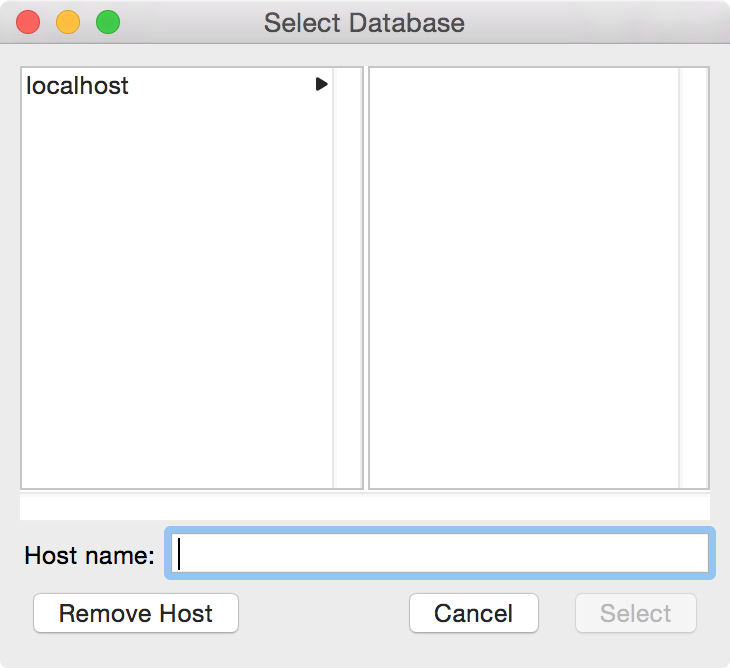 |
If you do not yet see localhost in the left browser column enter localhost in the Host name: field and press <Enter>. Then click on localhost in the browser view.
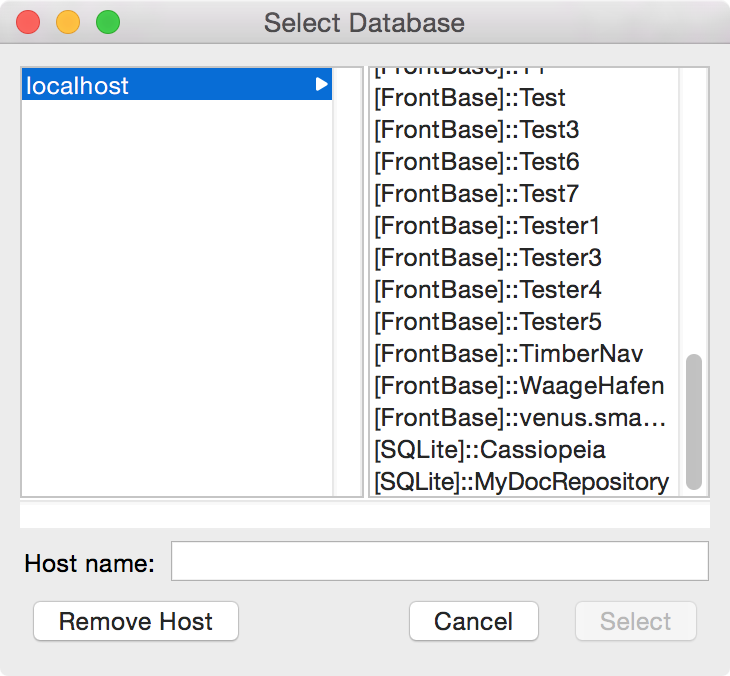 |
All databases accessible on localhost (your computer) should be listed. I get a couple of FrontBase databases that you probably won't get. But at the end our newly created SQLite MyDocRepository database is listed as well. Select that and click on Select. The Connection pane of the Cassiopeia peferences panel should now look as follows.
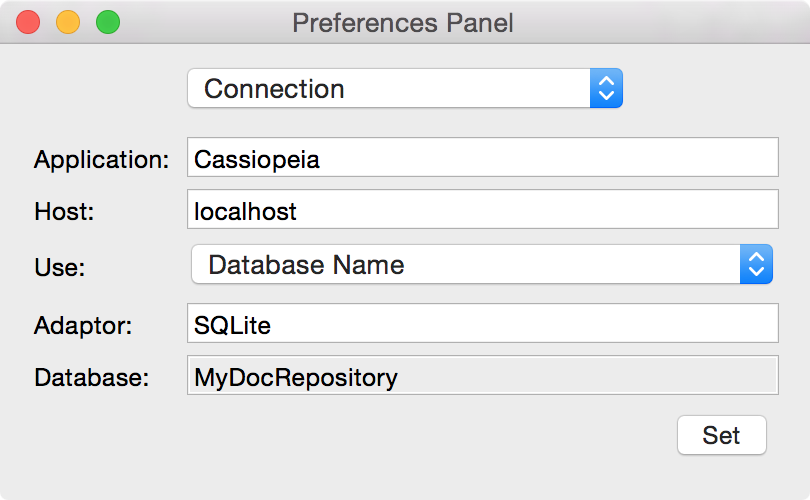 |
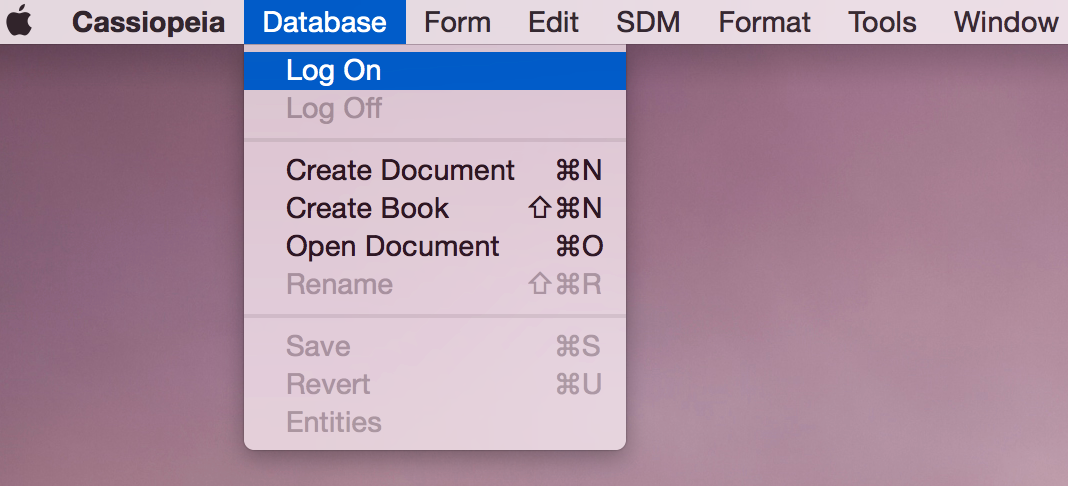
Note that the Database field now says MyDocRepository. We will now log into this newly created database and let Cassiopeia automatically setup the required tables and columns in the database. Choose Datatabase Log On from the Cassiopeia menu
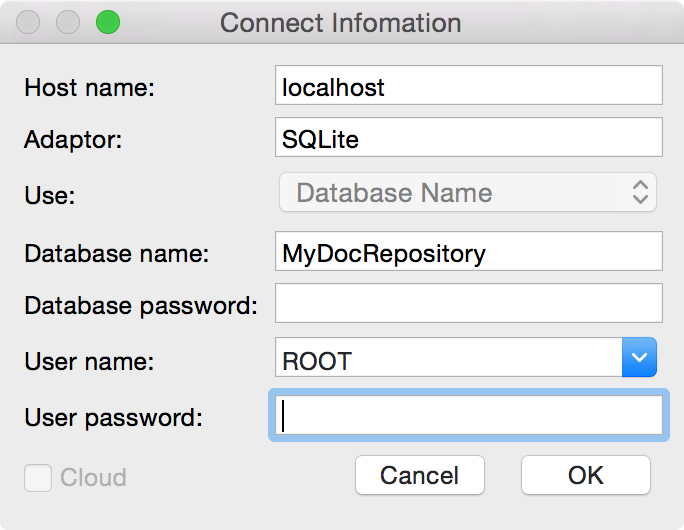 |
accept the default values on the Connection Information panel and simply click OK. You may have to click on OK a second time. You should now see something like this.
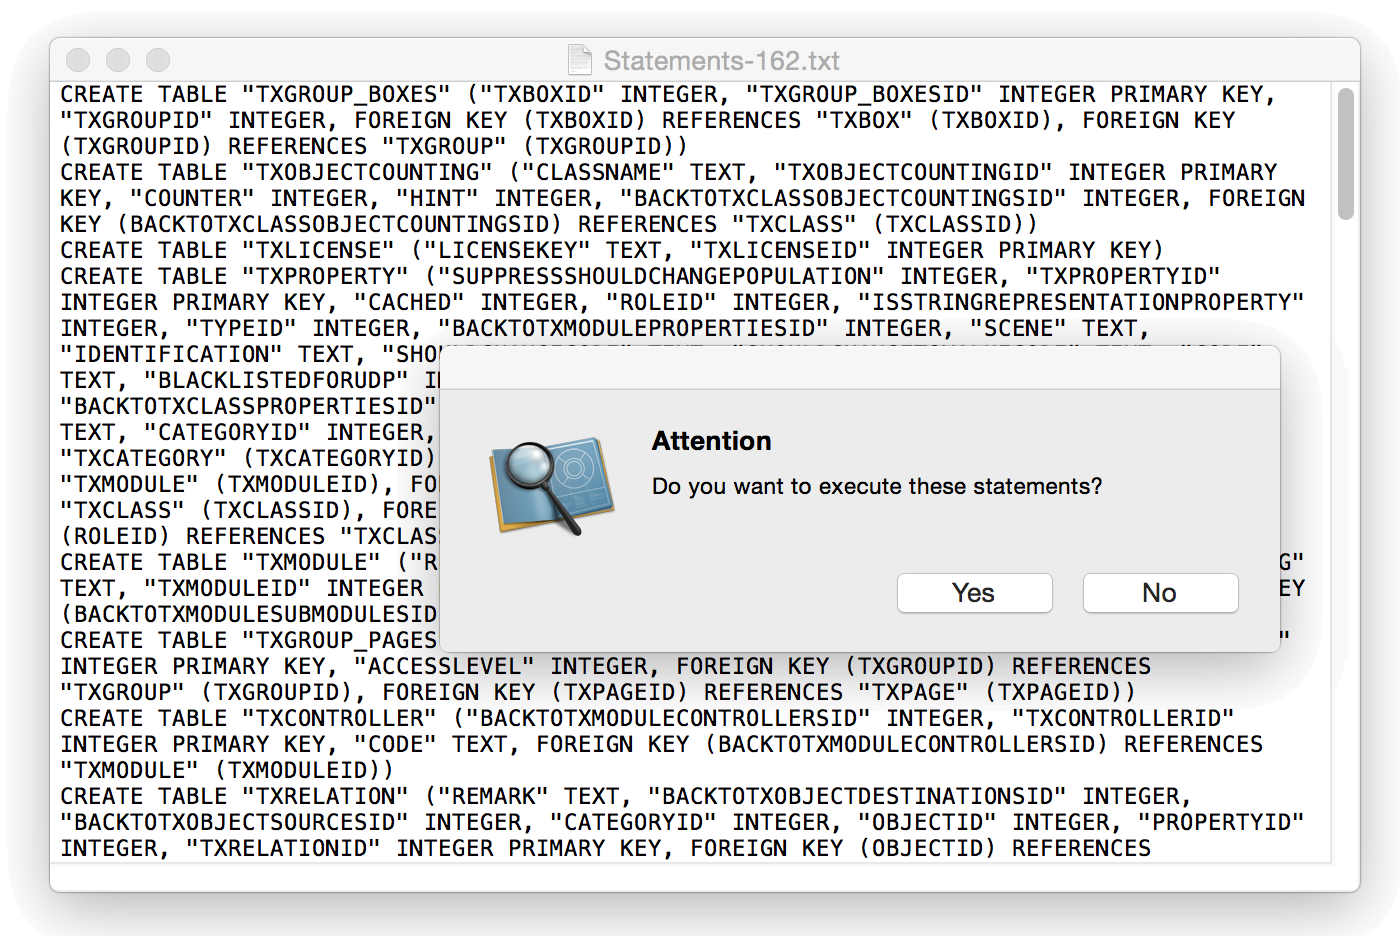 |
Simply confirm by clicking on Yes. You may have to confirm a few more requests. Finally you should see the ObjectBrowser window indicating that you are connected to a database.
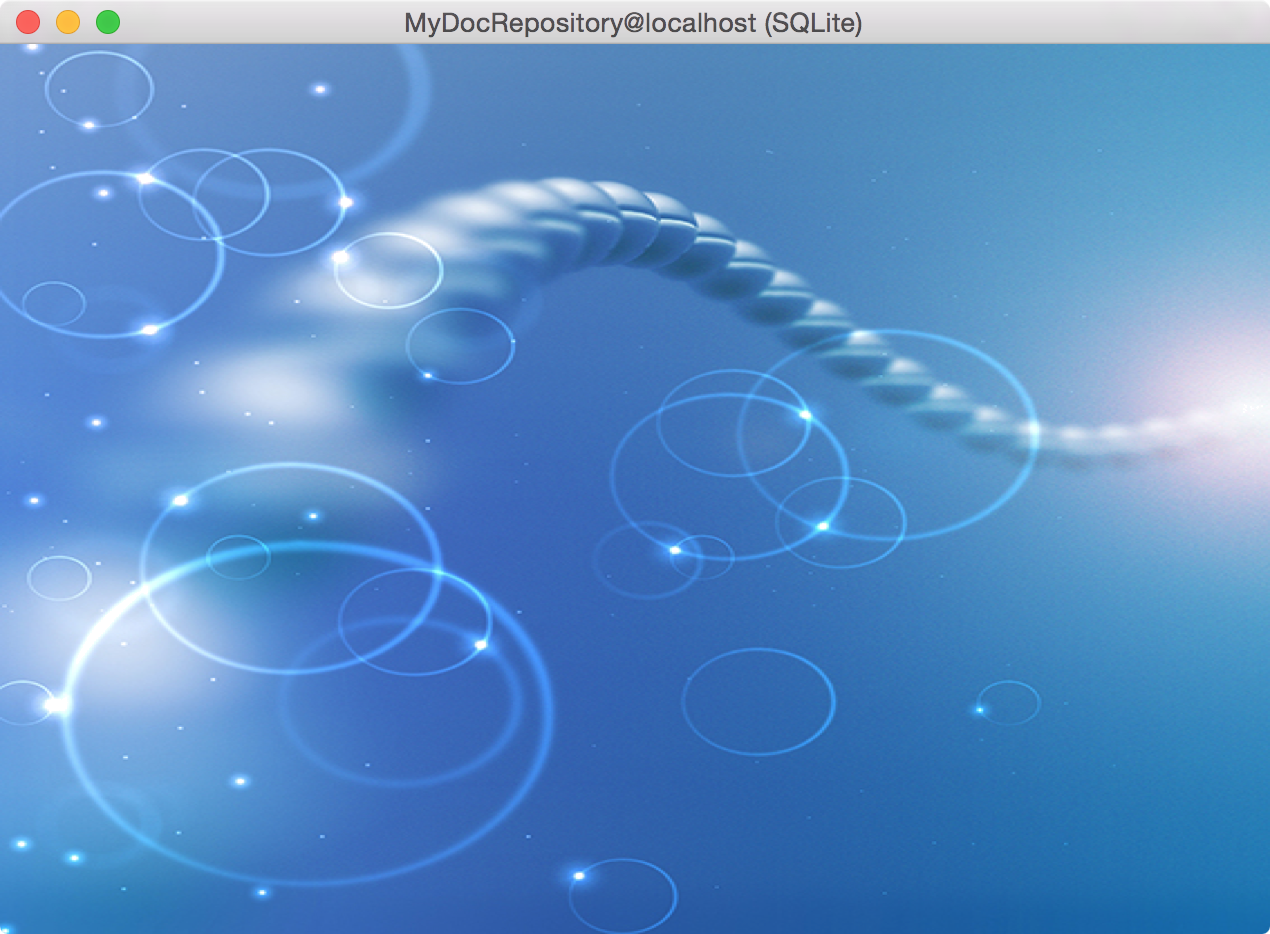 |
The title bar gives the database name, the hostname and the used adaptor (SQLite in this case). You may now start creating documents as described in Getting Started.
A further look into the SQLite database directory in your home directory should reveal the current size of your database file.
 |
The number to the left of the date gives the size of the database file in bytes. Please remember to create a backup of this file from time to time.
FrontBase
When Cassiopeia is started for the first time with unchanged default settings (see Connection pane of the preferences panel) a database Cassioepia is created and setup automatically on localhost. This is convenient for a single user setup. A multi user setup requires only a few extra steps. This tutorial explains how to setup a central database on a remote host and how to configure Cassiopeia on each client to access the central database instead of the (default) local one.Cassiopeia is a MacOSX application, thus MacOSX is required for the clients. However, FrontBase is available for a bunch of other platforms as well and since FrontBase is all that is needed for the central host you could also host the central database on a Solaris or Linux box.
Make sure FrontBase is installed on the machine you intend to run the central database on. See http://www.frontbase.com for a binary of FrontBase for your operating system. In case of MacOSX, FrontBae is installed automatically when you start Cassiopeia for the first time.
Now start FrontBaseManager.app (part of the FrontBase installation) on one of your MacOSX clients
 |
and click on New to create a new database. On the New Database panel specify the ip address of the remote host you want to run the database on
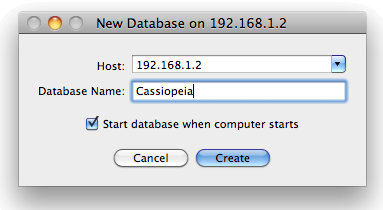 |
and a database name (Cassiopeia in this example but any name will do). You might also want to check Start database when computer starts. Click on Create.
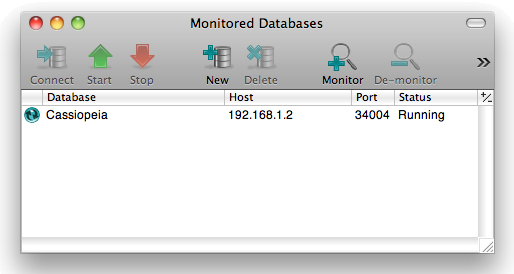 |
You will now have a file Cassiopeia.fb in /Library/FrontBase/Databases on the remote host (/opt/FrontBase/Databases in case of Linux or Solaris). Doubleclick on the tableview entry in order to establish a connection to the newly created database
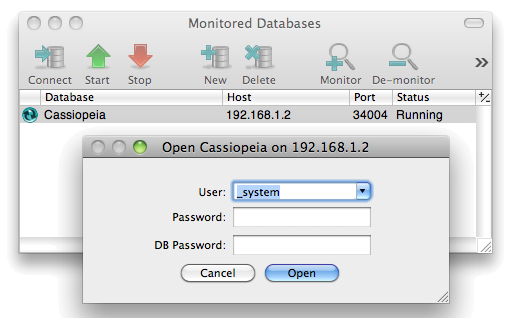 |
and login as _SYSTEM (the only available account so far).
 |
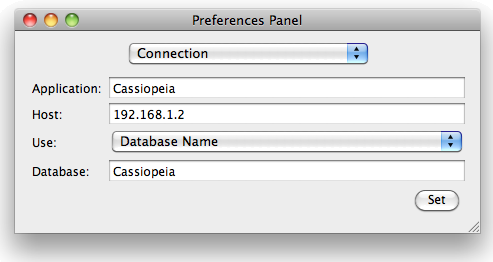
Note that the database contains the default schema _SYSTEM only and no tables so far. Open Cassiopeia.app on any client and choose the Connection pane of the preferences panel.
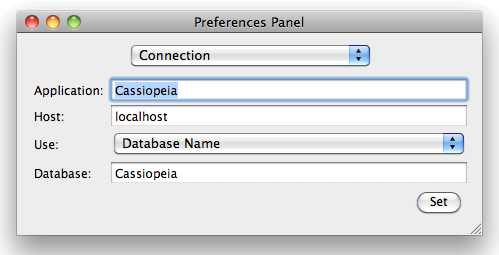 |
Click on Set and enter the ip address of the remote host in the Host name field.
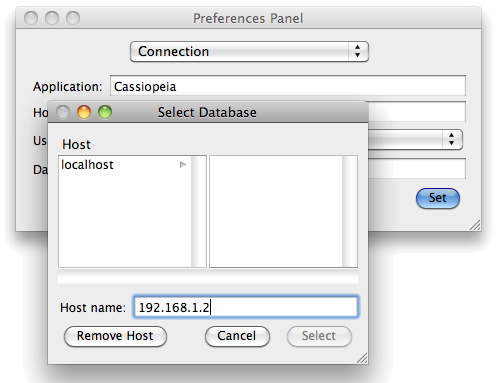 |
Press Return to add this ip address to the list of monitored hosts. Then click on the new entry to see all available databases on this host.
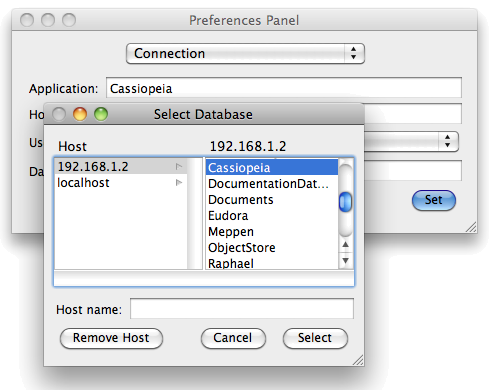 |
 |
Choose Database - Log On from the Cassiopeia menu and log in as ROOT with no password.
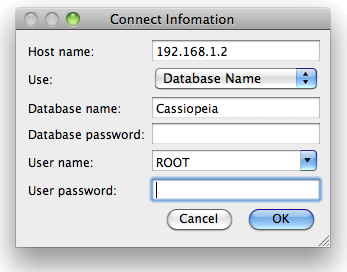 |
Cassiopeia realises that you are connecting to a new database and automatically sets up the schema. You will be asked for permission to execute SQL statements four times. Allow the modifications. You should end up with the Object Browser Window indicating that the setup procedure completed successfully.
 |
You might want to reconnect to the remote database with FrontBaseManager.app and verify that a schema ROOT with a few dozen tables has beend created.
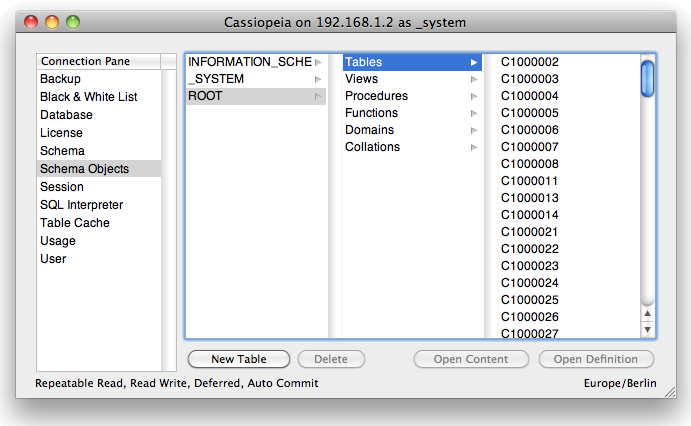 |
You can now change the connection settings in the Cassiopeia preferences panel on all other MacOSX client machines accordingly and thus make sure they connect to the remote host as well. Please read Account Management to learn how to setup user accounts in the database. Read License Management to learn how to register a group license in the database. Group licenses can be requested here. You might also want to check out Scheduling Backups in order to learn how to create backups in regular intervalls.
Don't hesitate to contact us at support@advanced-science.com if you have trouble with this guide or encounter any problems during the setup. Our support team will be happy to assist you in getting your central database correctly setup and running.
Autologin
Cassiopeia can be made to automatically login with a default user whenever the app is started. You can do so by setting up a file .cassiopeia_autologin (note the leading dot) in your home directory containing a username and a password separated by a comma. As long as we use the default account ROOT with no password the contents of this file should be: "ROOT," You can set this file up by executing "pico .cassiopeia_autologin" in a terminal session. Enter "ROOT," without the quotation marks and press Ctrl-x y to save and exit. Cassiopeia will login automatically using the account given in .cassiopeia_autologin when relaunched. The document Account Management explains in detail how to create user accounts and assign access privileges to groups and users. If you had created a database account paul with password 1234 you would want to setup a .cassiopeia_autologin file in your home directory with the contents "paul, 1234" (without the quotation marks).News
| 23.04.2023 | Cassiopeia 2.9.0 released |
| 05.10.2022 | Cassiopeia 2.8.3 released |
| 29.09.2022 | Cassiopeia 2.8.0 released |
| 08.07.2022 | Cassiopeia 2.7.0 released |
| 14.04.2021 | Cassiopeia 2.6.5 released |
| 10.02.2021 | Cassiopeia 2.6.1 released |
| 26.06.2015 | Word Processor Comparison |
| 24.06.2015 | Updated Documentation |
| 23.06.2015 | Cassiopeia Yahoo Group |
| 18.06.2015 | Advanced Data Security |
| 11.05.2015 | Cassiopeia Overview |
| 08.05.2015 | Exporting to files |
| 14.05.2013 | LaTeX and HTML Generation |
| 08.05.2013 | Example Paper released |
| 26.04.2013 | Co-editing in a workgroup |
| 16.04.2013 | Equation Editor Quick Reference |
| 12.04.2013 | Equation Editor |
| 04.04.2013 | Links and Bibliography |
| 01.04.2013 | Books |
| 30.03.2013 | Documents |
| 28.03.2013 | Simulations |
| 16.03.2013 | 2D Graphs |
| 10.03.2013 | Symbolic Algebra |
| 08.03.2013 | Getting Started |
| 07.03.2013 | Installation and Setup |
White Papers
| 13.10.2015 | 01 Writing documents |
| 15.10.2015 | 02 Using the equation editor |
Youtube
| 08.07.2022 | Installation & Getting Started |
| 14.04.2021 | Animating Wave Functions |
| 26.01.2016 | Keystroke Navigation |
| 22.10.2015 | Equation Editor Demo |
| 19.06.2015 | Equation Editor Tutorial |
| 10.06.2015 | Sections and Equations |
| 09.06.2015 | Getting Started |
| 09.06.2015 | Damped Oscillations |
| 29.05.2015 | Solving equations |
| 13.05.2015 | Privileges and Links |
| 19.06.2013 | Magnetic Field |
| 14.06.2013 | Creating Documents |
| 10.06.2013 | Vector Algebra |
| 30.05.2013 | Differential Simulations |
Contact
Smartsoft GmbH Advanced Science Subdiv.Support: support@advanced-science.com
